


47
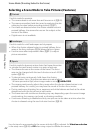
Scene Mode (Shooting Suited to the Scene)
Shooting Features
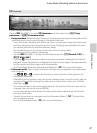
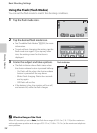
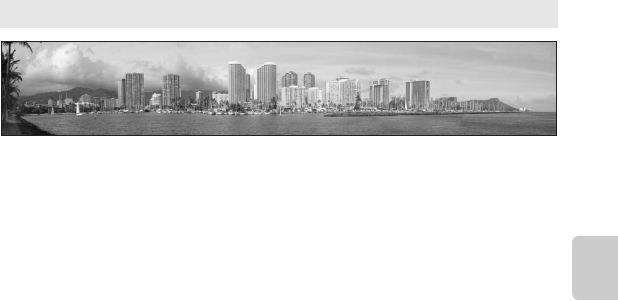
p Panorama
Use for taking panoramas.
Tap the d tab (A 11) to select p Panorama and then select from V Easy
panorama or U Panorama assist.
• Easy panorama (default setting): Allows you to take a panorama picture viewable on the
camera simply by moving the camera in the desired direction.
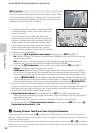
- Press the shutter-release button all the way down, remove your finger from the button,
and then slowly pan the camera across the scene. Shooting automatically ends when
the camera captures the specified shooting range.
- The camera focuses at the center of the frame when shooting starts.
- The zoom position is fixed at wide-angle.
-Tap the d tab (A 11) to select the shooting range from C Normal (180°) or
B Wide (360°).
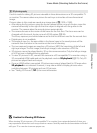
-If you tap R when a panorama taken using easy panorama is displayed in full-frame
playback mode, the panorama is displayed so that the short edge of the panorama fits
on the monitor, and the image scrolls automatically.
- See “Using Easy Panorama (Shooting and Playback)” (E 3) for more information.
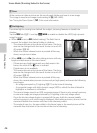
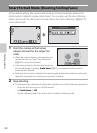
• Panorama assist: Takes a series of pictures that you can join together into a panorama
on a computer.
-Tap A, B, C, or D to select the direction in which pictures will be joined in the
completed panorama.
- After taking the first picture using the shutter-release button or touch shutter, take the
necessary shots while checking how each picture will connect to the next. To finish
shooting, tap H.
- The camera focuses at the center of the frame for the first shot. The focus area can be
changed using the touch shutter (A 38).
Focus, exposure, and white balance are fixed at the values determined with the first
picture in each series.
- Transfer the pictures to a computer and use Panorama Maker 5 (E 7) to join them
into a single panorama.
- See “Using Panorama Assist” (E 6) for more information.