


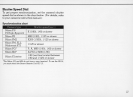

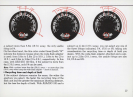
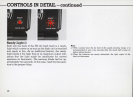
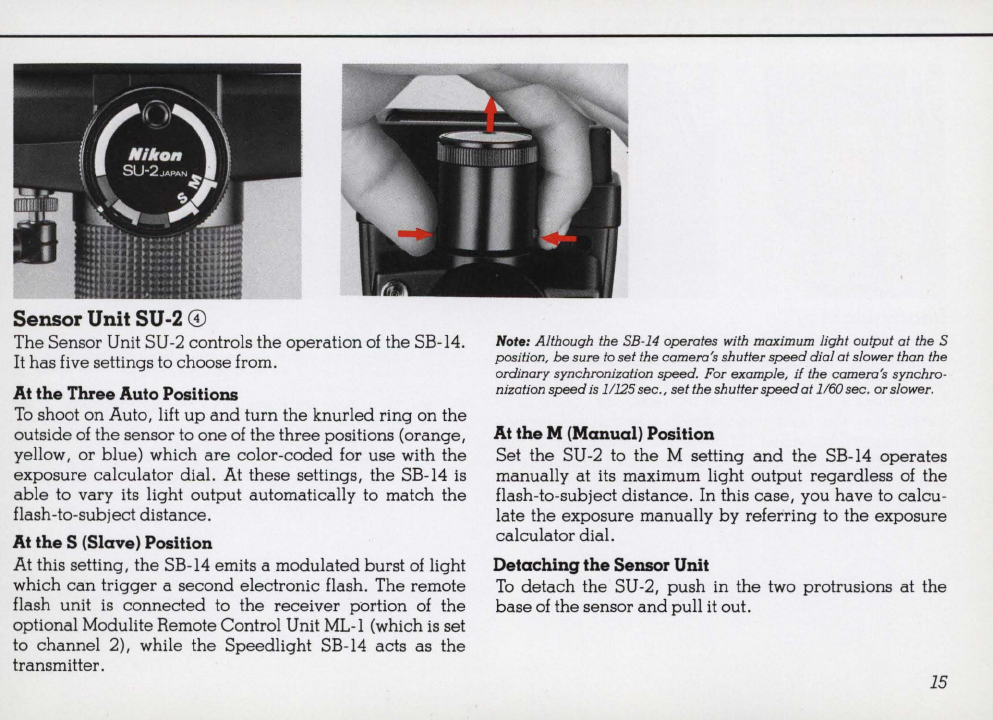
Sensor Unit SU-2
8)
The Sensor Unit SU-2 controls
the
operation
of
the SB-14.
It
has
five settings to choose from.
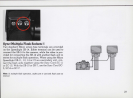
At
the
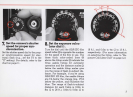
Three Auto Positions
To
shoot
on
Auto, lift
up
and
turn
the
knurled
ring
on
the
outside
of
the
sensor to
one
of
the
three
positions (orange,
yellow,
or
blue) which
are
color-coded
for
use
with
the
exposure
calculator
dial. At these settings,
the
SB-14 is
able
to vary its light output automatically to
match
the
flash-to-subject distance.
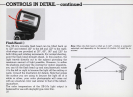
At
the
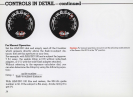
S (Slave) Position
At this setting,
the
SB-14 emits a
modulated
burst
of
light
which
can
trigger
a
second
electronic
flash. The remote
flash unit is
connected
to
the
receiver
portion
of
the
optional Modulite Remote Control Unit ML-l (which is set
to
channel
2), while the
Speedlight
SB-14 acts
as
the
transmitter.
Note: Although the 5B-14 operotes with
maximum
light output
at
the 5
position,
be
sure
to
set
the camero's shutter
speed
dial
at
slower than the
ordinary synchronization
speed.
For
example
,
if
the camero's synchro-
nization
speed
is
1/125 sec.,
set
the shutter
speed
at
1/60
sec
. or slower.
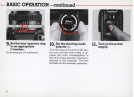
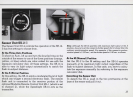
At
the
M (Manual) Position
Set
the
SU-2 to
the
M setting
and
the
SB-14
operates
manually
at
its maximum light
output
regardless
of
the
flash-to-subject distance. In this case, you
have
to calcu-
late
the
exposure
manually
by
referring
to
the
exposure
calculator
dial.
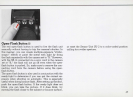
Detaching
the
Sensor Unit
To
detach
the
SU-2,
push
in
the
two protrusions
at
the
base
of
the
sensor
and
pull it out.
15