


E8
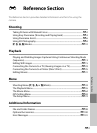
Reference Section
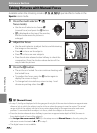
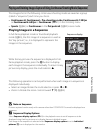
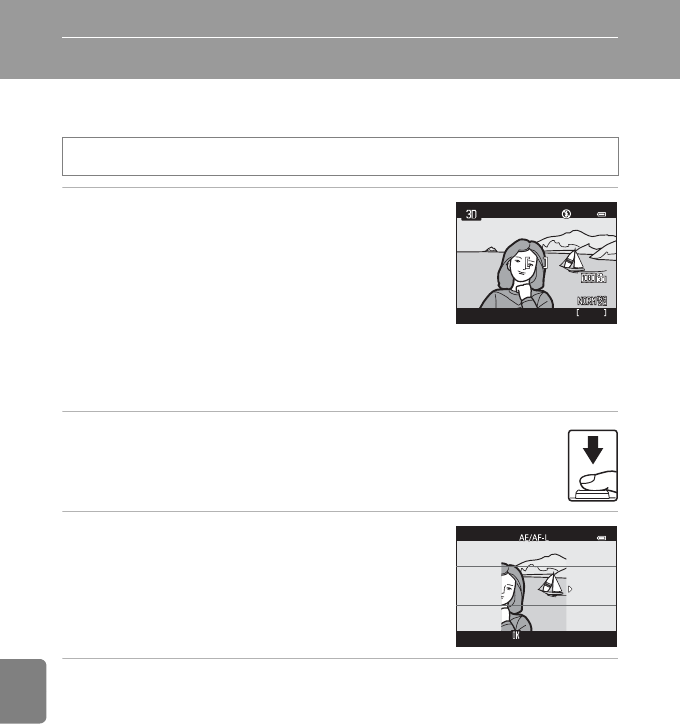
Using 3D Photography
The camera takes one picture for each eye to simulate a three-dimensional image
on a 3D-compatible TV or monitor.
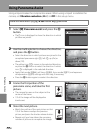
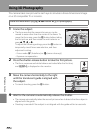
1 Frame the subject.
• The focus area that the camera focuses on can be
moved to areas other than the center of the frame. To
move the focus area, press the k button before taking
the first picture, and then rotate the multi selector or
press H, I, J, or K.
To adjust the following settings, press the k button to
temporarily cancel focus area selection, and then
adjust each setting.
– Focus mode (A (Autofocus) or p (macro close-up))
– Exposure compensation
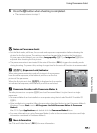
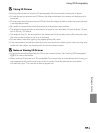
2 Press the shutter-release button to take the first picture.
• The focus, exposure and white balance are locked after the first shot,
and R is displayed on the monitor.
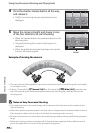
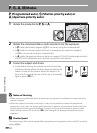
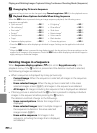
3 Move the camera horizontally to the right
until the translucent guide is aligned with
the subject.
• To cancel shooting, press the k button.
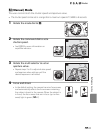
4 Wait for the camera to automatically release the shutter.
• The camera automatically takes the second picture when it detects that the subject is
aligned with the guide.
• Shooting is canceled if the subject is not aligned with the guide within ten seconds.
Rotate the mode dial to y M d button M s 3D photography
6030
6030
6030
25m 0s
25m 0s
25m 0s
1/250
1/250
1/250 F5.6
F5.6
F3.0
Cancel
Cancel
Cancel