


E21
Editing Still Images
Reference Section
j Black Border: Adding a Black Border to Pictures
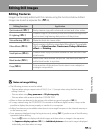
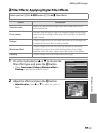
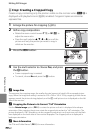
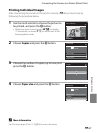
1 Press the multi selector H or I to choose the
desired frame thickness, and press the k
button.
• Choose a frame thickness from Thin, Medium or
Broad line.
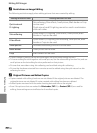
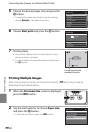
2 Choose Yes and press the k button.
• A new copy with a black border is created.
• To cancel, choose No and press the k button.
• Copies created by editing with black border editing
function can be recognized by the J icon displayed in
playback mode.
B Notes on Black Border
• A part of the picture equivalent to the thickness of the black border is cut off because the black
border overlaps the picture.
• When a picture with a black border is printed using a printer’s borderless print function, the black
border may not be printed.
C More Information
See “File and Folder Names” (E98) for more information.
Select a picture (A34) M d button (A13) M jBlack border
Broad
Medium
Thin
Black border
black border?
Create a copy with a
Yes
No