42
Technical Operation
Bounce-Flash Photography—continued Close-Up Flash Photography
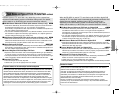
•Bounce-flash operation with double flash (SB-50DX and camera’s
built-in Speedlight) (example photos, p. 10)
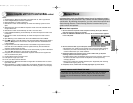
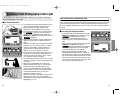
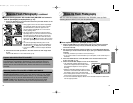
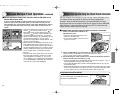
1. Attach the SB-50DX to the camera and attach the provided diffuser on the
camera’s built-in Speedlight.
• Strong light from the camera’s built-in Speedlight
may adversely affect the bounce effect. Use the
provided diffuser to soften the light from the
camera’s built-in Speedlight for a more natural-
looking lighting effect.
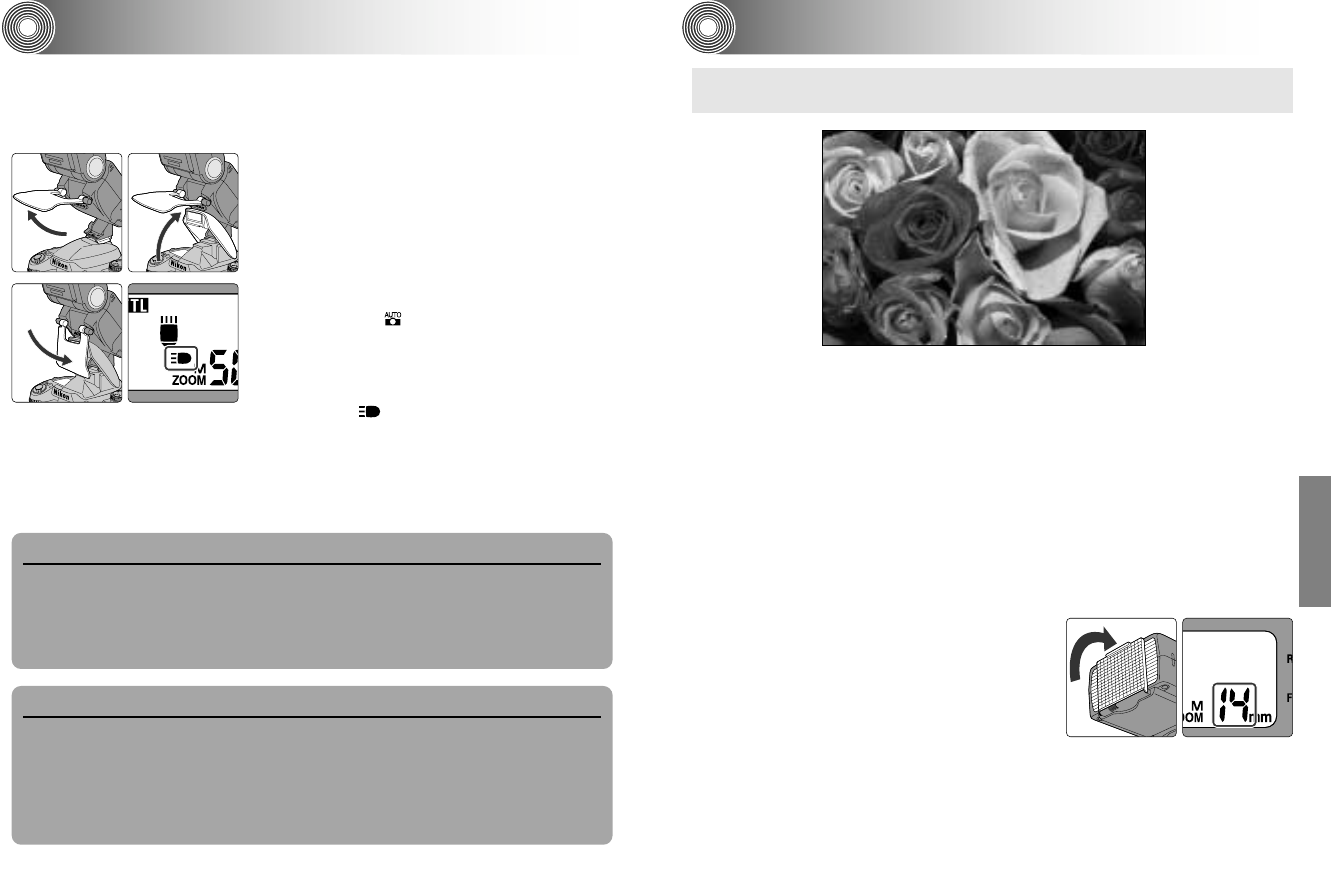
• Lift up the diffuser, release the camera’s built-in
Speedlight (see your camera’s instruction manual),
and then lower the diffuser gently in front of the
camera’s Speedlight as shown. With F65-series/
N65-series set to AUTO mode or Vari-Program,
the built-in Speedlight does not fire even when it is
up.
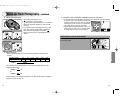
• The camera Speedlight detecting lever on the
SB-50DX detects that the camera’s Speedlight is
activated and is displayed in the LCD panel.
• To store the diffuser, reverse the steps described
above.
2. Perform bounce-flash operation in the same manner as with single flash
(p. 41).
• Set the SB-50DX to TTL auto flash mode (p. 18).
Exposure mode with the Nikon F70-series/N70
When performing double-flash operation using the built-in Speedlight of the
F70-series/N70, cancel Monitor Pre-flashes (p. 27) by setting the camera’s
exposure mode to Manual (M). (See F70-series/N70’s instruction manual for
details.) With the F80-series/N80-series, Monitor Pre-flashes are automatically
canceled.
When using the Nikon F70-series/N70 or PRONEA 600i/PRONEA 6i
When performing double-flash operation with the Nikon F70-series/N70 or
PRONEA 600i/PRONEA 6i camera, the Power Zoom function (p. 16), standby
function linked to the camera’s exposure meter (p. 13), viewfinder ready-light
warnings (p. 15, 20, 21) and AF-Assist Illuminator (p. 36) are not available.
(ZOOM and mm in the SB-50DX’s LCD panel blink.) Set the zoom-head
position manually. Also, Rear-Curtain Sync cannot be performed (p. 20).
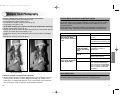
With the wide-flash adapter attached to the SB-50DX, close-up flash
shooting down to 0.3m (1.0 ft.) can be performed.
•Close-up flash operation (example photos, p. 22)
1. Attach the SB-50DX to the camera body and set the camera’s exposure
mode to Aperture-Priority Auto (A) or Manual (M). (See your camera’s
instruction manual).
2. Set the camera’s metering system to Matrix or Center-Weighted Metering
and flash sync mode to Front-Curtain Sync. (See your camera’s instruction
manual.)
• Generally, set flash sync mode to Front-Curtain Sync.
• If your camera does not have the flash sync mode option, Front-Curtain Sync is
activated.
3. Press the MODE button of the SB-50DX to set the flash mode for TTL/
D-TTL auto flash (p. 18).
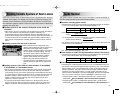
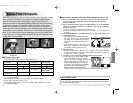
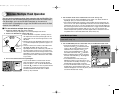
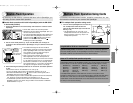
4. Attach the wide-flash adapter in front of the flash head.
• The wide-flash adapter diffuses light and
softens the subject’s shadow. Always attach
the wide-flash adapter for close-up flash
shooting.
• Slide the wide-flash adapter straight out from
the bottom of the flash head where it is stored,
then attach it to the front of the flash head.
• Zoom-head position is fixed at 14mm and the
Power Zoom function becomes inactive.
• To store the wide-flash adapter, detach it from the flash head, then slide it back
into its original position.
43
SB-50DX (E) 02.12.9 2:33 PM Page 42


