


- 5 -
Setting up the Camera as a Drive: Mounting the Camera
Setting up the Camera as a Drive
Once you have installed the Nikon View software, you can
mount the camera the camera as a drive. (See “Quick Start
Guide” for details on how to install Nikon View.) The mounted
camera drive icon is displayed on the desktop, just as with any
other drive. This chapter describes how to mount the camera,
choose option settings, and unmount the camera. Before
proceeding, check that the camera and the computer have been
connected using an IEEE 1394 (FireWire) cable (for details on
connecting the cable, see the documentation provided with
your computer and camera).
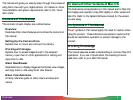
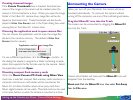
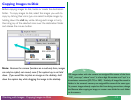
Mounting the Camera
Follow these steps to mount your camera as a drive.
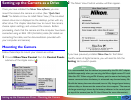
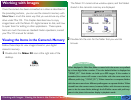
1 Choose Nikon View Control from the Control Panels
submenu of the Apple menu ( ).
2 The Nikon View Control window will then appear.
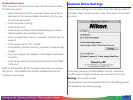
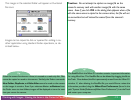
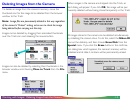
If you have previously installed Nikon View for the Nikon
CoolPix series of digital cameras, you will need to click the
Setting tab to switch panels.
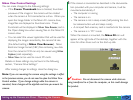
Note
It is recommended that the camera be powered by the EH-4 AC adapter
(available separately) when you are using the Nikon digital camera D1 with
Nikon View DX. When using an EN-4 battery pack, be aware that leaving the
camera connected when the battery is exhausted may shorten battery life.
Should the battery become exhausted, insert a fully charged spare battery
without delay or disconnect the camera from the computer. The amount
of charge remaining is shown by the battery indicator in the control panel
on top of the camera (see the D1 User’s Manual for more information).