


Getting started
12
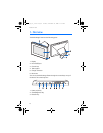
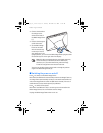
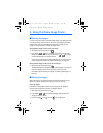
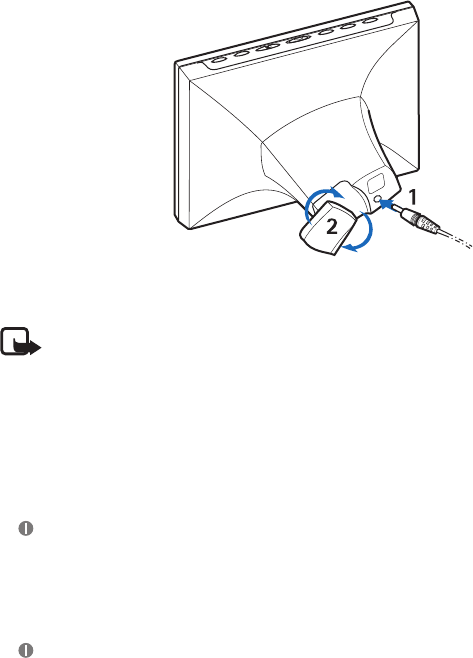
2. Connect the lead from
the charger to the
socket at the back of
the Nokia Image Frame
(1).
3. Connect the charger to
an AC wall socket.
4. Set the Nokia Image
Frame on the table
with the control keys
on the top. If most of
your images are in the
upright position, you can turn the Nokia Image Frame upright so that
the control keys are on the right side of the display.
Note:
All radio transmitting devices send signals that may
cause interference in different electronic devices (PC,
television, etc.). To avoid interference, place the Image
Frame far enough from other electronic devices.
You can turn the table support at the back to change the position
angle of the Nokia Image Frame (2).
■
Switching the power on and off
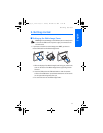
Press to switch on the Nokia Image Frame.
Note that if the SIM card is inserted and you switch the Image Frame on,
the Image Frame automatically connects to the mobile network. Do not
switch the Image Frame on when the SIM card is inserted, if the use of
mobile devices (such as mobile phones) is prohibited.
Press to switch off the power.
Note that if the SIM card is full, it can take up to a minute before the
Nokia Image Frame turns on and shows the first image.
Unplug the Nokia Image Frame when not in use.
!"