


112
E
PANORAMA MODE
How to take panoramas
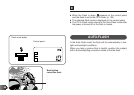
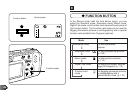
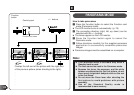
1 Press the Function button to select the Function card
mode (Panorama mode).
● The LCD monitor turns on automatically. (p. 76)
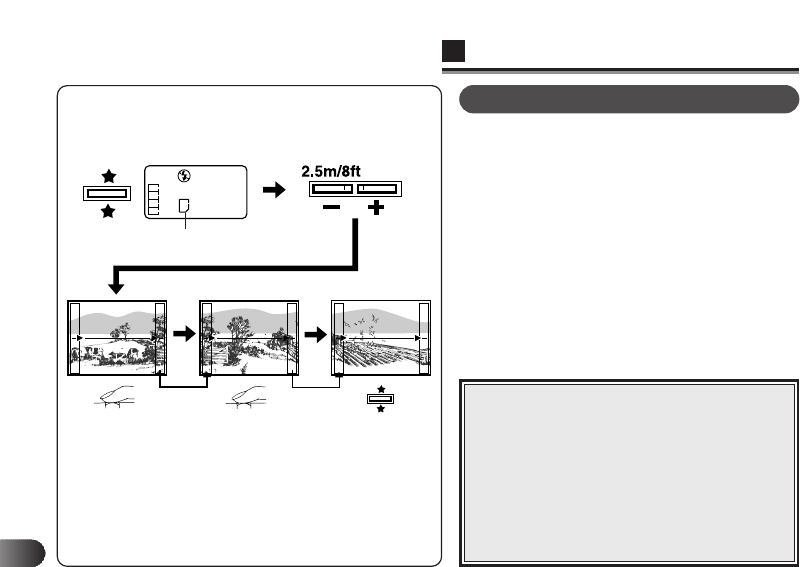
2 The connecting direction (right, left, up, down) can be
selected with the +/– buttons.
● The boxes appear on the LCD monitor.
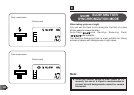
3 Press the Function button again to cancel the
Panorama mode.
4 Follow directions carefully for the supplied panorama
application to successfully assemble panorama
images.
● Panorama images must be assembled on a computer.
◆ The Panorama mode is available only when a
Standard card is used.
◆ The flash cannot be used in the Panorama mode.
◆ Because the focus, the exposure, and the white
balance are determined by the first picture, do not
shoot overly bright/dark subjects such as the sun
in the first frame.
◆ Do not move the Zoom lever after shooting the
first picture to avoid problems with picture
assembly.
◆ Use of the Standard Quality mode is
recommended to save memory.
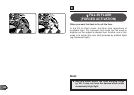
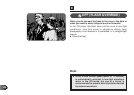
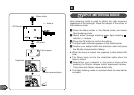
Note:
Overlap the left end of the picture with the right end
of the previous picture (when shooting to the right).
.
.
.
.
.
.
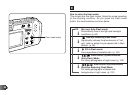
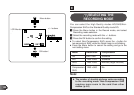
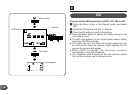
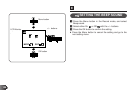
Control panel
.
.
Function
button
.
.
.
.
+/– buttons
.
.
Function card mode
.
.