


12
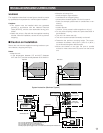
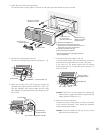
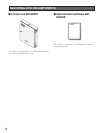
2. Remove the shipping lock as follows:
• Take care not to drop the screw inside the unit.
• You can use an M3 screw if you have lost this screw.
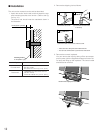
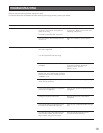
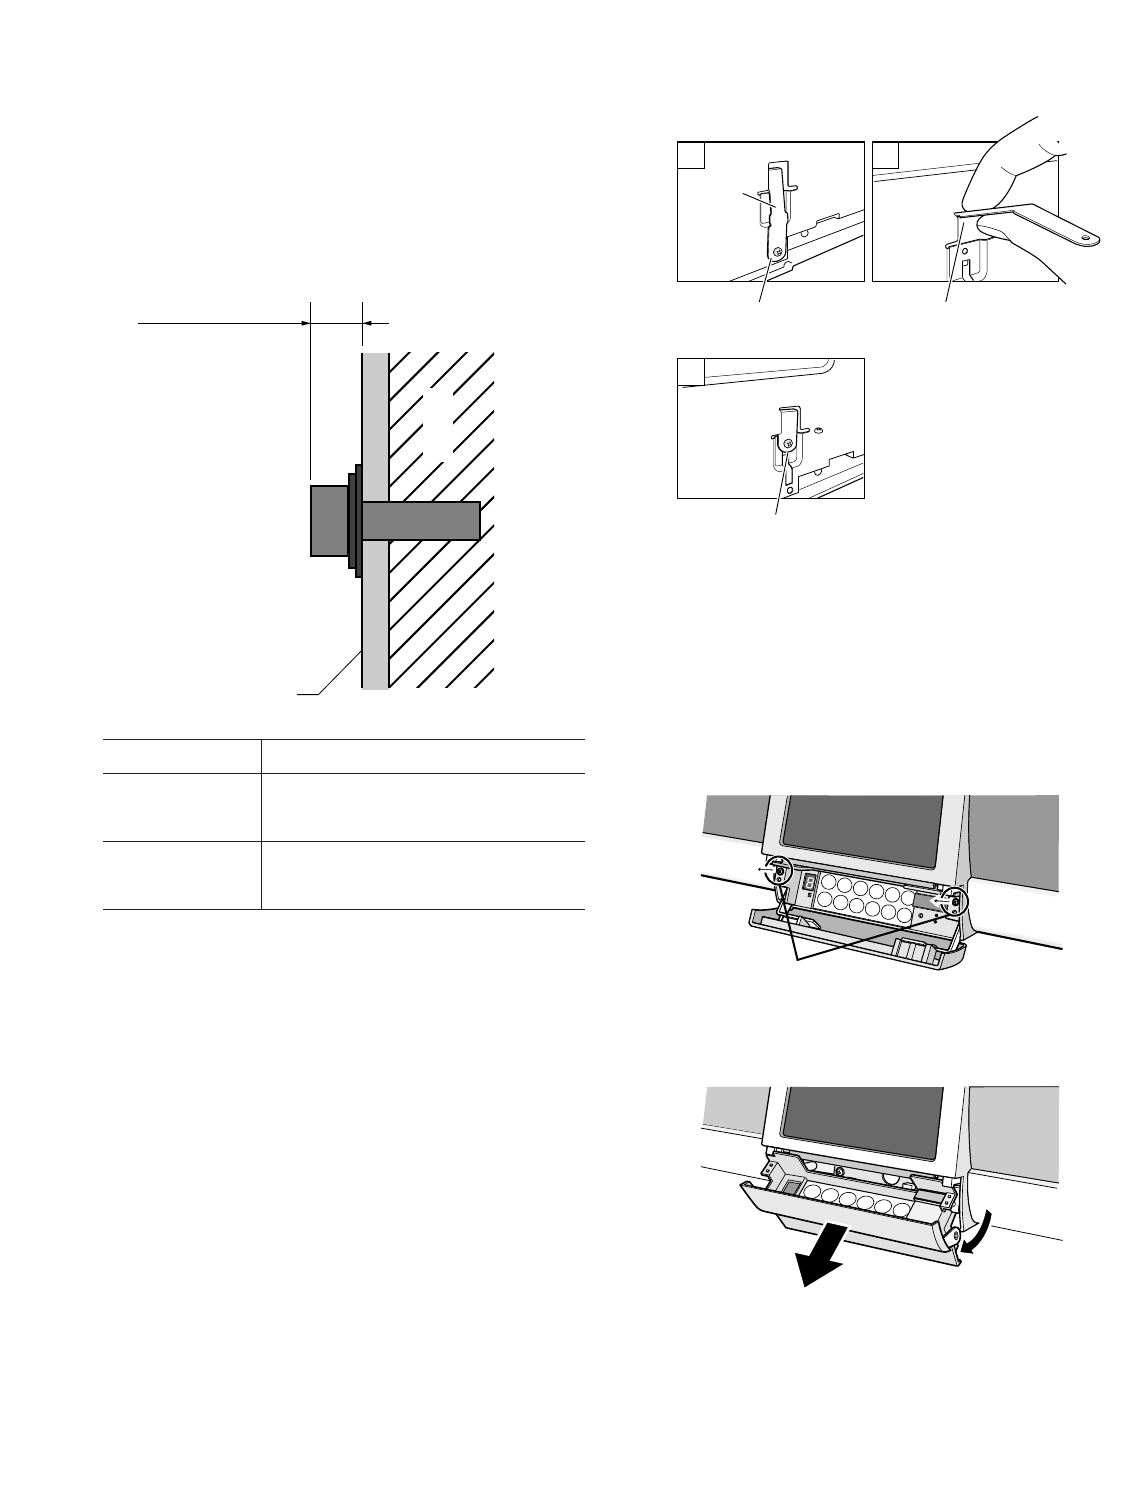
3. Remove the numeric keyboard.
You can remove the keys by taking off the two tamper-
proof screws (with the supplied tamperproof screw dri-
ver tool) and lifting up the keyboard. The control cable
should also be removed.
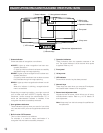
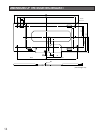
■ Installation
The unit can be mounted over the wall as described.
1. Attach the anchor into the wall, and then attach the sup-
plied mounting bracket to the anchor. (Refer to the fig-
ure in p.14.)
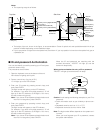
The anchor bolt should meet the standards shown in
the illustration.
10 mm {2/5 in.} or less
Wall
Mounting bracket
2 mm {2/25 in.} (D)
1
2
3
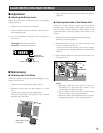
(1) Remove the screw.
Belt
Locked
(3) Bend the belt and secure it with the screw.
Unlocked
(2) Insert the belt until it hits
to the stop.
1
2
3
4
5
6
7
8
9
0
ENTER
1
2
3
4
5
CANCEL
CANCEL
Remove the tamperproof screws.
Wall Type Screw Type
Concrete wall
TAPMARK concrete screw anchors
Part No. 21230,
Size 6.35 x 57.15 mm {1/4 x 2 -1/4 in.}
Plaster wall
TAPMARK concrete screw anchors
Part No. 21240,
Size 6.35 x 69.85 mm {1/4 x 2 -3/4 in.}