Connecting to a PC or Printer
101
• Set the print settings such as paper size
or print quality on the printer beforehand.
(Read the printer operating instructions.)
• Connect the camera to a printer. (P100)
∫ Single picture
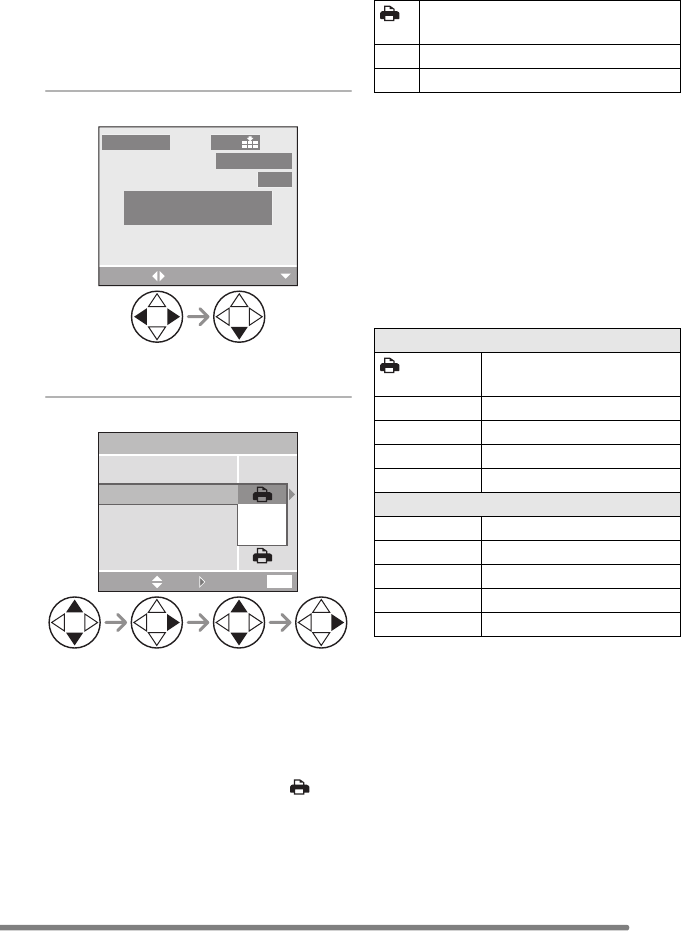
1 Select a picture to be printed.
• A message displays for about
2 seconds.
2 Set the print settings.
• The items which are not supported by
the printer are displayed in gray and
cannot be selected.
• When you want to print pictures in a
paper size or a layout which is not
supported by the camera, set [PAPER
SIZE] and [PAGE LAYOUT] to [ ] and
then set the paper size or the layout on
the printer. (For details, refer to the
operating instructions of the printer.)
∫ [PRINT WITH DATE]
• If the printer does not support date
printing, the date cannot be printed on the
picture.
∫ [NUM. OF PRINTS]
Set the number of prints.
∫ [PAPER SIZE]
(Possible paper sizes on the camera)
The items are listed on 1/2 and 2/2.
Press 4 to select the desired item.
¢These items cannot be displayed when
the printer does not support the paper
sizes.
PLEASE SELECT
THE PICTURE TO PRINT
100
_
0001
1/19
2560
PictBridge
PRINT
SELECT
CANCEL
MENU
PAPER SIZE
PAGE LAYOUT
NUM. OF PRINTS
PRINT START
SINGLE PICTURE
OFF
ON
PRINT WITH DATE
SELECT SET
Settings on the printer are
prioritized.
OFF Date is not printed.
ON Date is printed.
1/2
Settings on the printer are
prioritized.
L/3.5qk5q
89 mm
k
127 mm
2L/5qk7q 127 mmk178 mm
POSTCARD 100 mm
k148 mm
A4 210 mm
k297 mm
2/2
¢
CARD SIZE
54 mm
k
85.6 mm
10k15cm 100 mmk150 mm
4q
k6q 101.6 mmk152.4 mm
8q
k10q 203.2 mmk254 mm
LETTER 216 mm
k279.4 mm
FZ20-PP.book 101 ページ 2004年7月6日 火曜日 午後2時6分
