


37
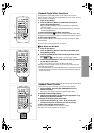
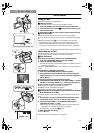
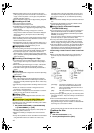
Protecting the Pictures on a Card
(
((
(Lock Setting)
Precious pictures recorded on a Card can be locked (to prevent accidental
erasure.) (Even if pictures are locked, the pictures will be deleted when the
Card is formatted.)
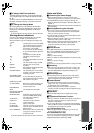
1
Set [CARD FUNCTIONS] >> [CARD EDITING] >> [FILE LOCK]
>> [YES].
≥The [FILE LOCK] Menu is displayed.
2
Select [PICTURE] or [TITLE].
3
Select the picture to be locked, and press the [PUSH] Dial.
≥The [ ] Indication
1
is attached to the selected picture. Repeat this
procedure to lock 1 or more picture.
≥Press the [PUSH] Dial again to cancel.
≥The SD Memory Card has a write protection switch. (l 42)
~~~~~~~~~~~~~~~~~~~~~~~~~
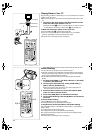
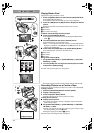
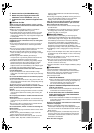
Deleting the Pictures Recorded on a Card
Using the Movie Camera, you can delete the still pictures recorded on a Card.
After the picture is deleted, it cannot be restored.
To Select and Delete a Picture
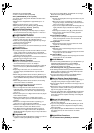
1
Set [CARD FUNCTIONS] >> [ERASE PICTURE/TITLE] >>
[ERASE PICTURE BY SELECTION].
≥To erase a title, select [ERASE TITLE BY SELECTION].
2
Select the picture you wish to delete and press the [PUSH] Dial.
≥The frame around the selected picture flashes.
≥To erase 2 pictures or more, repeat this step.
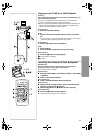
3
Press the [PHOTO SHOT] Button.
≥A verification message appears.
4
Select [YES] and press the [PUSH] Dial.
≥The selected picture is deleted from the Card.
≥If [NO] is selected, the picture selection is cancelled.
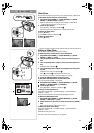
To Select and Delete All Pictures
1
Set [CARD FUNCTIONS] >> [ERASE PICTURE/TITLE] >>
[ERASE ALL PICTURES].
≥A verification message appears.
2
Select [YES] and press the [PUSH] Dial.
≥All the pictures stored in the Card are deleted.
≥A locked picture cannot be erased.
~~~~~~~~~~~~~~~~~~~~~~~~~
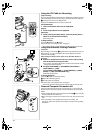
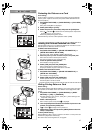
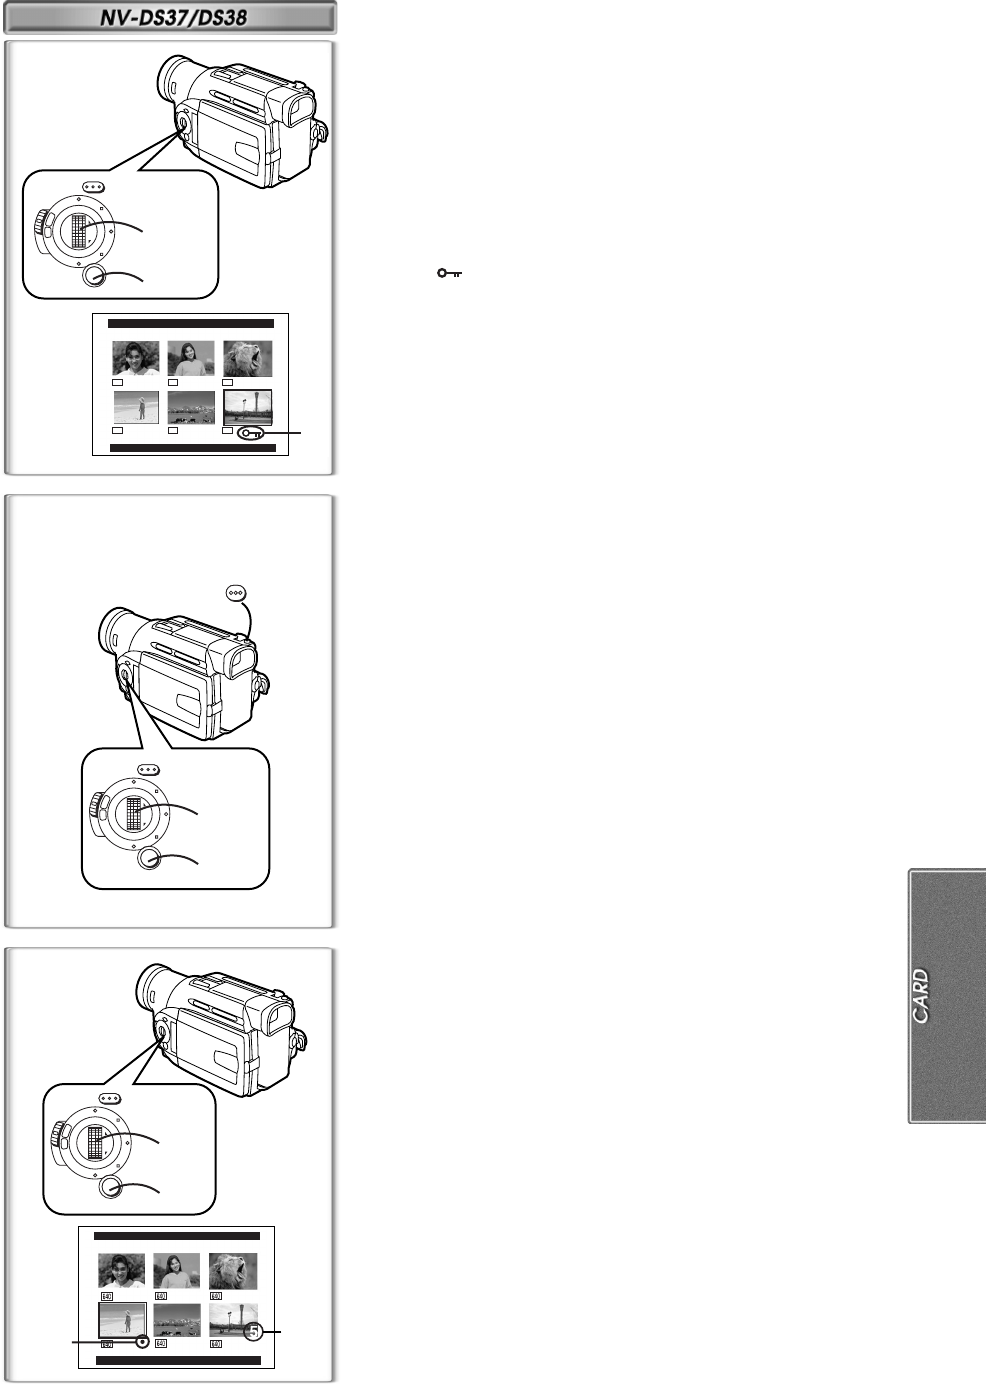
Writing Printing Data on a Card
(
((
(DPOF Setting)
DPOF Setting Printing data (DPOF Settings), such as the number of images
to be printed, can be written to the Card. “DPOF” means Digital Print Order
Format.
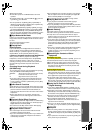
1
Set [CARD FUNCTIONS] >> [CARD EDITING] >> [DPOF
SETTING] >> [YES] >> [VARIABLE]
≥To print all pictures one at a time, select [ALL 1]. When all images are
not printed, select [ALL 0].
2
Select a desired picture.
≥The number of prints set by DPOF
1
is displayed.
3
Turn the [PUSH] Dial and select the number of pictures to be
printed, and press the [PUSH] Dial.
≥[µ] Indication
2
is displayed in the picture set.
4
Repeat Step 2 and 3 and press the [MENU] Button when the
setup is completed.
To Verify DPOF Setting
Select [VERIFY] in Step 1 above. The pictures for which 1 or more print is set
in DPOF are played back continuously.
≥For other notes concerning this item, see page42.
FILE LOCK
PRESS MENU TO EXIT
640 640
640
640 640
640
FOCUS
W
.
B
/
S
H
U
T
T
E
R
/
I
R
I
S
M
F
/
V
O
L
/
J
O
G
P
R
O
G
.
A
E
PUSH
MNL
M
AUTO
MENU
1, 2, 3
1
1
FOCUS
W
.
B
/
S
H
U
T
T
E
R
/
I
R
I
S
M
F
/
V
O
L
/
J
O
G
P
R
O
G
.
A
E
PUSH
MNL
M
AUTO
MENU
1
1, 2, 4
3
PHOTO
SHOT
FOCUS
W
.
B
/
S
H
U
T
T
E
R
/
I
R
I
S
M
F
/
V
O
L
/
J
O
G
P
R
O
G
.
A
E
PUSH
MNL
M
AUTO
MENU
1, 2,
3, 4
1, 4
DPOF SETTING
(PRINT QUANTITY)
PRESS MENU TO EXIT
2
1