


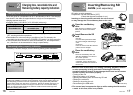
16 LSQT1438 17LSQT1438
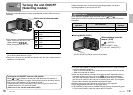
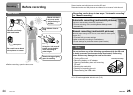
Place label upwards.
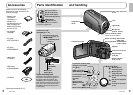
Setup
2
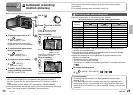
Charging time, recordable time and
Remaining battery capacity indication
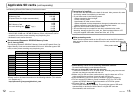
Charging time and recordable time
Times are given for a temperature of 25 ˚C and humidity of 60 %. The charging
time shown in the table are approximations. In high or low temperatures,
charging requires more time.
Supplied battery VW-VBJ10 (3.6 V, 940 mAh (minimum))
Charging time Approx. 2 h 15 min
Recordable time
Maximum continuously
recordable time
Actual recordable time
Approx. 1 h 15 min Approx. 40 min
Actual recordable time includes recording and stopping, turning the unit ON/
OFF, zooming and other operations.
Recordable time varies according to conditions of use. For example, the
recordable time shortens when the [POWER LCD] setting is on while recording.
The recordable time shortens in some environments (i.e., low temperatures,
etc.), therefore it is recommended to charge a spare battery.
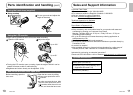
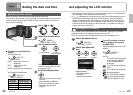
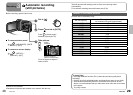
Remaining battery capacity indication
The battery indication changes, as the remaining battery power decreases.
High Low
Flashing (Charge battery.)
●
●
●
●
It has been found that counterfeit battery packs which look very similar to the genuine
product are available to purchase in some markets. Some of these battery packs are
not adequately protected to meet the requirements of appropriate safety standards.
These battery packs may lead to fire or explosion. Please be advised that we are not
liable for any accident or failure occurring as a result of use of a counterfeit battery
pack. To ensure that safe products are used we would recommend that a genuine
Panasonic battery pack is used.
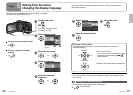
Setup
3
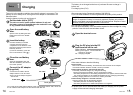
Inserting/Removing SD
cards (sold separately)
SD cards are sold separately.
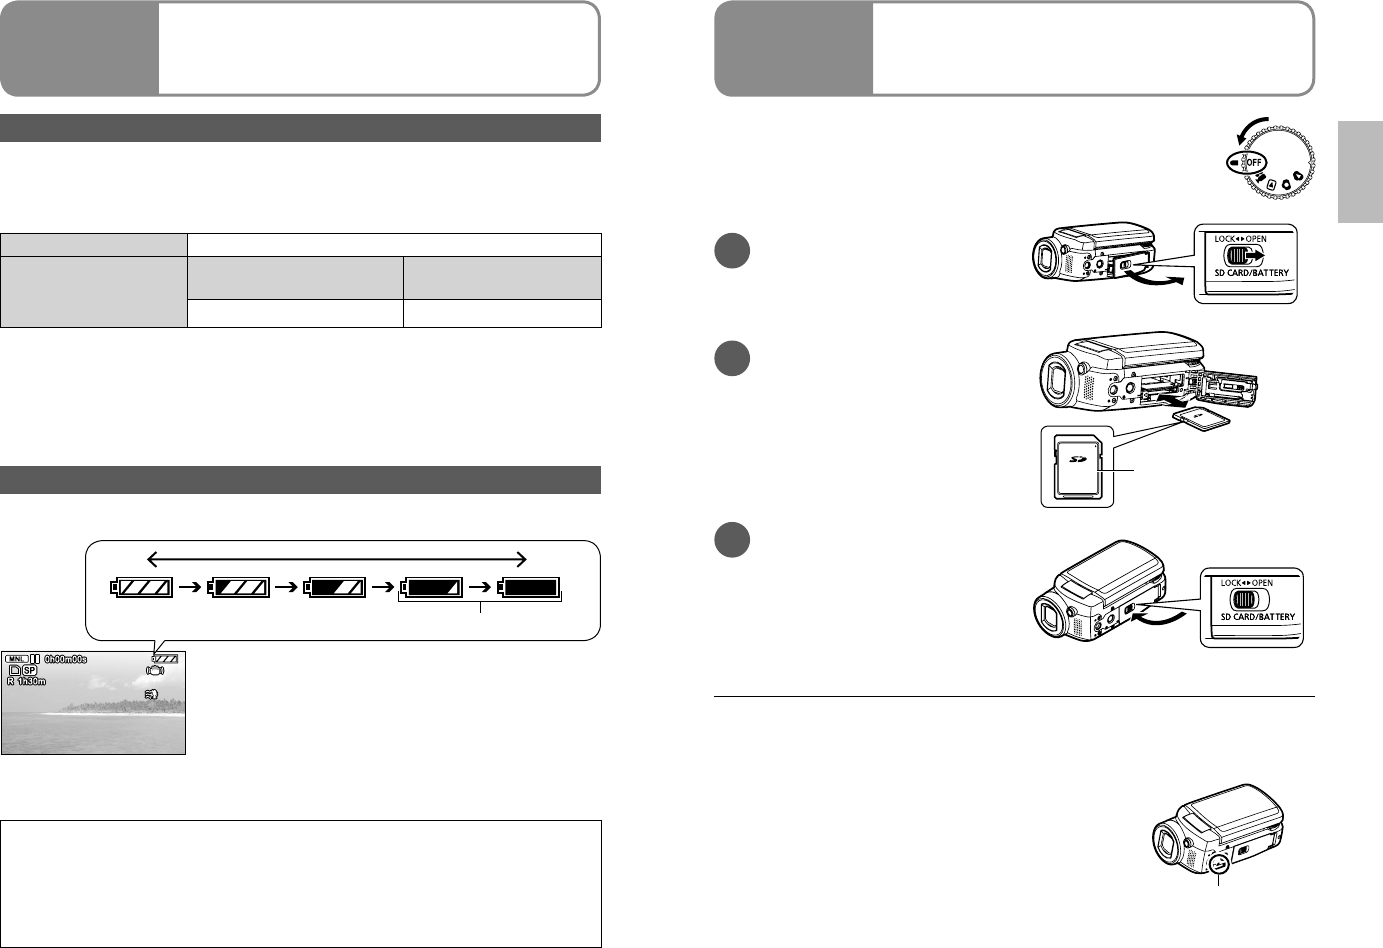
Preparations: Set the mode dial to [OFF].
(Check that the status indicator is out.)
Inserting or removing an SD card while the unit is turned
on may damage the unit and destroy data on the card.
While the card access lamp is lit, reading, recording, playback, deletion
or other processing is being executed. Performing the following
operations while the lamp is lit may damage the SD card and its content
and the unit may not function properly.
• Turning off the unit
• Removing battery or AC adaptor
• Opening card/battery door and removing SD card
• Rotating the mode dial
• Shaking or impacting the unit
• Disconnecting the USB cable
Card access lamp
The access lamp is supposed to light up while rotating the dial to select
a mode. In this case, there is no problem.
●
●
2
Insert/Remove the SD
card.
To insert:
Face the label upwards and slide
the card in straight until hearing it
catch.
To remove:
Press the centre of the SD card and
pull the card out straight.
•
•
1
Open the card/battery
door.
Open the door by sliding the card/
battery door lever to the “OPEN”
position.
3
Close the card/battery
door.
Close the card/battery door and
slide the card/battery door lever to
the “LOCK” position.
If the door does not close
completely, remove the SD card,
check its orientation and reinsert it
into the slot.
•
•