


-32-
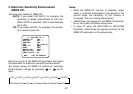
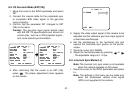
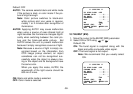
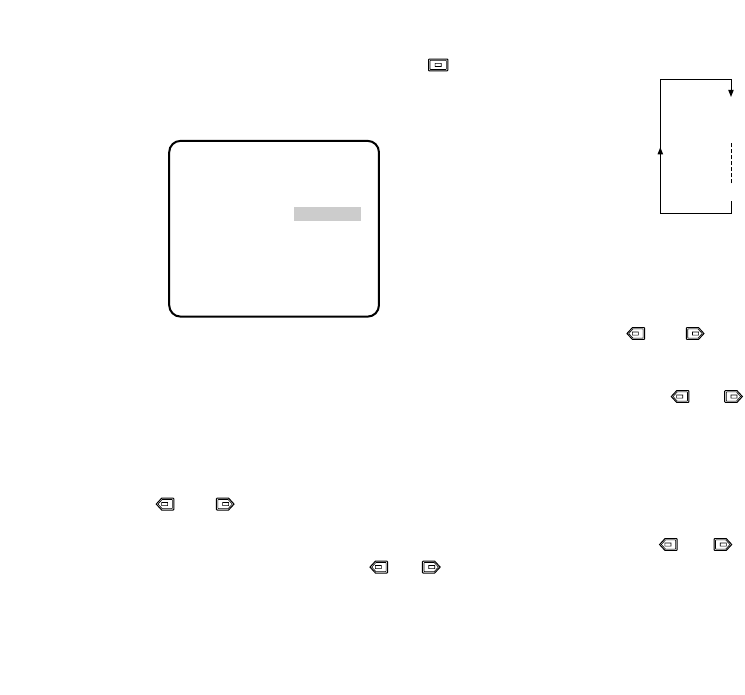
2. After confirming the cursor is on LL, press . The
vertical phase adjustment menu appears on the
monitor.
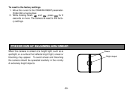
3. Supply the video output signal of the camera to be
adjusted and the reference camera video output
signal to a dual-trace oscilloscope.
4. Set the oscilloscope to the vertical rate and expand
the vertical sync portion on the oscilloscope.
5. Move the cursor to COARSE. The cursor starts
blinking.
6. Press or to match the vertical phase for
both video output signals as closely as possible.
(COARSE adjustment can be incremented in 16
steps by 22.5 degrees by pressing or .)
Note: After the sixteenth step, the adjustment
returns to the first step.
7. Move the cursor to FINE.
8. Press or to match the vertical phase for
both video output signals as closely as possible.
(FINE adjustment can be made up to 22.5 degrees
by pressing or .)
Notes:
• When the “I” cursor reaches the “+” end, it
jumps back to “−”. At the same time, COARSE
is incremented by one step to enable a contin-
uous adjustment. The reverse takes place
when the “I” cursor reaches the “−” end.
• When or is kept pressed for a second
or more, the “I” cursor moves faster.
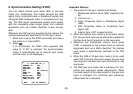
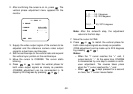
1 (1 - - - 16): 0 degrees
2 (1 - - - 16): 22.5 degrees
16 (1 - - - 16): 337.5 degrees
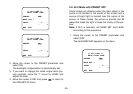
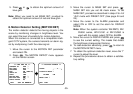
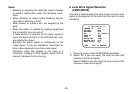
** SYNC **
V PHASE
COARSE 1(1--16)
FINE I........
- +
RET END