145
5
Function Reference
4
Press the 4 button.
The camera returns to the Fn menu
screen.
5
Press the { button.
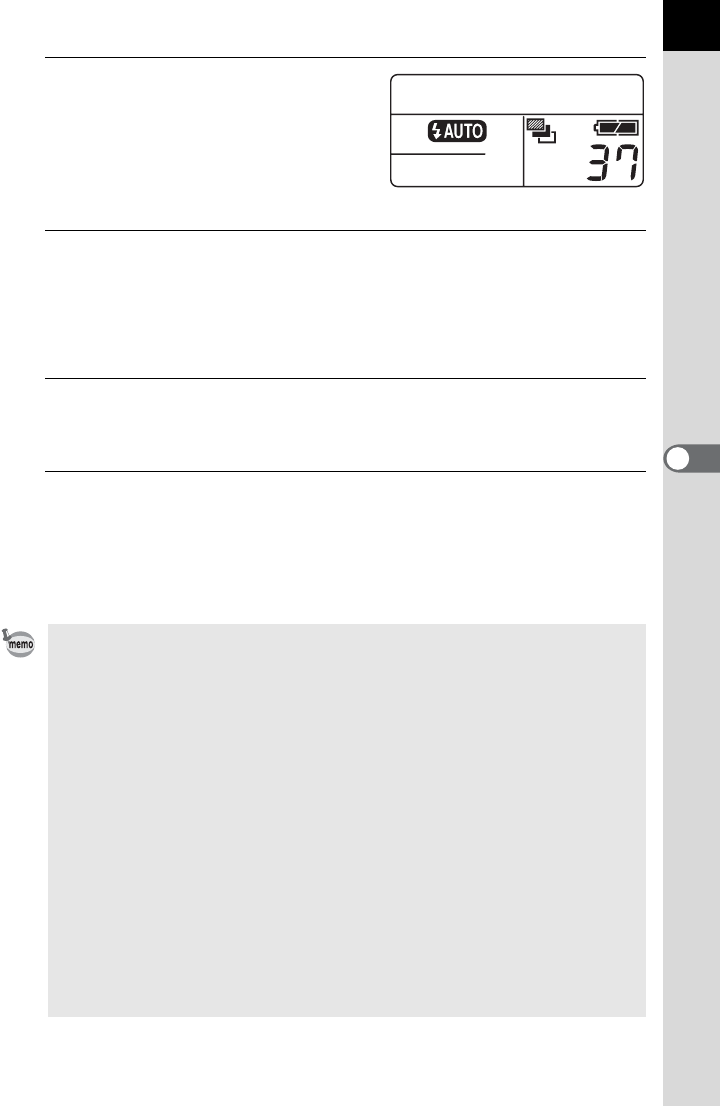
Shooting is ready and ] is displayed on the LCD panel.
6
Press the shutter release button halfway.
Focus indicator ] appears in the viewfinder when focused.
7
Press the shutter release button fully.
Three continuous pictures will be taken, the first with no compensation,
the second with negative compensation, and the third with positive
compensation.
• When the [AF Mode] in the [A Rec. Mode] is set to l (Single mode), the
focus is locked in the first frame position and used for subsequent continuous
frames.
• The auto bracketing exposure setting will remain effective for twice as much
time as the exposure metering timer (default setting is 20 seconds) (p.132)
when you release your finger from the shutter release button during auto
bracketing, and you can take the next picture at the next compensation value.
In this case, auto focusing works for each frame. After about twice as much
time as the exposure metering timer (default setting is 20 seconds), the
camera returns to settings for taking the first picture.
• You can combine Auto Bracket with the built-in flash or external flash (P-TTL
auto only) to change only the flash output continuously. However, when using
an external flash, holding the shutter release button down to take three
continuous frames may cause the second and third frame to be taken before
the flash is fully recharged. Always take one frame at a time after confirming
that charging is complete.
• Auto Bracket is not available when the exposure mode is set to p (Bulb)
mode.


