125
5
Playing Back and Deleting Images
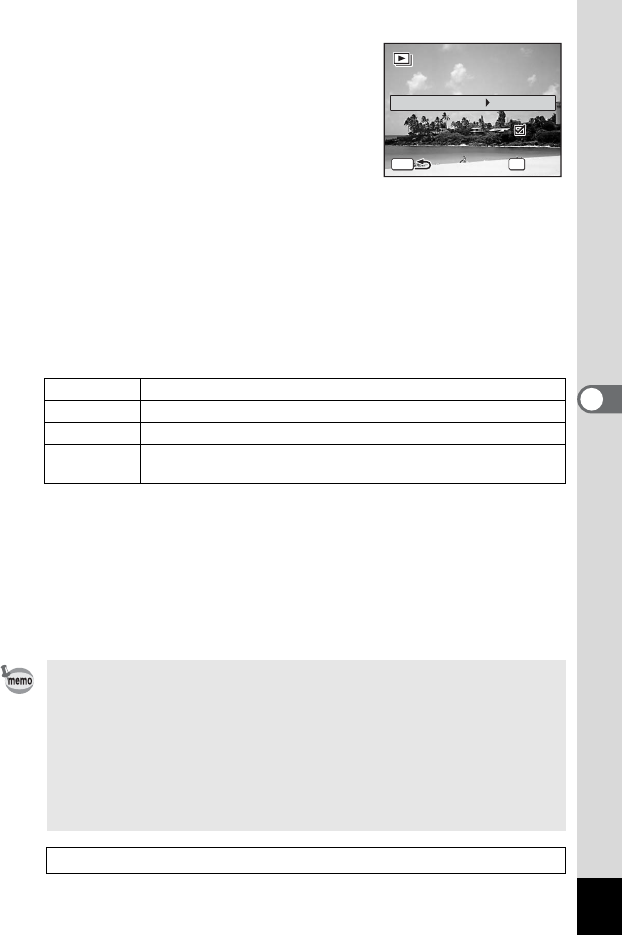
3 Press the 4 button.
The screen for setting the slideshow
conditions appears.
4 Use the four-way controller (23)
to select [Interval].
5 Press the four-way controller (5).
A pull-down menu appears.
6 Use the four-way controller (23) to change the interval
and press the 4 button.
You can choose from 3sec, 5sec, 10sec, 20sec, and 30sec.
7
Use the four-way controller (
23
) to select [Screen Effect].
After selecting [Screen Effect], press the four-way controller (
5
). A pull-
down menu appears with the following items that can be selected. Use
the four-way controller (
23
) to select an item and press the
4
button.
8
Use the four-way controller (
23
) to select [Sound Effect].
9
Use the four-way controller (
45
) to select
O
(On) or
P
(Off).
Except when the screen effect is set to Off, you can choose
O
(On) or
P
(Off) for the sound that is played when one image changes to the next.
10 Press the 4 button.
The slideshow starts using the selected interval and effect.
Off No effect
Wipe The next image slides over the previous one from left to right
Checker The next image appears in small square mosaic blocks
Fade
The current image gradually fades out and the next image fades
in
• The slideshow will continue until you press any button other than
the 4 button or the power switch.
•
Movies or pictures with sound will normally be played through to the
end before the next picture is played back, regardless of the interval
setting. However, pressing the four-way controller (
5
) while playing
back a movie or a picture with sound skips to the next image.
• Sound files made in Voice Recording mode are not played back in
the slideshow.
Connecting the Camera to AV Equipment 1p.127
MENU OK
Start
3sec
Interval
Screen Effect
Wipe
Sound Effect
Screen Effect Wipe
Sound Effect
