


10
POWER
CHARGE
BATTERY
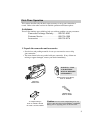
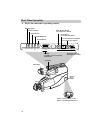
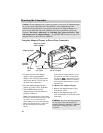
Powering the Camcorder
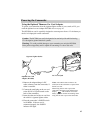
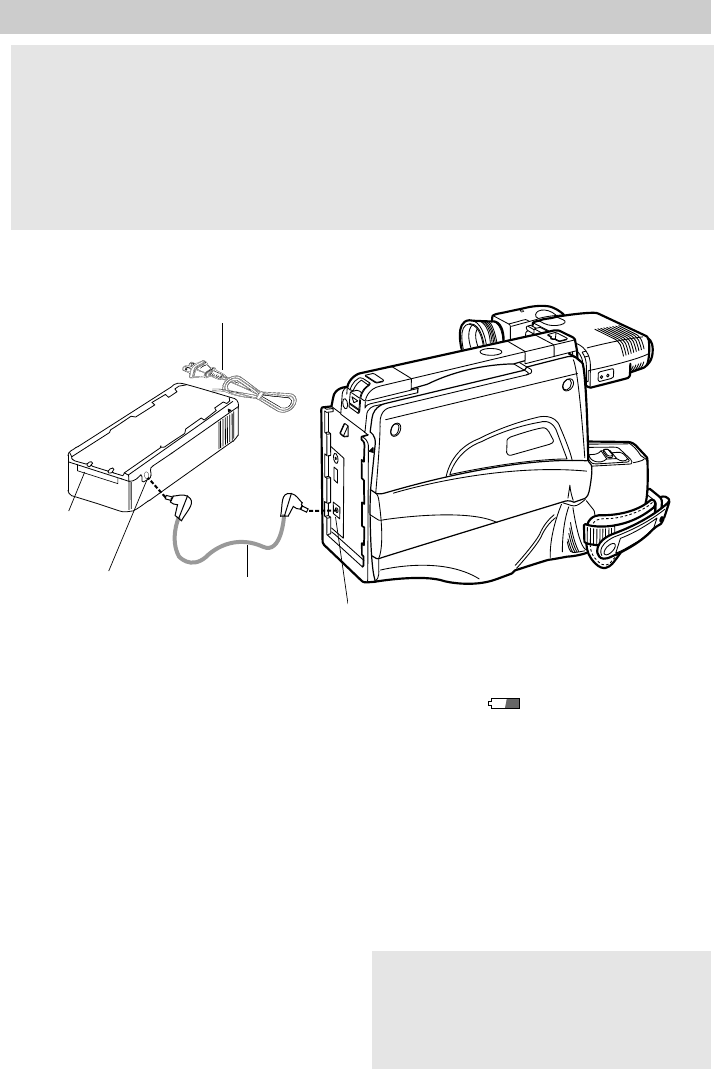
1. Connect one end of the adapter/
charger’s cable to the adapter/
charger’s DC OUTPUT jack and the
other end to the DC IN 9.6V jack on
the back of the camcorder.
2. Plug the adapter/charger into the
nearest AC outlet (120V, 50/60 Hz).
3. The POWER indicator on the
adapter/charger will light when it is
properly connected.
Notes: The adapter/charger cannot charge
the battery and operate the camcorder at the
same time. If you connect both, the
adapter/charger will power the camcorder.
Remove the adapter/charger’s cable from
the DC OUTPUT jack to charge the
battery.
When using the adapter/charger to power
the camcorder, the battery level indicator
may display . This indicator is used
for battery operation and has no meaning
when using the adapter/charger to power
the camcorder.
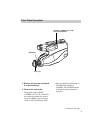
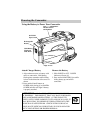
To Remove the Adapter/Charger
1. Remove the adapter/charger’s plug
from the AC outlet.
2. Remove the adapter/charger’s DC
cable from the DC IN 9.6V jack on the
camcorder.
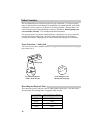
Caution: Do not attempt to use a “power converter” to use your AC adapter/charger
on a power source other than 120 volts, 50/60 Hz, or the adapter/charger and
camcorder may be damaged. If you wish to operate the AC adapter/charger on a
power source other than 120 volts, 50/60 Hz, use only a transformer-type power
converter. Do not use “solid-state” or “switching-type” power converters. They
will damage your AC adapter/charger. An optional CPS014 shown on page 45 is
designed for use on 100-240 volts, 50/60 Hz.
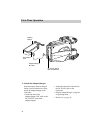
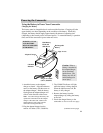
Using the Adapter/Charger to Power Your Camcorder
Adapter/Charger
POWER
Indicator
Adapter/Charger’s
DC Cable
DC
OUTPUT
Jack
Plug in AC Outlet
(120V, 50/60Hz)
DC IN 9.6V Jack
Caution: Do not use this adapter/charger
for any purpose other than charging the
EP096FS, EP096FL, CB096FS, or CB096FL
battery pack or supplying power to the
camcorder.