- 17 -
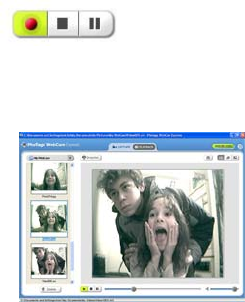
3. Click the “Capture” button to start recording the video. The
recording elapse time will appear under the video.
4. Click the “Pause” button to hold the recording. To continue
recording click the “Capture” button again.
5. To finish recording click the “Stop” button.
6. The videos will be automatically saved into a default directory.
You can view them in the “Playback” window.
Note:
1. To learn how to capture JPEG snapshots from your WebCam or
from your existing AVI movies, go to the “Take Snapshots” section
in the Quick Start help.
2. To learn how to change the user settings, go to the “Set User
Preferences” section in the Quick Start help.
Video Conferencing
To use the camera as a PC camera to conduct image transmission or hold online
video conferences:
1. Connect the camera to your computer USB port using the USB cable.
2. Run the video conferencing software “Microsoft NetMeeting” on
