


ENGLISH
132132
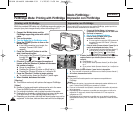
Modo PictBridge :
Impresión con PictBridge
Con el cable USB y una impresora que admita PictBridge, puede imprimir los
archivos de fotos directamente sin conectar al PC.
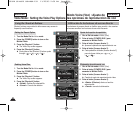
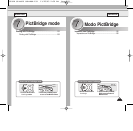
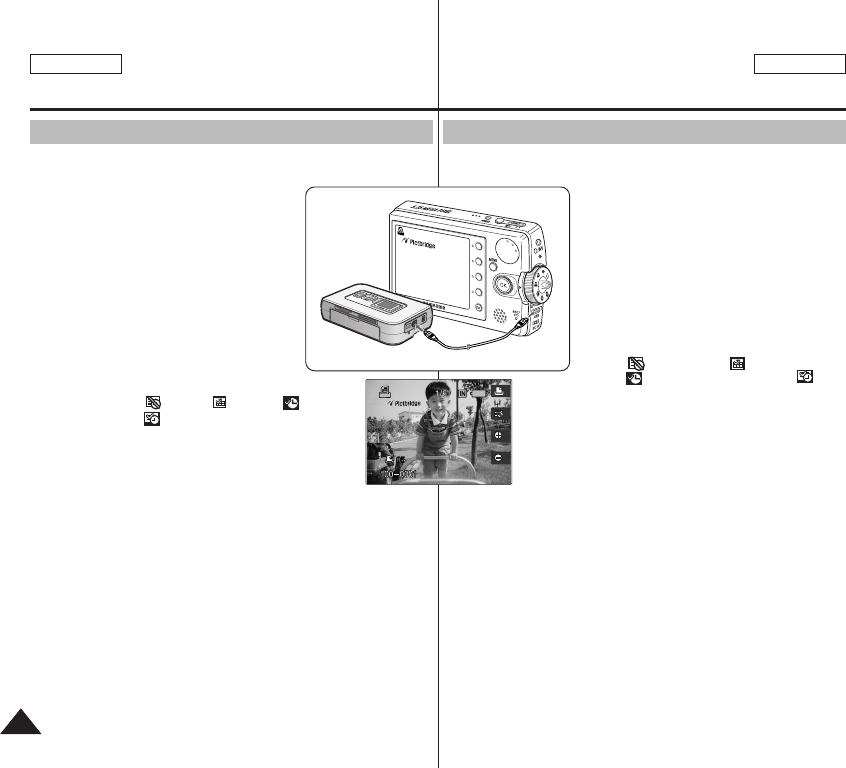
1. Conecte la Miniket Photo y la impresora
compatible con PictBridge con un cable USB.
2. Encienda la impresora.
3 Gire el Dial de modo a PictBridge.
4. Pulse el botón [POWER] (ENC.) para
encender la Miniket Photo.
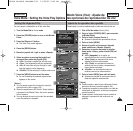
◆ Si no se realiza la conexión USB, aparece el
mensaje “Connect USB Cable!” (¡Conectar
Cable USB!).
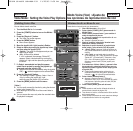
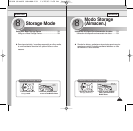
5. Pulse el botón [Acceso directo 2] para fijar la
opción de estampado de fecha y hora.
◆ Cada pulsación del botón [Acceso directo 2]
pasa de forma cíclica por Off (Apagado)
< >-Date (Fecha)< >-Time (Hora)
< >-Date&Time (Fecha y hora)< >.
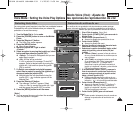
6. El botón [Acceso directo 3] incrementará el número de
copias mientras que el botón [Acceso directo 4] lo
reducirá.
◆ Posibilidades: 1 ~ 99
◆ Si se pulsa el botón [Acceso directo 3] en 99 se fijará
en 1.
◆ Si se pulsa el botón [Acceso directo 4] en 1 se fijará en
99.
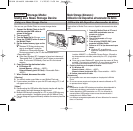
7. Pulse el botón [Acceso directo 1] para iniciar la impresión.
◆ Para cancelar la impresión, pulse de nuevo el botón [Acceso directo 1].
8. Al finalizar, desconecte el cable.
[ Advertencia ]
✤
Esta función sólo está operativa con impresoras compatibles con
PictBridge.
[ Notas ]
✤
El número de copias y las opciones de estampado pueden definirse en el
menú. Pulse el botón [MENU] para acceder a la función.
✤
Para ver la información de impresión, consulte la información del producto
de la impresora.
✤
Dependiendo de la impresora, es posible que se produzca un fallo en la
impresión. En este caso, intente imprimir desde un PC tras copiar las
imágenes en el PC.
✤
Dependiendo de la impresora, es posible que no se admita la opción de
estampado de fecha y hora. En este caso, no aparecerá el menú de fecha
y hora.
Impresión con PictBridge
PictBridge Mode: Printing with PictBridge
Wihth the provided USB cable and a PictBridge-supporting printer, you
can print your photo images directly without connecting to a PC.
1. Connect the Miniket photo and the
PictBridge supporting printer with a USB
cable.
2. Turn on the printer.
3. Turn the Mode Dial to PictBridge mode.
4. Press the [POWER] button to turn on the
Miniket Photo.
◆ If the USB connection is not made, the
message “Connect USB Cable!”
appears.
5. Press the [Shortcut 2] button to set the
date / time imprint option.
◆ Each press of the [Shortcut 2] button cycles
through Off< >-Date < >-Time < >-
Date&Time< >.
6. [Shortcut 3] button will increase the number of
copies, while the [Shortcut 4] button will decrease
the number of copies.
◆ Range of possibilities: 1 ~ 99
◆ Pressing the [Shortcut 3] button on 99 will set to 1.
◆ Pressing the [Shortcut 4] button on 1 will set to 99.
7. Press the [Shortcut 1] button to begin printing.
◆ To cancel printing, press the [Shortcut 1] button again.
8. When finished, disconnect the cable.
[ Warning ]
✤ This function works only with printers that support PictBridge.
[ Notes ]
✤ Number of copies and imprint options can be set in the menu.
Press the [MENU] button to access the function.
✤ For printing information, refer to printer’s product information.
✤ Depending on the printer, printing failure may occur. In this case,
try to print from a PC after copying images onto the PC.
✤ Depending on the printer, date and time imprint option may not be
supported. In this case, date and time menu will not be displayed.
Printing with PictBridge
ESPAÑOL
00934E SC-MS10 USA+ESP~154 11/25/05 2:59 PM Page 132