


EN-2
English
EN-3
Please follow these procedures
before using the camera.
©2008 SAMSUNG DIGITAL
IMAGING CO., LTD.
The specifications of the camera
or contents of this manual may be
changed without prior notice due
to upgrade of camera functions.
Copyright information
Microsoft Windows and the
Windows logo are registered
trademarks of the Microsoft
Corporation.
HDMI, the HDMI logo and the
term "High Definition Multimedia
Interface" are trademarks or
registered trademarks of HDMI
Licensing LLC.
QuickTime and QuickTime logo
are trademarks or registered
trademarks of Apple Computer,
Inc., used under license.
▪
▪
▪
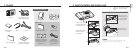
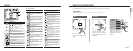
1. Unpack ………………………6
2. Insert the battery and
memory card …………………7
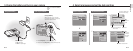
3. Charge the battery and turn
on your camera ……………8
4. Select a language and set
the date and time ……………9
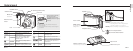
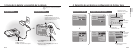
Camera layout ……………… 10
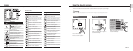
Icons ………………………… 12
Use the touch screen ……… 13
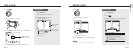
Take a photo ………………… 14
Record a video ……………… 15
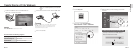
Transfer files to a PC
(for Windows) ………………… 16
Specifications ………………… 18
FCC notice …………………… 19
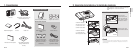
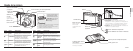
Provided manuals
Quick Start Manual
Explains how to assemble
and prepare your camera
for its first use, capture
photos or videos and
transfer files to a PC.
User Manual (CD-ROM)
Explains how to shoot with
various shooting modes, set
shooting options, and use the
settings menu. It also includes
how to handle error messages
and maintain your camera.
Contents
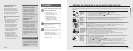
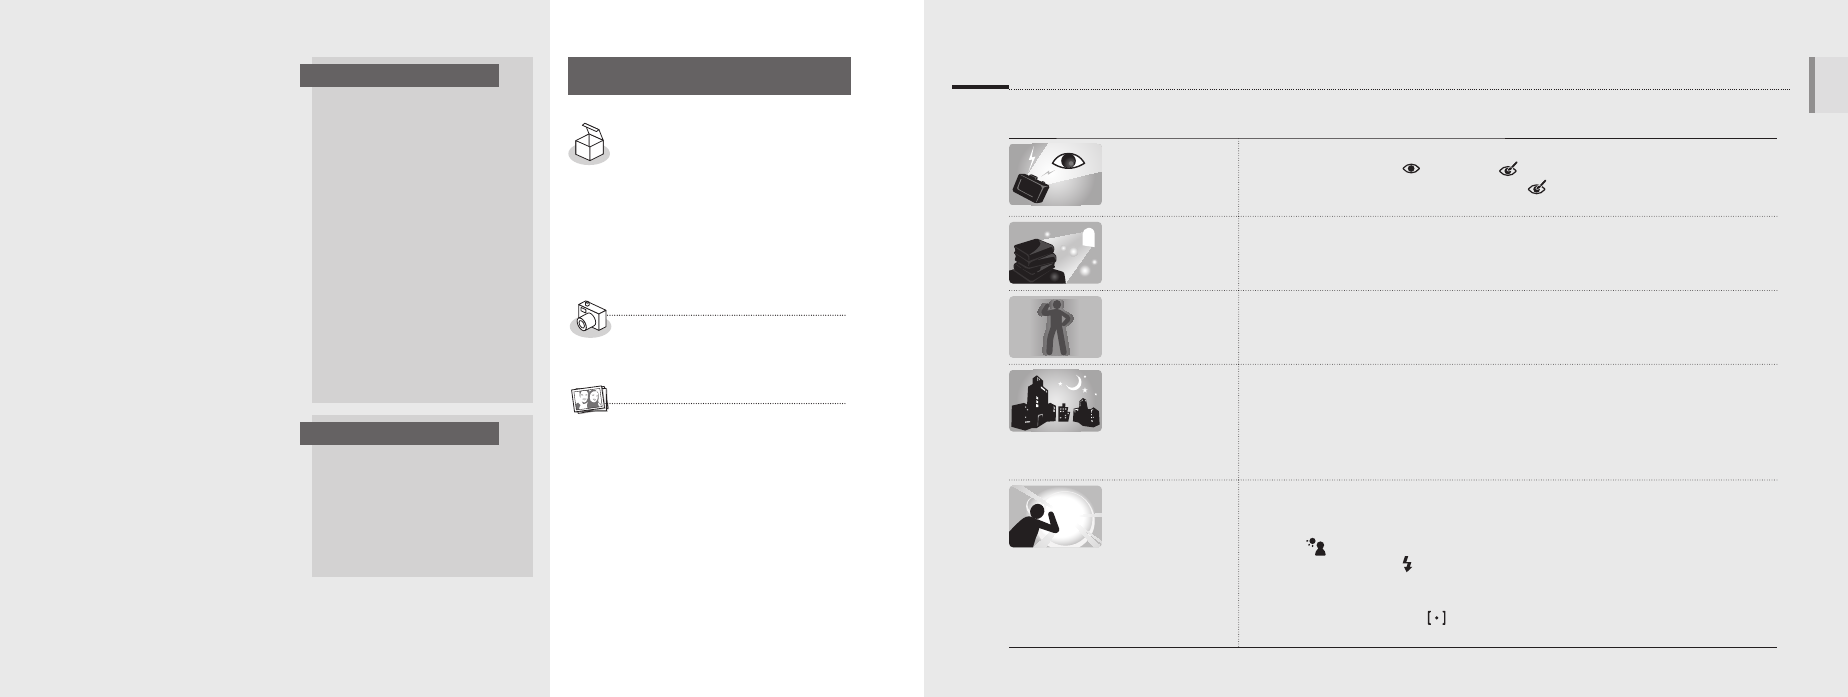
You can easily solve most problems by setting shooting options.
There are more details about how to set shooting options in the CD version of the user manual.
The subject's
eyes appear red.
This is caused by a reflection from the camera flash.
Set the flash option to
Red Eye or Red Eye Fix. (See the user manual p.33)
If the photo has already been taken, select Red Eye Fix in the edit menu.
(See the user manual p.57)
•
•
Photos have dust
spots.
Dust particles floating in the air may be captured in photos when using the flash.
Turn the flash off or avoid taking photos in a dusty place.
Set ISO speed options. (See the user manual p.35)
•
•
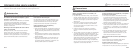
Photos are
blurred.
This may be caused by taking photos in low light conditions or holding the camera
incorrectly. Set the Optical Image Stabilization (OIS) option or press [Shutter] halfway
down to make sure the subject is focused. (See the user manual p.26)
Photos are
blurred when
shooting at night.
As the camera tries to let in more light, the shutter speed slows.
This can make it difficult to steady the camera and may result in camera shake.
Turn the flash on. (See the user manual p.33)
Select the 6 mode. (See the user manual p.20)
Set ISO speed options. (See the user manual p.35)
Use a tripod to prevent your camera from shaking.
•
•
•
•
Subjects come
out too dark
because of
backlighting.
When the light source is behind the subject or when there is a high contrast between
the light and dark areas, the subject may come out shaded.
Avoid shooting in front of the sun.
Select
BACKLIGHT in the 4 mode. (See the user manual p.20)
Set the flash option to Fill in. (See the user manual p.33)
Set the Auto Contrast Balance (ACB) option. (See the user manual p.41)
Adjust the exposure. (See the user manual p.40)
Set the metering option to Spot if a bright subject is in the centre of the frame.
(See the user manual p.42)
•
•
•
•
•
•
Indication information
In this manual, camera
buttons are represented by
bold type in brackets.
For example, [Shutter]
represents the Shutter button.
Get answers to common questions