SNC-C7478 Setup Guide
SAMSUNG | GVI Security, Inc
.
Phone: 972-245-7353 • Toll Free: 888-595-2288 • Fax: 972-245-7333
www.samsung-security.com
v.11.19.08
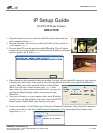
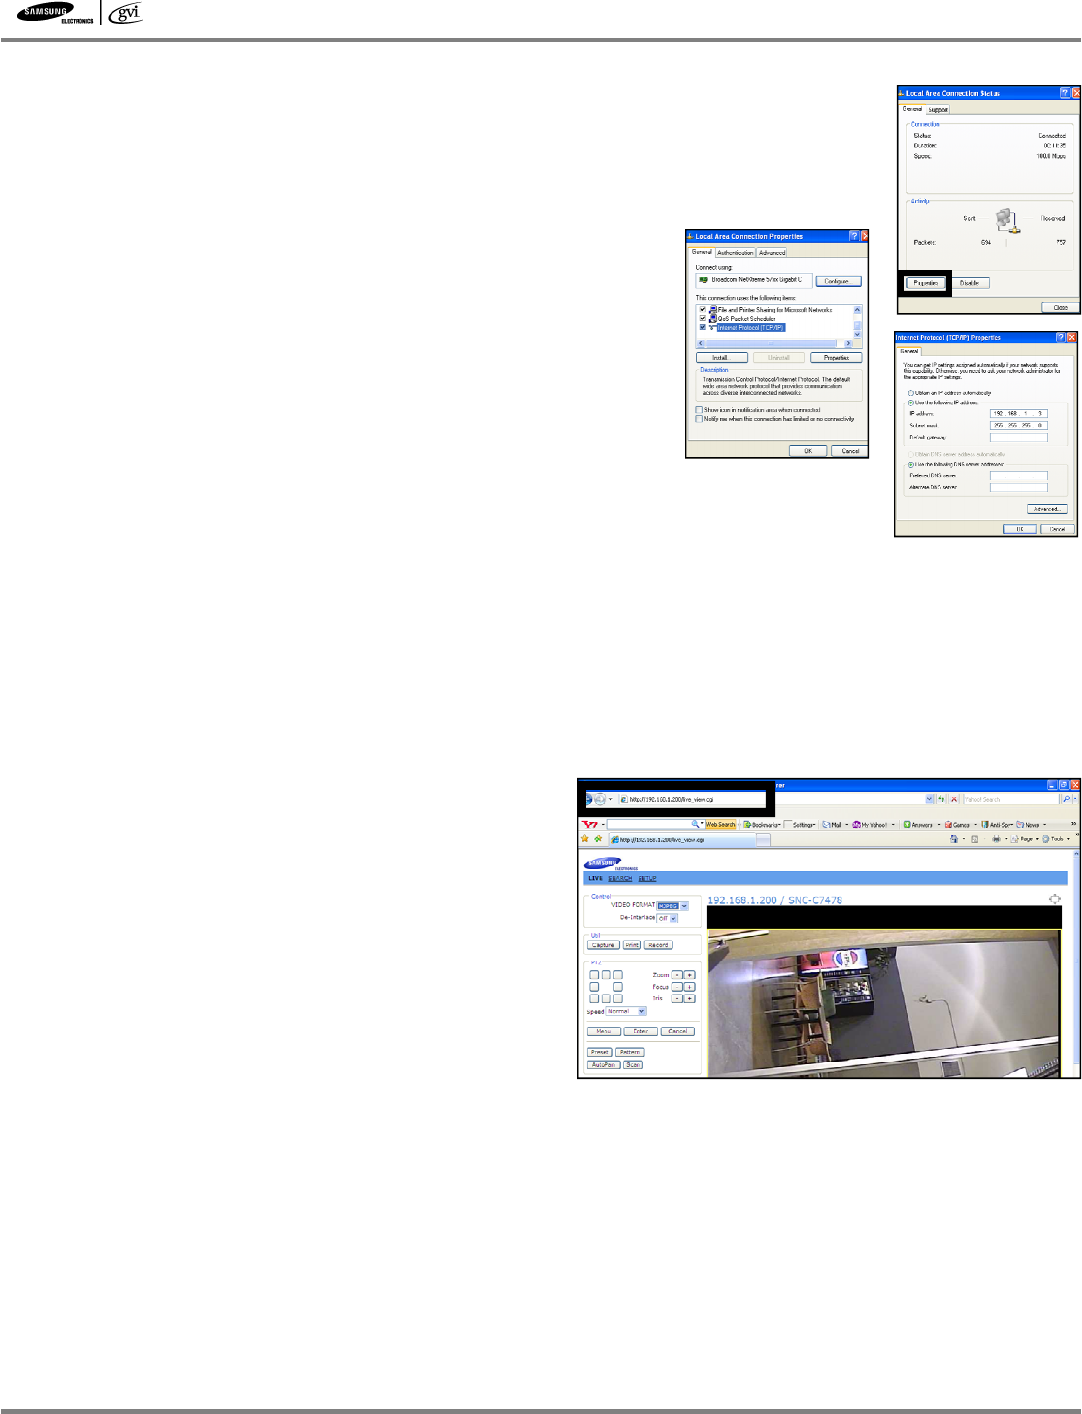
7. Double click on Local Area Connection to bring up the Local Area Connection Status
box.
(figure 7a)
Click Properties in the lower left corner to display Local Area Connection
Properties.
8. From the Local Area Connection Properties window, double click
Internet Protocol (TCP/IP) to display Internet Protocol (TCP/IP)
Properties.
(figure 8a)
9. Choose the option for Use the Following IP Address and type an
IP address that begins with 192.168.1. but use a number other
than the ending number assigned to the camera. (number must fall
between 1 and 255)
(figure 9a)
10. Type the subnet mask, this number must be the same as the
camera’s subnet mask, then choose OK at the bottom of the Inter-
net Protocol (TCP/IP) Properties box.
11. You may now close out of the Network Connections window.
12. After the above steps have been completed you may now use Microsoft’s Internet Explorer to enter the
camera’s setup menu.
13. Open an Internet Explorer window. In the address bar at the top of the window type HTTP:// followed by
the IP address assigned to your camera. (This value was obtained in step 4)
(figure 13a)
14. See users manual for full explanation of menus and
settings.
15. Once you have finished with camera setup and have
exited from browser, be sure to go back into your
network settings and return all of your settings to
normal.
Accessing the Camera Menu from Internet Explorer
7a
8a
9a
13a


