


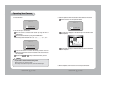


Operating Your Camera
COLOR CCD CAMERA User’s Manual
33
COLOR CCD CAMERA User’s Manual
32
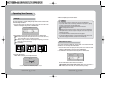
You can control brightness of the screen by the shutter speed.
1. Press the SET button to display the setup menu and move the arrow
indicator to ‘Shutter’ using the UP or DOWN button.
2. Set ‘Shutter’ to the desired mode using the LEFT or RIGHT button.
OFF:Deactivation
1/100(1/120: PAL Models):Flickerless mode (When WDR mode is off)
ESC:When setting the optimal shutter speed automatically
Manual:When setting shutter speed manually
3. If you choose ‘Manual’, select the optimal shutter speed.
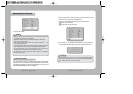
Shutter Speed Control
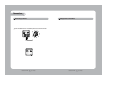
Setup
Camera ID OFF
Backlight WDR
White Bal. W-ATW
Motion Det. OFF
Lens DC
Shutter OFF
Sense up OFF
Color Auto1
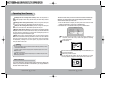
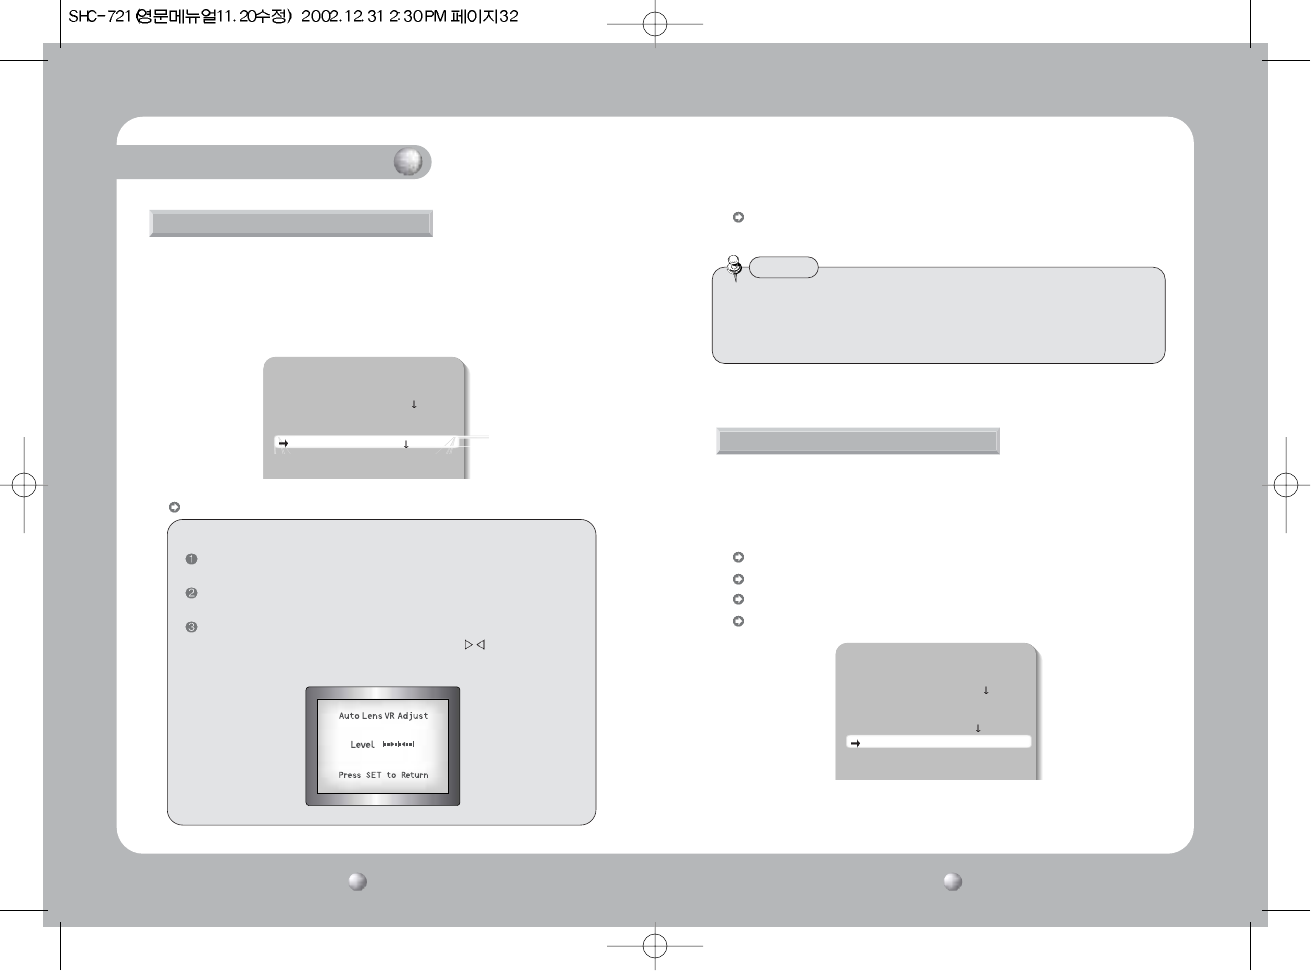
You can set the type of the lens, and control the brightness of the screen.
1. Press the SET button to display the setup menu and move the arrow
indicator to 'Lens' using the UP or DOWN button.
2. Set ‘Lens’ to the desired mode using LEFT or RIGHT button.
• You can select from DC / Video, Manual
DC / Video:When using auto iris lens
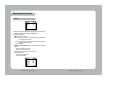
Lens Selection
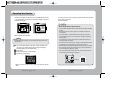
When using Auto Iris Lens with Video type
Adjust ALC volume on the lens properly. Normally ALC volume should be
turned all the way to Av(Average).
According to the type of the lens used, the lens may not perform properly.
In such a case, adjust the volume level on the lens.
For adjusting the volume level set ‘Auto Lens VR Adjust’ level in submenu
of the ‘Video’ mode to the middle of bar between . (adjust the level
in the place with more than 300lux)
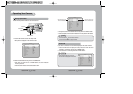
Setup
Camera ID OFF
Backlight WDR
White Bal. W-ATW
Motion Det. OFF
Lens DC
Shutter OFF
Sense up OFF
Manual:When using manual lens
•
If you select ‘DC’ mode, you can adjust the desired Brightness.
3. When completed move the arrow indicator to ‘END’ and press the SET button.
• When the auto iris lens is mounted, you have to set the DC/Video selection
switch on the side of the camera properly according to the type of the lens. The
setup window displays DC or Video according to status of this selection switch.
(refer to page 12 picture)
Notes