4
Press the SET button.
œ The Video Clip Interval Shooting Setting Screen
appears.
5
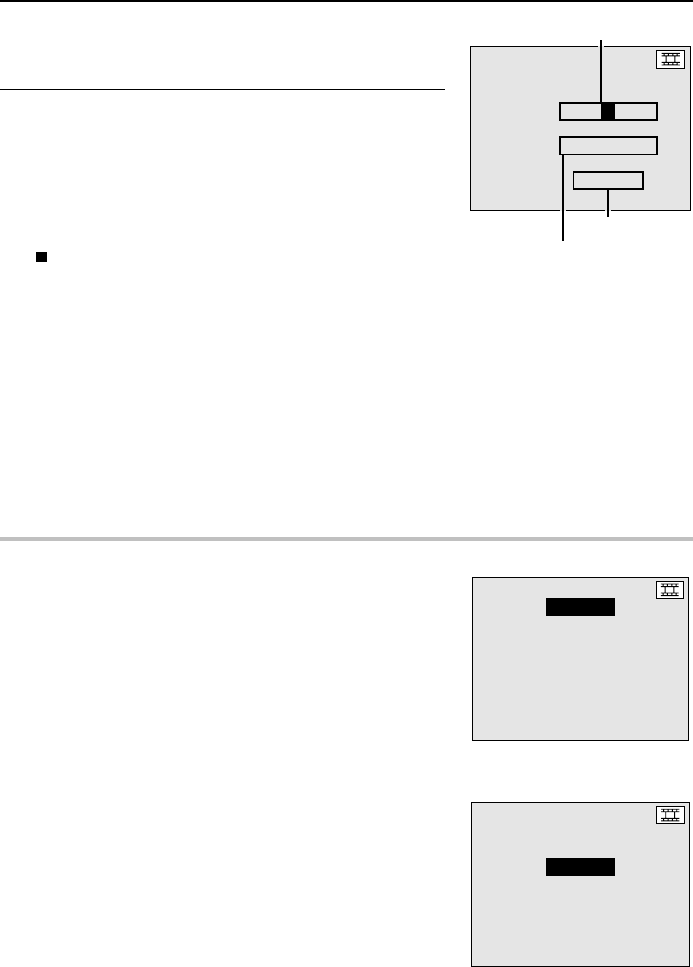
Set the interval shooting parameters.
œ Set the interval between images at “INT.” and the
length of the final video clip at “DUR.”
œ The number of frames will change according to the
video clip length and the frame rate setting. Use this
value as a reference.
Performing the settings at the Video Clip Interval
Shooting Setting Screen
To change a setting: Press j or l
To move to the next item: Press c
To move to the previous item: Press d
To cancel the settings and return to the Shooting
Setting Screen: Press the MODE button
œ The interval can be set from 10 seconds to 9 hours 59
minutes 59 seconds.
œ The length of the video clip can be between 1 and 999
frames, depending on the remaining disk space.
HELP
If “ ERROR” appears at step 4
œ This error message tells you that the temporary data for a
video clip interval shooting or animation shooting (see page
107) already exists in the digital disk camera. Either save
the temporary data or erase it (see steps 2 and 3 on page
105). To start a new video clip interval shooting, you will
need to erase any existing temporary data.
If “ ERROR” is displayed when the power is turned on
œ If the interval shooting was not completed properly due to a
reason such as the battery power running out, this error
message will appear when the power is turned back on.
(This message tells you that the interval shooting was not
ended properly.) Press the MODE button, perform steps 1
to 4 on page 101, and then perform steps 2 and 3 on
page 105.
INTERVAL MOV
À
INT. 0:00:20
Á
DUR. 0:00:05
FRAME 00150
Shooting interval (hrs:min:sec)
Number of frames
Length of video clip (hrs:min:sec)
Video Clip Interval Shooting
Setting Screen
INTERVAL MOV
ERROR
DATA EXIST
ÄBUILD MOVIE
DISCARD DATA
EXIT
INT. 0:00:20
DUR. 0:00:04.02
Video Clip Interval Shooting
Error Screen
Error display
INTERVAL MOV
ERROR
INT. 0:00:20
DUR. 0:00:03.10
English
102


