


C:\#WORK\@DPF\DPF-A72N\Writer-OP\06_FinalDelivery\GB\4155760111\4155760111DPF-A.E.D.72NCEK\040C02.fm
Master: Left
DPF-A72N/E72N/D72N 4-155-760-11 (1)
18
GB
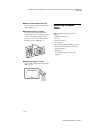
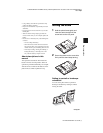
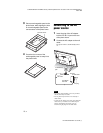
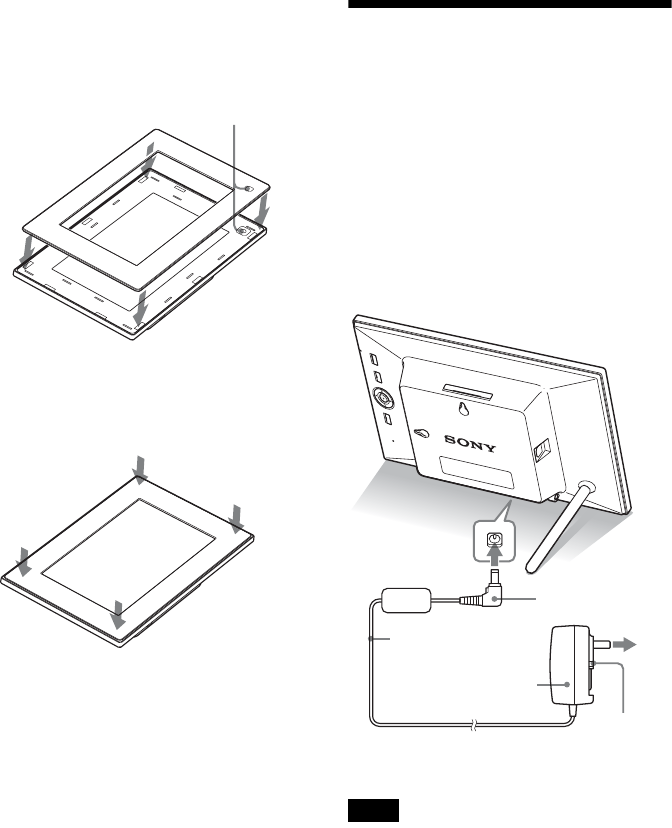
3 Place an exchangeable panel to the
photo frame, while aligning the hole
on an exchangeable panel to the
remote sensor of the photo frame.
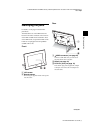
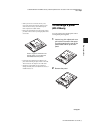
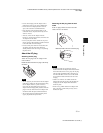
4 Press the four corners of the
exchangeable panel to snap it into
the photo frame.
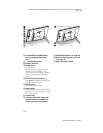
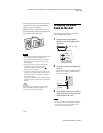
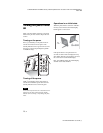
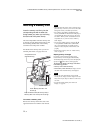
Connecting to the AC
power source
1 Insert the plug of the AC adaptor
into the DC IN 5 V jack on the rear
of the photo frame.
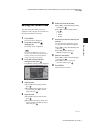
2 Connect the AC adaptor to the wall
outlet.
The photo frame is automatically turned
on.
Notes
• The socket outlet should be as close as possible to
the unit, and easily accessible.
• Do not place the photo frame on an unsteady or
tilted surface.
• Connect the AC adaptor to an easily accessible wall
outlet close by. If trouble occurs while using the
adaptor, immediately shut off the power by
disconnecting the plug from the wall outlet.
Remote sensor
To wall outlet
To DC IN 5 V
jack
DC Plug
AC adaptor
main unit
AC plug
DC cable