


C:\#WORK\@DPF\DPF-A72N\Writer-OP\06_FinalDelivery\GB\4155760111\4155760111DPF-A.E.D.72NCEK\050C03.fm
Master: Right
DPF-A72N/E72N/D72N 4-155-760-11 (1)
37
GB
Advanced operations
• If deletion has started, the deleted image cannot be
recovered even if you stop deletion. Delete images
only after confirming you actually want to delete
them.
Tips
• You can also use the MENU button on the photo
frame.
• You can enlarge or reduce the image when you
select the index image display.
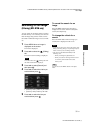
Registering a mark
(DPF-D72N only)
You can produce a slideshow only with images
which have been selected beforehand and have
been marked. You can easily check for images
with marks using the index image display or
single view mode.
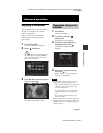
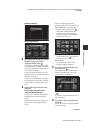
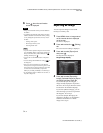
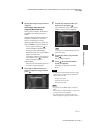
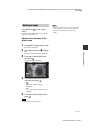
1 Press MENU when an image is
displayed on the screen.
The menu is displayed.
2 Press B/b to select the (Editing)
tab.
The screen used for editing is displayed.
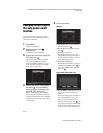
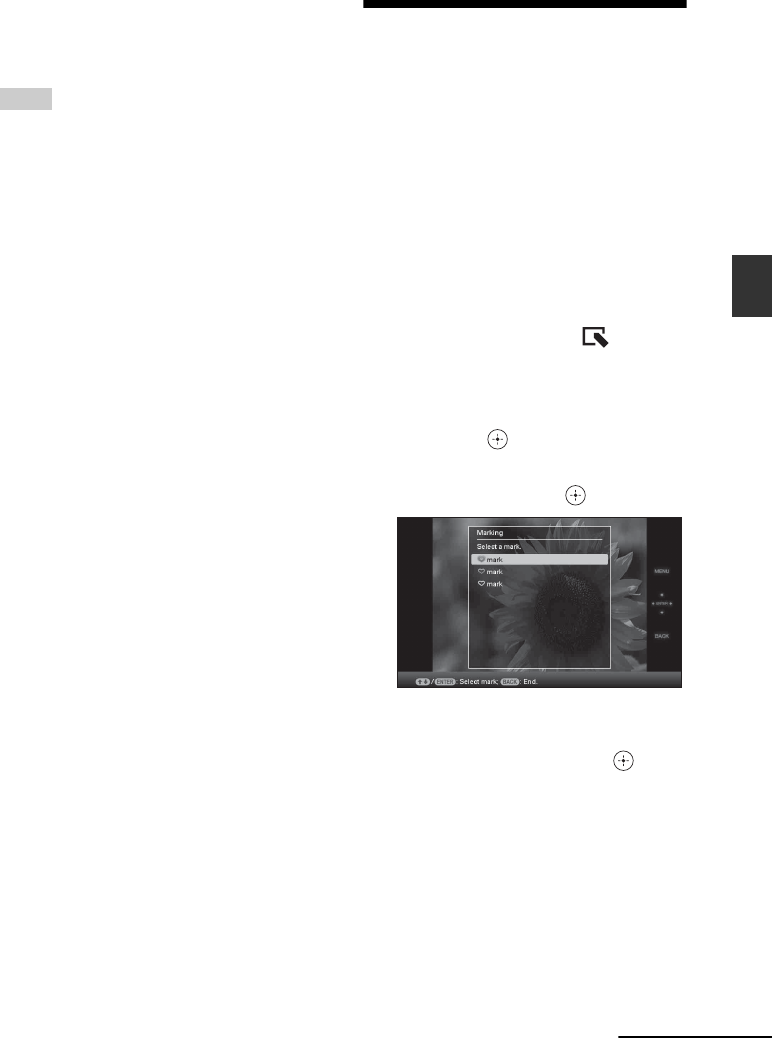
3 Press v/V to select [Marking] and
then press .
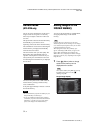
4 Press v/V to select the mark you
want and then press .
5 Press v/V to select [Mark this
image], [Selected images] or [Mark
all images] and then press .
If you select [Mark this image], the image
currently displayed will be marked and
showed in the future. Go to step 7. (This
item cannot be selected on the slideshow
display.)
If you select [Selected images], you can
select the image to which you want to
attach a mark from the image list. Go to
step 6.
If you select [Mark all images], the image
list is displayed. A check mark is attached
Continued