57
Advanced Recording Operations Uitgebreide opnamefuncties
Gebruik van de
ingebouwde videolamp
Met de ingebouwde videolamp kunt u het
onderwerp beter belichten, als de opname-
omstandigheden dit vereisen. Hierbij is de
aanbevolen afstand van de camcorder tot het
onderwerp ongeveer 1,5 meter.
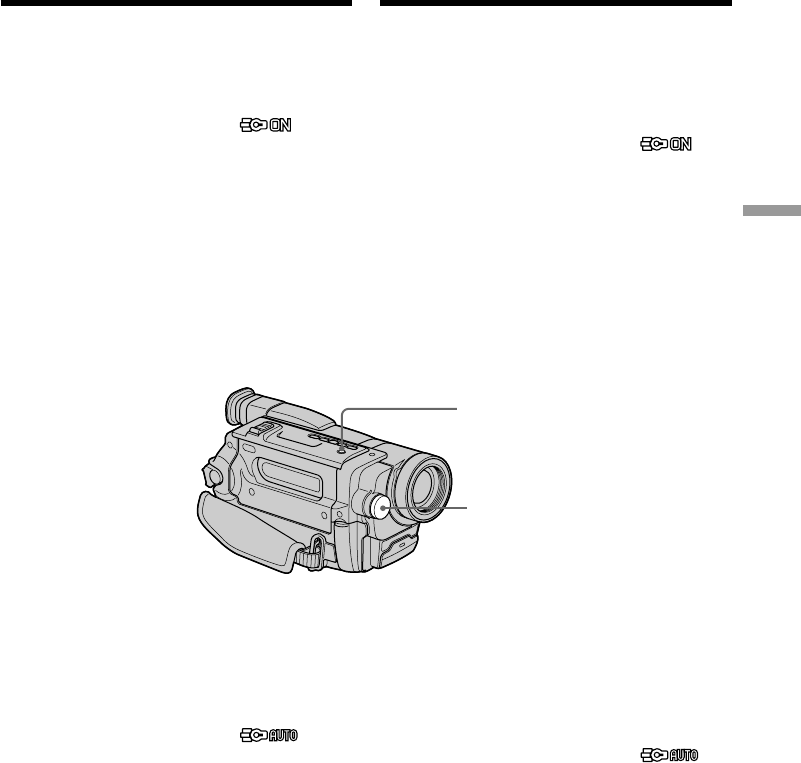
Druk herhaaldelijk op LIGHT tot de
indicator verschijnt in de beeldzoeker met de
camcorder in de CAMERA stand.
De ingebouwde videolamp gaat branden.
Wanneer u de POWER schakelaar in de OFF
(CHG) stand zet, zal de ingebouwde videolamp
onmiddellijk doven. Dan kunt u de videolamp
echter niet weer aan doen door de POWER
schakelaar weer op CAMERA te zetten.
Om de ingebouwde videolamp in te schakelen,
zult u in de CAMERA stand weer op de LIGHT
toets moeten drukken.
Uitschakelen van de ingebouwde
videolamp
Druk herhaaldelijk op LIGHT tot er geen
indicator verschijnt in de beeldzoeker.
De ingebouwde videolamp
volautomatisch laten werken
Druk herhaaldelijk op LIGHT tot de
indicator verschijnt in de beeldzoeker.
De ingebouwde videolamp wordt dan
automatisch in- en uitgeschakeld wanneer de
lichtomstandigheden in uw omgeving dit
vereisen.
Using the built-in
light
You can use the built-in light to suit your
shooting situation. The recommended distance
between the subject and camcorder is about 1.5 m
(5 feet).
Press LIGHT repeatedly until the
indicator appears in the viewfinder while your
camcorder is in CAMERA mode.
The built-in light turns on.
If you turn the POWER switch to OFF (CHG), the
built-in light turns off simultaneously. You
cannot turn the built-in light on by turning the
POWER switch to CAMERA again.
To turn on the built-in light again, press LIGHT
again in CAMERA mode.
To turn off the built-in light
Press LIGHT repeatedly until no indicator
appears in the viewfinder.
To turn on the built-in light
automatically
Press LIGHT repeatedly until the
indicator appears in the viewfinder.
The built-in light automatically turns on and off
according to the ambient brightness.
Built-in light/
Ingebouwde lamp
LIGHT


