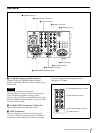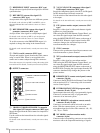
Function and Location of Parts and Controls
6
OFF: Turns off the headset microphone.
PGM: Outputs the program audio. When this position
is selected, the INCOM level control adjusts input
level of the program audio.
INCOM selector
Selects the pathway of intercom signals output/input
through the INCOM connector.
PROD: Producer line.
PRIV: Producer line and engineer line are cut off and
communication is possible only between the CCU-
TX50/50P and the camera connected to the rear panel
of the CCU-TX50/50P.
ENG: Engineer line.
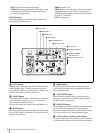
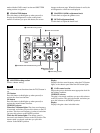
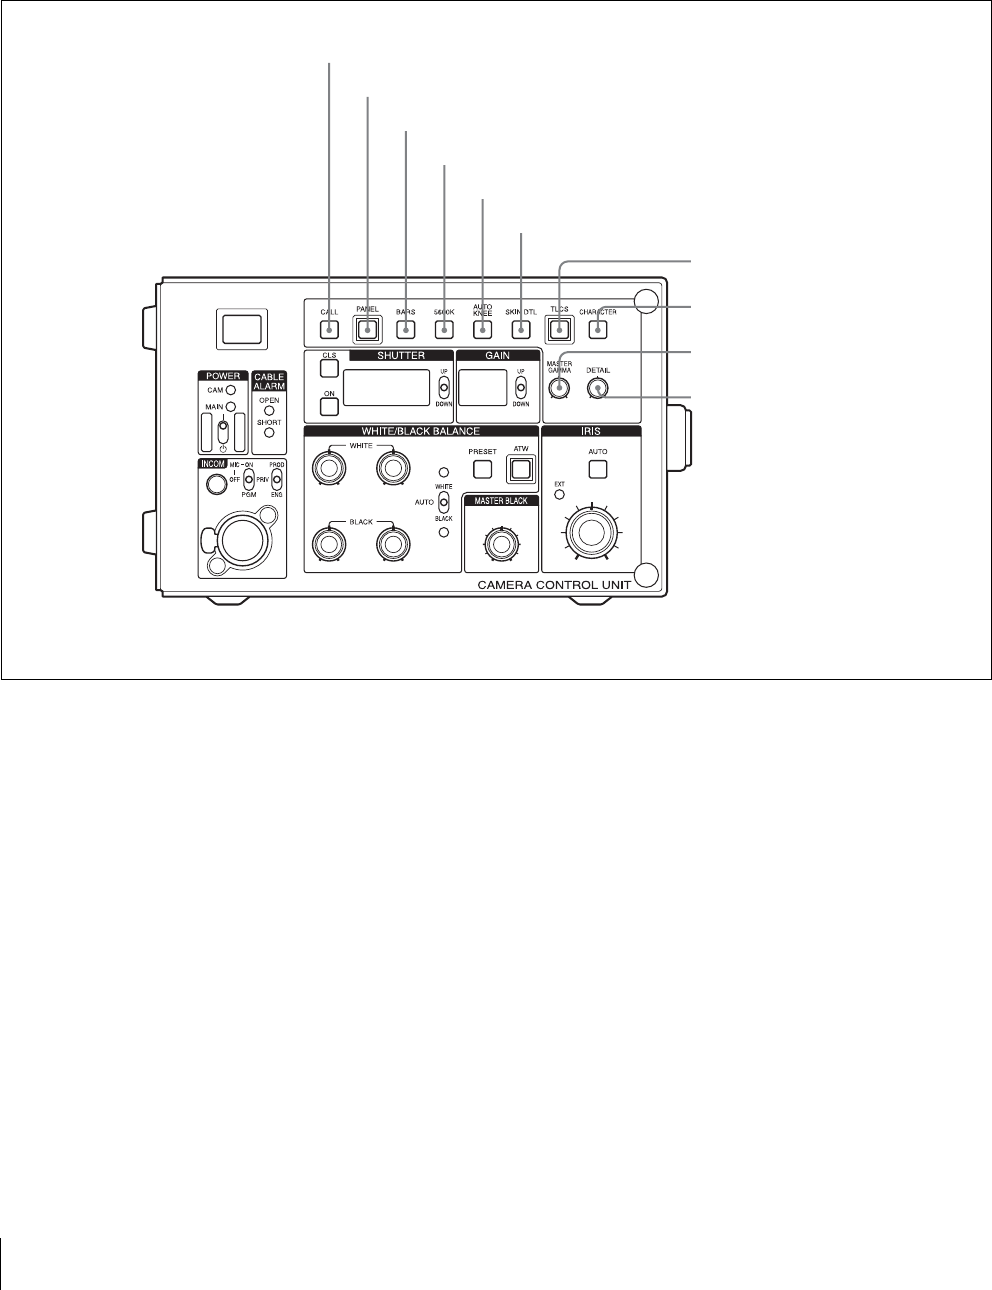
e CALL button
When you press this button, the TALLY indicator on the
camera adaptor lights. The tally indicator on the unit
also lights red when you press this button, and goes off
if the CALL button is pressed while it is lit.
f PANEL button
When the RCP-D50 camera control panel is connected,
press this button to light it up so you can select the
device which controls the camera.
The unit can control the camera when this button is lit.
g BARS button
Press this button (which lights up when pressed) to send
the color bar signal to the monitor. The color bars then
appear on the monitor.
h 5600K button
Press this button (which lights up when pressed) to
convert the color temperature electronically instead of
using the optical filter.
i AUTO KNEE button
Press this button (which lights up when pressed) to
activate the automatic knee function which optimizes
the input signal compensation.
j SKIN DTL button
Use this button to turn the skin detail correction function
on or off. Press this button (which lights up when
pressed) to set the skin detail correction function to on.
To set this function to off, press this button again.
k TLCS (total level control system) button
Press this button to turn the total level control system on
or off. When this button is lit, it is turned on, and settings
e CALL button
f PANEL button
g BARS button
h 5600K button
i AUTO KNEE button
j SKIN DTL button
k TLCS button
l CHARACTER button
m MASTER GAMMA
adjustment knob
n DETAIL adjustment knob


