3
Table of contents Useful recording techniques Index
GB
Read this first
Supplied items
The numbers in ( ) are the supplied
quantity.
AC Adaptor (1)
Power cord (Mains lead) (1)
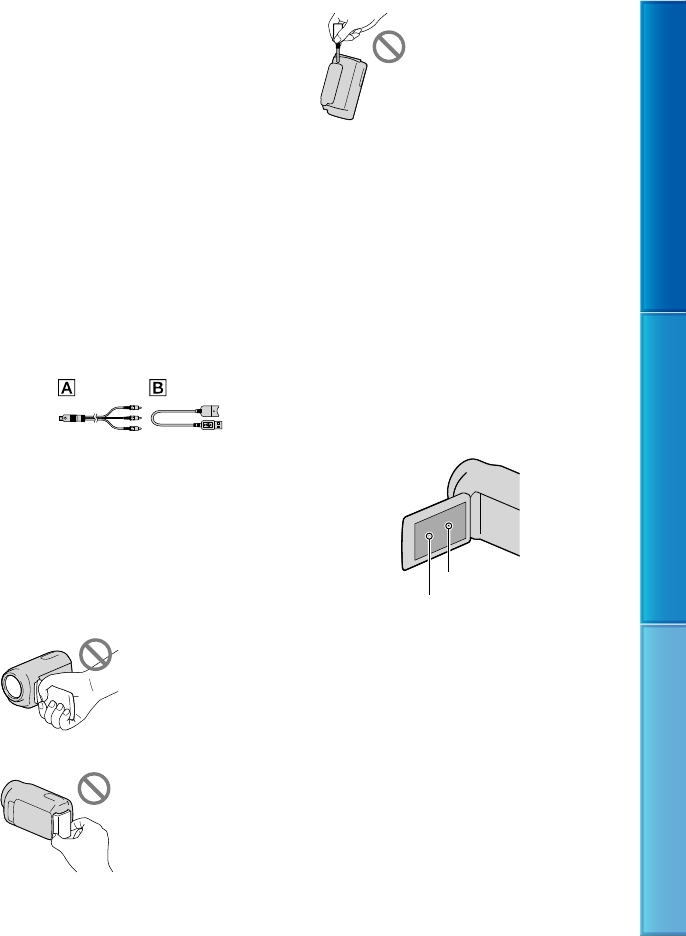
A/V connecting cable (1)
USB connection support cable (1)
Attach this to the Built-in USB Cable (p. 13), if
the Built-in USB Cable is not long enough.
Rechargeable battery pack NP-FV30 (1)
CD-ROM “Handycam” Application
Software (1)
“PMB” (software, including “PMB Help”)
“Handycam” Handbook (PDF)
“Operating Guide” (1)
“PMB Portable” software is pre-loaded on the
camcorder (p. 47).
See page 18 for the memory card you can use
with this camcorder.
Using the camcorder
Do not hold the camcorder by the following
parts, and also do not hold the camcorder by
the jack covers.
LCD screen
Battery pack
Built-in USB Cable
The camcorder is not dustproofed, dripproofed
or waterproofed. See “About handling of your
camcorder” (p
. 89).
Menu items, LCD panel, and lens
A menu item that is grayed out is not available
under the current recording or playback
conditions.
The LCD screen is manufactured using
extremely high-precision technology, so over
99.99% of the pixels are operational for effective
use. However, there may be some tiny black
points and/or bright points (white, red, blue,
or green in color) that appear constantly on the
LCD screen. These points are normal results of
the manufacturing process and do not affect the
recording in any way.
Exposing the LCD screen or the lens to direct
sunlight for long periods of time may cause
malfunctions.
Do not aim at the sun. Doing so might cause
your camcorder to malfunction. Take images
of the sun only in low light conditions, such as
at dusk.
About changing the language setting
The on-screen displays in each local language
are used for illustrating the operating
procedures. Change the screen language before
u
sing your camcorder if necessary (p. 16).
Black points
White, red, blue or green points


