12
GB
Operations in an initial state
When the photo frame is turned on without a
memory card inserted, the initial display below
appears on the screen.
If the photo frame is not operated for 10
seconds, the demo mode is displayed. If any
other button than the power button is pressed,
the screen returns to the initial display.
First, press MENU during the initial display,
and then set the date and time.
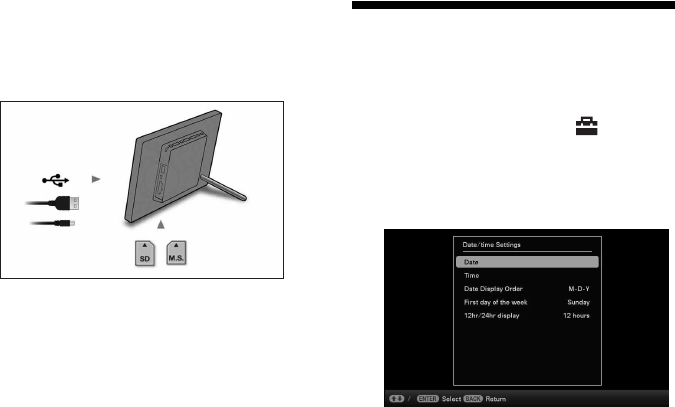
Setting the current time
1 Press MENU.
2 Press B/b to select the
(Settings) tab.
3 Press
v
/V
to select [Date/time
Settings] and press ENTER.
4
Adjust the date.
1Press v/V to select [Date] and press
ENTER.
2Press B/b to select month, day and
year, press v/V to select a value, then
press ENTER.
5
Adjust the time.
1Press v/V to select [Time] and press
ENTER.
2Press B/b to select hour, minute and
second, press v/V to select a value, then
press ENTER.
6 Select the format of the date.
1Press
v
/V
to select [Date Display Order],
and press
ENTER.
2Press v/V
to select a format and press
ENTER.
•Y-M-D
• M-D-Y
•D-M-Y
7 Set the day to start the week for the
calendar.
You can set the day of the week that
appears on the very left when the calendar
is displayed.


