


51
GB
Advanced operations
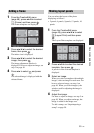
3Select a font.
Press B/b/v/V to select [FONT] and
then press repeatedly until the
desired font appears.
You can select from 5 fonts: Gothic,
rounded Gothic, Italic, rounded Italic,
and hand-writing-style.
Note
You cannot specify multiple fonts for a
sequence of characters input. All the lines of
characters are input in the identical font. You
can change the font in the middle of input
procedures; the changed font will be applied to
all the input characters.
4
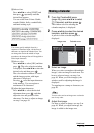
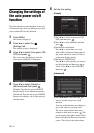
Select a color.
Press B/b/v/V to select [OK] and then
press . The color selection window
is displayed. Press B/b/v/V to select the
desired color and then press .
The color selection window is closed
and the image preview with input
characters is displayed.
Pressing saves the input characters
in the memory. You can register a
maximum of 16 characters.
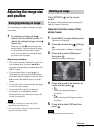
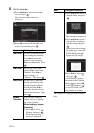
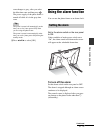
5Adjust the input characters.
Press B/b/v/V to select the desired
adjustment item, press , and then
adjust the size and position of the
characters. For how to adjust an image,
see step 5 on page 49.
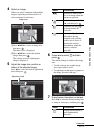
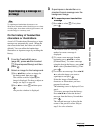
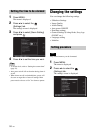
1 From the CreativeEdit menu
(page 48), press B/b/v/V to select
(Calendar) and then press .
The window used for selecting the
calendar template, is displayed.
2 Press B/b/v/V to select the desired
template, and then press .
A preview of the selected template is
displayed.
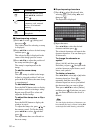
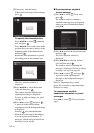
3 Select an image.
When you select a template with multiple
images, select an image for each area. For
how to select an image, see step 4 on
page 49. When you select image(s), the
window used for adjusting the image is
displayed.
To superimpose a stamp or characters, see
page 50.
Tip
You can select and set an image area or calendar
area in any order.
4 Adjust the image.
For how to adjust an image, see step 5 on
page 49. When you adjust an image, the
image is added to the image area.
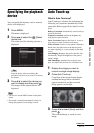
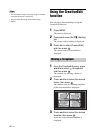
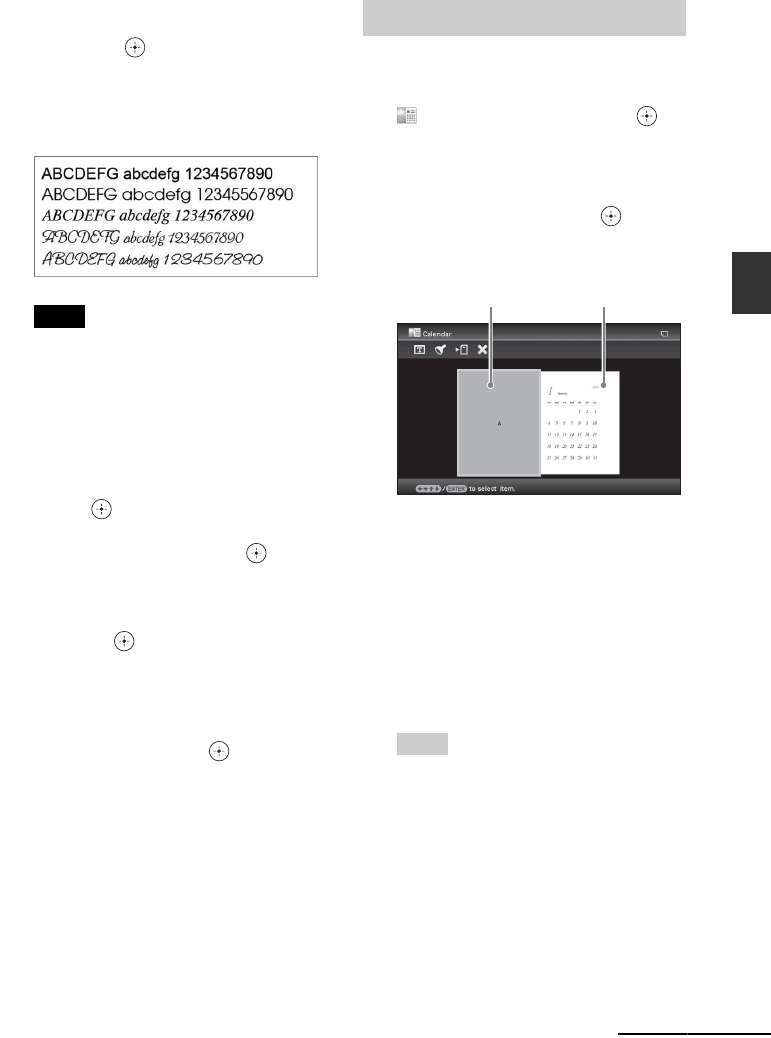
Making a Calendar
Image area Calendar area
Continued