17
GB
Making various printing
Continued
4
Press g/G/f/F to select the
desired image area and press
ENTER.
The window for selecting an image is
displayed.
5
Press g/G/f/F to select the
desired image, and then press
ENTER.
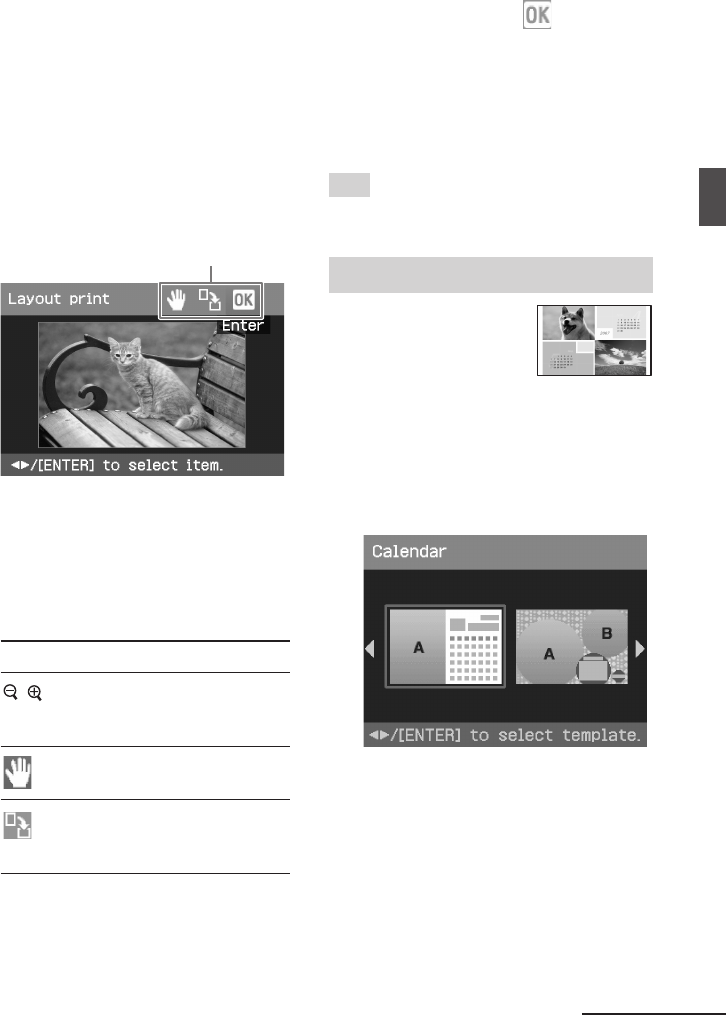
The window used for adjusting the
image position is displayed.
Adjustment tools
6
Adjust the size and position of the
selected image.
Press g/G to select the desired
adjustment item, then press ENTER.
Items Procedures
/ Increases or reduces the size of
an image by pressing the
buttons on the printer.
Move the image with g/G/
f/F, and then press ENTER.
Each time you press ENTER,
the image rotates 90°
clockwise.
7
Press g/G to select and press
ENTER.
The selected image is added to the
image area. When you select a
template with multiple images, repeat
the steps 4 through 7 to select an
image for each area.
Tip
To save or print the layout images previewed,
see page 14.
Making a calendar
You can make calendars
with your favorite
images.
1
Display the Creative Print menu
(page 16).
2
Press g/G to select “Calendar”,
then press ENTER.
The window used for selecting the
calendar
template,
is displayed.
3
Press g/G to select the desired
template, and then press ENTER.
The preview of the selected template
is displayed.
