71
Changing the settings
Settings For details on the operation 1 page 54
For [Connection], [SSID], [Encryption], and [Password], set them up according to your access
point.
5
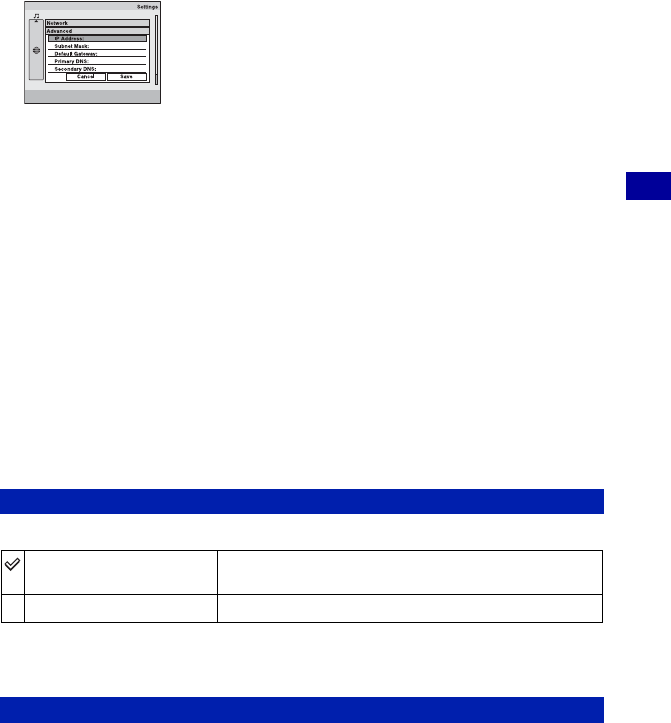
When setting up DHCP (Dynamic Host Configuration Protocol), select [Advanced], then press
z
.
The advanced setup screen appears.
6 Set up the following items, select [Save], then press z.
[IP Address], [Subnet Mask], [Default Gateway], [Primary DNS], [Secondary DNS]
• For details on the connection method, refer to the operating instructions supplied with your wireless
LAN access point.
7 Select [Save], then press z.
The registered information is displayed.
8 Select [Exit], then press z.
To perform a connection test
Select [Test] in step 8, then press z.
To edit an access point
1 Select the access point you want to edit in Step 2, then press MENU.
2 Select [Edit], then press z. Follow the process again from Step 4.
To delete an access point
1 Select the access point you want to delete in Step 2, then press MENU.
2 Select [Delete], then press z.
This function reduces power consumption when the device is connected to the network.
• Set to [Off] in the following cases:
– When an access point cannot be connected.
– When there is a problem with the network connection.
Specifies a nickname for your camera. This nickname is shown on the other cameras in a
wireless connection.
See page 90.
Network Power Save
On
Automatically reduces power consumption while the data is
not sent/received.
Off
Does not use the Network Power Save function.
Nickname


