49
Using the viewing functions
Viewing menu For details on the operation 1 page 28
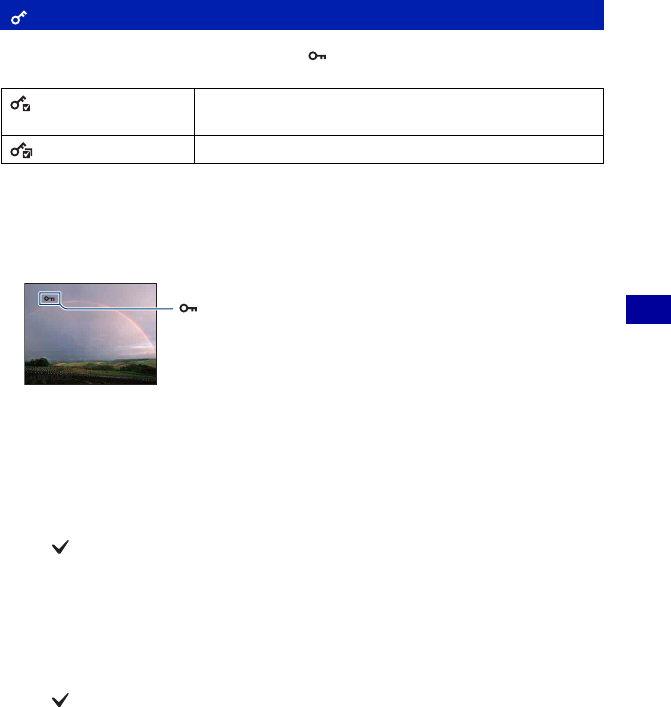
Protects images against accidental erasure. The (Protect) indicator appears on a protected
image.
To protect an image
1 Select the images you want to protect while displaying images in single-image mode.
2 Press the MENU button.
3 Select [Protect] with v/V on the control button, [This Image] with b/B, and then press z.
To select and protect images
1 Press the MENU button while displaying images in single-image mode or in index mode.
2 Select [Protect] with v/V, and select [Multiple Images] with b/B, then press z.
In single-image mode:
3 Select the image you want to protect with b/B, then press z.
The is attached to the selected image.
4 Press b/B to display other images you want to protect, then press z.
5 Press the MENU button.
6 Select [OK] with v, then press z.
In index mode:
3 Select the image you want to protect with v/V/b/B, then press z.
The is attached to the selected image.
4 To protect other images, repeat step 3.
To select all the images of a date/folder/favorites, select the bar with b, then press z.
5 Press the MENU button.
6 Select [OK] with v, then press z.
• Note that the formatting erases all the data stored on the recording media, even if the images are protected,
and these images cannot be restored.
• It may take some time to protect an image.
(Protect): Preventing accidental erasure
(This Image)
Protects/unlocks the currently selected image.
• This item appears only in single-image mode.
(Multiple Images)
Selects and protects/unlocks multiple images.


