63
Time-Lapse Video (Interval Rec)
Chapter 4 Recording and Playback
Time-Lapse Video
(Interval Rec)
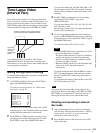
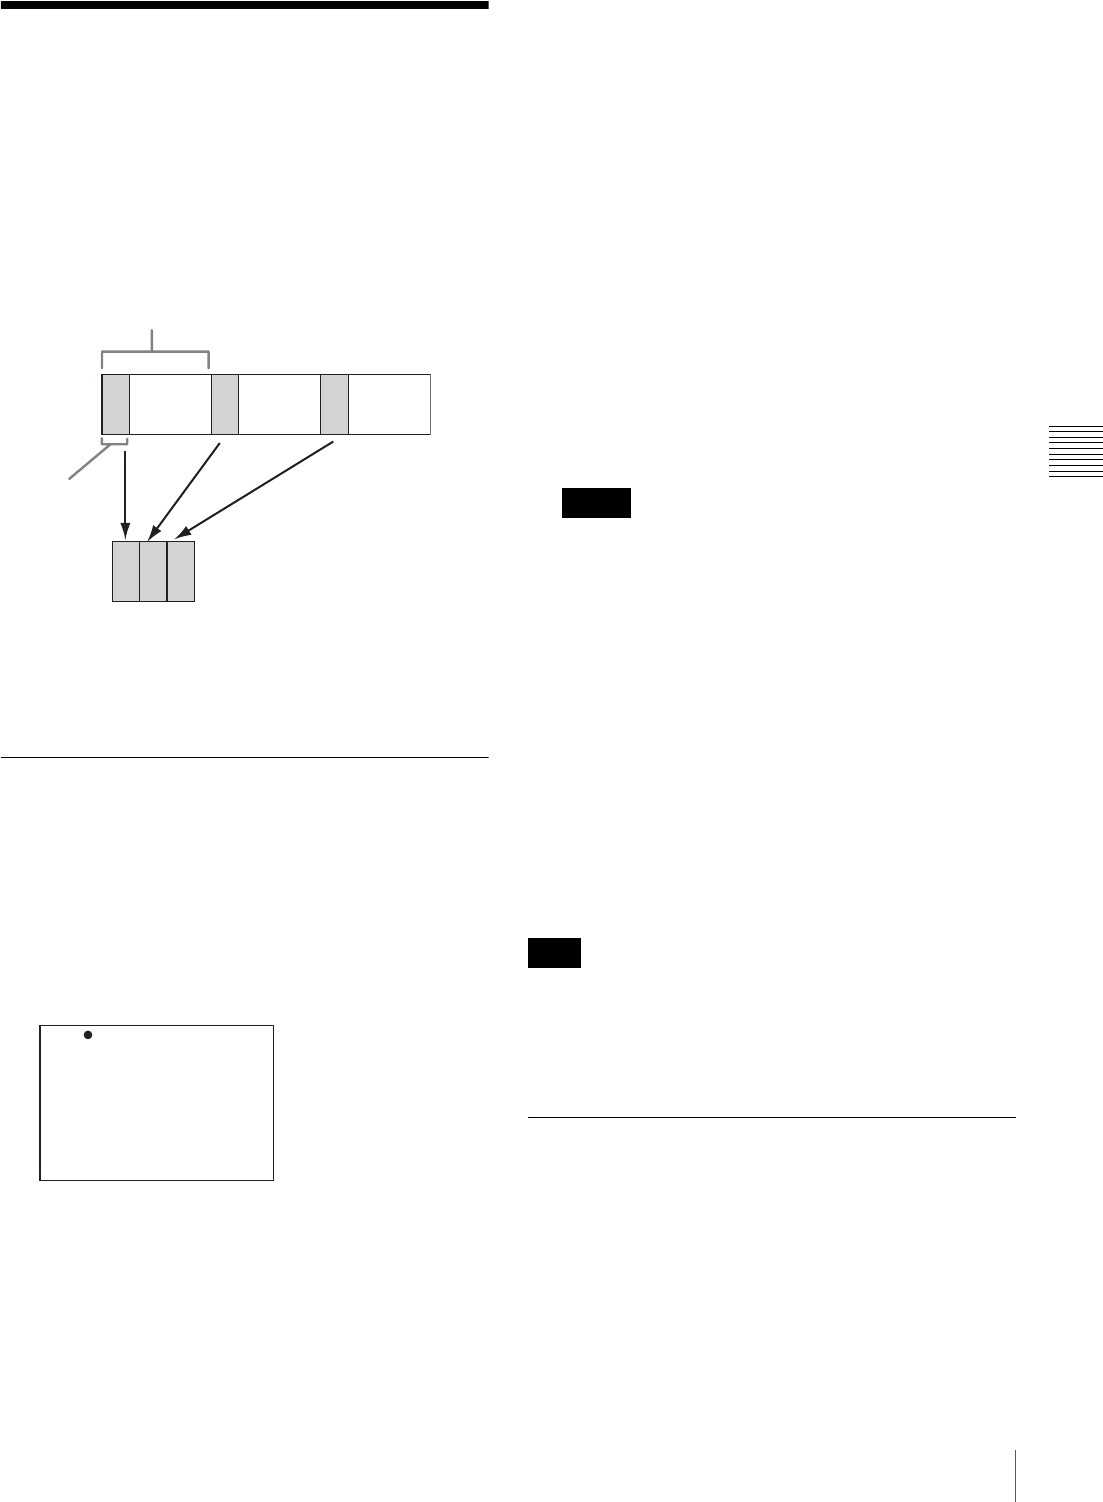
Interval Rec mode is effective for shooting objects that
move very slowly. As shown in the following figure, you
need to set the recording time for one recording session
(REC TIME) and the total time consisting of one recording
session and the following interval (INTERVAL TIME).
A pre-lighting function is available. This function
automatically turns on the light before recording starts,
which allows you to record pictures under stable light and
color temperature conditions.
Making settings before shooting
To record in Interval Rec mode, you need to set the related
items beforehand as follows.
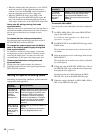
1
Set INTERVAL REC to ON on the FUNCTION 1
page of the OPERATION menu.
For details on menu operations, see “Basic menu
operations” on page 93.
The camcorder is in Interval Rec mode. The TALLY
indicator (green) in the viewfinder flashes (one flash/
second) while the camcorder is in this mode.
2
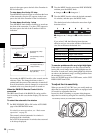
Set INTERVAL TIME (total time consisting of one
recording session and the following interval) on the
FUNCTION 1 page of the OPERATION menu.
You can select either 30S, 1M, 5M, 10M, 30M, or 1H.
Here S means seconds (30S is 30 seconds), M means
minutes (5M is 5 minutes), and H means hours (1H is
one hour).
3
Set REC TIME (recording time for one recording
session) on the FUNCTION 1 page of the
OPERATION menu.
You can select either 0.5S, 1.0S, 1.5S, 2.0S, 5S, 10S,
30S, 1M, 5M, or 10M.
Here S means seconds (5S is 5 seconds) and M means
minutes (1M is one minute).
4
To turn on the light automatically before starting to
record, set PRE-LIGHTING (time to turn on the light
before starting to record) on the FUNCTION 1 page of
the OPERATION menu.
You can select either OFF, 2S, 5S, or 10S.
• Set the LIGHT switch on the camcorder to AUTO to
turn on the light before recording.
The light switch must also be set to ON. With these
settings, the light turns on and off automatically.
However, the light remains on continuously if the
off time is less than 5 seconds.
• When the LIGHT switch is set to MAN and the light
switch is set to ON, the light remains on
continuously.
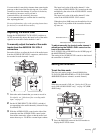
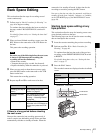
To end the menu operation, flick the MENU switch to
OFF. The menu disappears from the screen and the
message “INTERVAL” flashes along the bottom of
the screen.
You can check the setting of Interval Rec in the VTR
STATUS window
(page 102).
The camcorder exits Interval Rec mode whenever it is
powered off. However, the settings of INTERVAL TIME,
REC TIME, etc. are maintained. You do not need to set
them again the next time you use Interval Rec mode.
Shooting and recording in Interval
Rec mode
1
After performing the basic procedures for shooting
and recording, following the instructions in
“Making
settings before shooting” on page 63, secure the
camcorder so that it will not move.
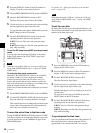
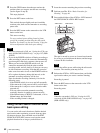
2
Press the REC button on the camcorder or the VTR
button on the lens.
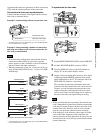
Total time consisting of one recording session
and the following interval (INTERVAL TIME)
Recording
time for one
recording
session (REC
TIME)
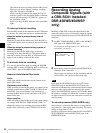
? 03 FUNCTION1 TOP
ASSIGN SW <1> : ATW
ASSIGN SW <2> : OFF
ASSIGN SW <3> : OFF
ASSIGN SW <4> : OFF
DF/NDF : DF
INTERVAL REC : ON
REC TIME : 0.5S
INTERVAL TIME : 30S
PRE-LIGHTING : OFF
Notes
Note


