


92
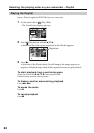
3 Follow the instructions given in the on-
screen messages. When the “Setup
Type” screen appears, make sure that
[NTSC] is selected and continue the
procedure. The “InstallShield Wizard
Complete” screen appears.
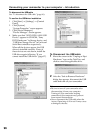
4 Click [Finish].
The installation of ImageMixer is
completed. The installation screen of
WIN ASPI appears (Windows 2000
Professional and Windows XP users
only).
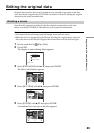
5 Follow the instructions given in the on-
screen messages.
6
When The “InstallShield Wizard
Complete” screen appears, click [Finish].
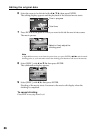
7 Take out the CD-ROM from the CD-
ROM drive after the computer restarts.
Note
On a computer without DirectX 8.0a or later,
DirectX installation starts. Follow the
instructions given in the on-screen messages
and restart the computer after the installation
is complete.
To replace WIN ASPI
To be able to use the ImageMixer CD writing
function, you need to install WIN ASPI. If a
different writing application was previously
installed, its writing function may not work
correctly. If that happens, reinstall the original
application and replace WIN ASPI. Note that
the ImageMixer CD writing function may not
work properly.
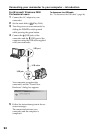
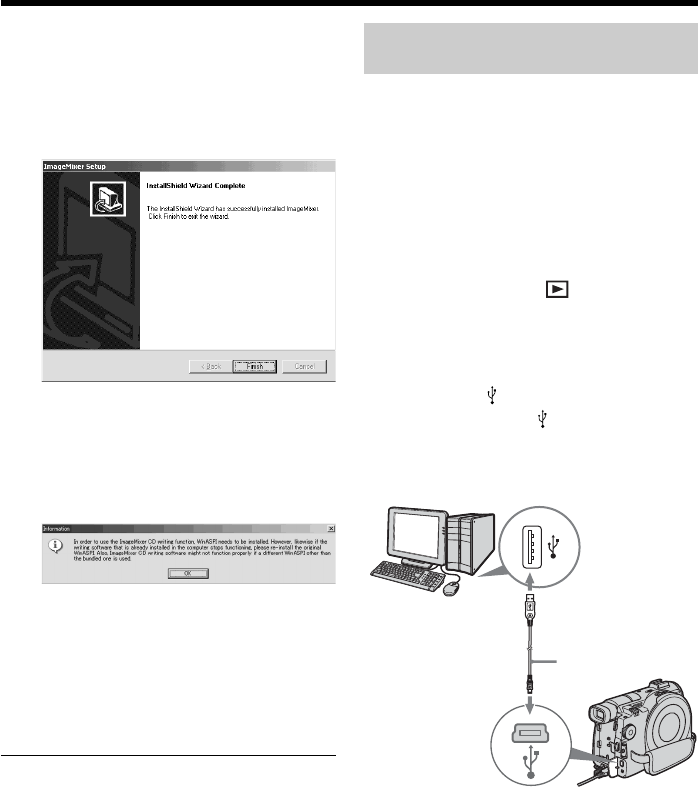
Connecting your camcorder to
the computer
You can connect only one camcorder to every
single computer. Operations are not
guaranteed if you connect your camcorder via
a USB hub or to the USB port not equipped
with your computer at default.
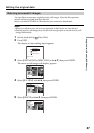
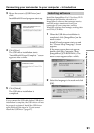
For Microsoft Windows XP users
1 Connect the AC adaptor to your
camcorder.
2 Set the mode dial to (Play/Edit).
3 Turn the power on your camcorder by
sliding the POWER switch upward
while pressing the green button.
4 Connect the (USB) jacks of the
camcorder and the
(USB) port of the
computer using the USB cable supplied
with your camcorder.
Your computer recognizes the
camcorder, and the “Found New
Hardware Wizard” starts.
USB cable
USB port
USB jack
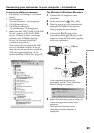
Connecting your camcorder to your computer – Introduction