


27
Table of Contents Useful Recording Techniques Index
Tips
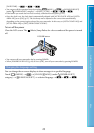
You can record photos during movie recording by pressing PHOTO fully (Dual Rec, p
. 31).
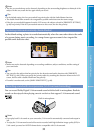
When a face is detected, a white frame appears and the image quality around the face is optimized
automatically ([FACE DETECTION], p
. 79).
You can specify the priority face by touching it (p. 29).
In the default setting, a photo is recorded automatically when the camcorder detects the smile of a person
d
uring movie recording (Smile Shutter, p. 30).
Y
ou can capture photos from recorded movies (p. 55).
The LCD screen of your camcorder can display recording images across the entire screen (full pixel
display). However, this may cause slight trimming of the top, bottom, right and left edges of images when
played back on a TV which is not compatible with full pixel display. In this case, set [GUIDEFRAME] to
[ON] (p
. 78), and record images using the outer frame displayed on the screen as a guide.
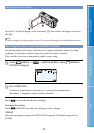
Data code during recording
The recording date, time and condition , and coordinates (HDR-CX500V/CX520V) are
recorded automatically on the recording media. They are not displayed during recording.
However, you can check them as [DATA CODE] d
uring playback (p. 88).
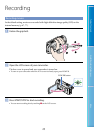
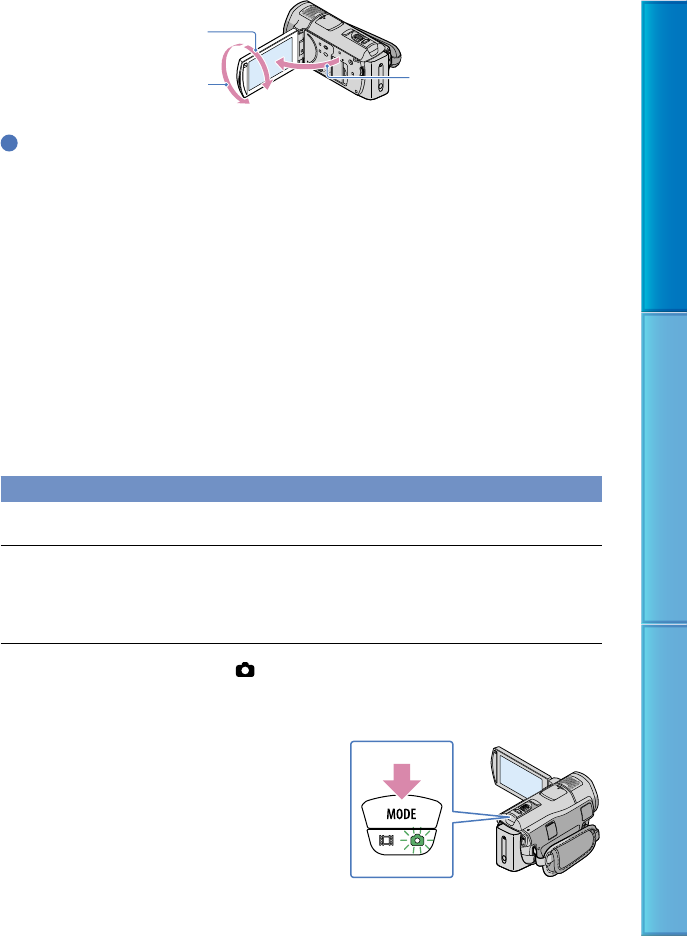
Shooting photos
In the default setting, photos are recorded on the internal memory (p. 67).
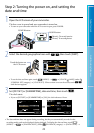
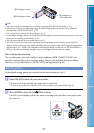
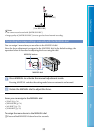
Open the LCD screen of your camcorder.
The lens cover is opened and your camcorder is turned on.
To turn on your camcorder when the LCD screen is already open, press POWER (p. 22).
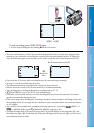
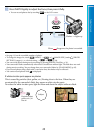
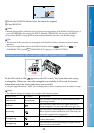
Press MODE to turn on the (Photo) lamp.
The LCD screen display switches for photo recording mode, and the screen aspect ratio
becomes 4:3.
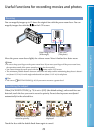
90 degrees (max.)
180 degrees (max.)
90 degrees to
the camcorder