


80
Using the software
Notes
• Operation is not assured in an environment based on an upgrade of the operating
systems described above or in a multi-boot environment.
• If you connect 2 or more USB devices to a single computer at the same time, some
devices, including the camera, may not operate, depending on the types of USB
devices you are using.
• Connecting the camera using a USB interface that is compatible with Hi-Speed USB
(USB 2.0 compliant) allows advanced transfer (high speed transfer), as the camera is
compatible with Hi-Speed USB (USB 2.0 compliant).
• When your computer resumes activity from suspend or sleep mode, communication
between the camera and your computer may not recover at the same time.
Log on as Administrator.
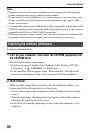
Installing the software (Windows)
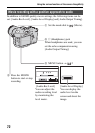
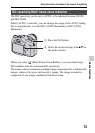
1 Turn on your computer, and insert the CD-ROM (supplied) into
the CD-ROM drive.
The installation menu screen appears.
• If it does not appear, double-click [Computer] (For Windows XP: [My
Computer]) t (PMHOME) t [Install.exe].
• If the AutoPlay screen appears, select “Run Install.exe” and follow the
instructions that appear on the screen to proceed with the installation.
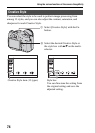
2 Click [Install].
Make sure that “Image Data Converter” and “PlayMemories Home” are
checked and follow the instructions on the screen.
• Connect the camera to the computer by following the instructions on the
screen.
• When the restarting confirmation message appears, restart the computer
following the instructions on the screen.
• DirectX may be installed depending on the system environment of your
computer.