79
Using your computer
Using the “Cyber-shot Viewer” (supplied)
You can use still images and movies from
the camera more than ever by taking
advantage of the software.
This section summarizes the “Cyber-shot
Viewer” and gives basic instructions.
With the “Cyber-shot Viewer” you can:
• Import images shot with the camera and display
them on the monitor.
• Organize images on the computer on a calendar
by shooting date to view them.
• Retouch, print, and send still images as e-mail
attachments, change the shooting date, and
more.
• For details on the “Cyber-shot Viewer”, refer to
the Help.
To access the Help, click [Start] t
[Programs] (in Windows XP, [All
Programs]) t [Sony Picture Utility] t
[Help] t [Cyber-shot Viewer].
Starting the “Cyber-shot Viewer”
Double-click the (Cyber-shot Viewer)
icon on the desktop.
Or, from the Start menu: Click [Start] t
[Programs] (in Windows XP, [All
Programs]) t [Sony Picture Utility] t
[Cyber-shot Viewer].
Exiting the “Cyber-shot Viewer”
Click button in the top right corner of
the screen.
Follow these steps to import and view
images from the camera.
Importing images
1 Make sure “Media Check Tool”* is
running.
* “Media Check Tool” is a program that
automatically detects and imports images
when a “Memory Stick” is inserted or when
the camera is connected.
Look for a (Media Check Tool) icon
in the taskbar.
• If there is no icon: Click [Start] t
[Programs] (in Windows XP, [All
Programs]) t [Sony Picture Utility] t
[Cyber-shot Viewer] t [Tools] t [Media
Check Tool].
2 Connect the camera to your
computer with the USB cable.
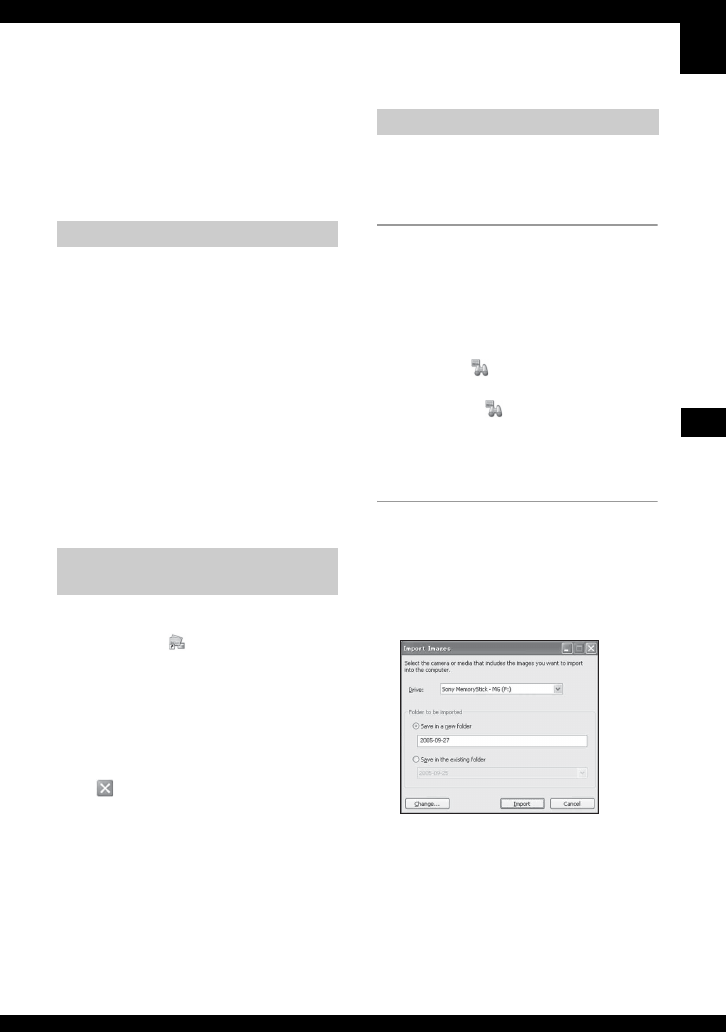
After the camera is automatically
detected, the [Import Images] screen is
displayed.
• If you will use the “Memory Stick” slot,
first refer to page 72.
• In Windows XP, if the AutoPlay Wizard
appears, close it.
“Cyber-shot Viewer” overview
Starting and exiting the “Cyber-
shot Viewer”
Basic instructions
