


filename[E:\307435114DSC71PUC\02GB-DSCP31UC\11ADV02.FM]
masterpage:Right
model name1[DSC-P71/P51/P31]
[3-074-351-14(1)]
73
Still image editting
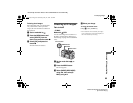
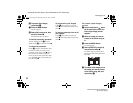
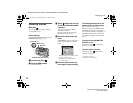
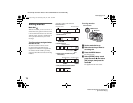
f To print other images, repeat
Step 5 for each of them.
g Press the MENU button.
The menu appears
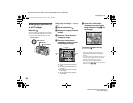
h Select [OK] using B, then
press the center z.
The setting of the (Print) mark is
completed.
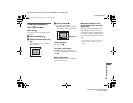
To delete a (Print) mark
To delete a (Print) mark, select an
image using v/V/b/B, and press the center
z.
To delete all the Print marks
attached to your images
In Step 4, select [ALL], then press the
center z. Next, select [OFF], and press the
center z.
To cancel the Print mark
In Step 4, select [CANCEL], or select
[EXIT] in Step 8, then press the center z.
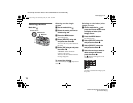
For index (triple-image)
screen
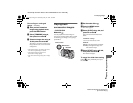
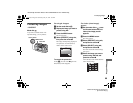
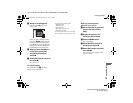
a Set the mode dial to , press
the W zoom button twice, and
the Index (triple-image) screen
appears.
b Display the image you want to
print in the center using b/B.
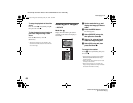
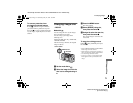
c Press the MENU button.
The menu appears.
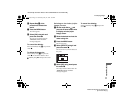
d Select [PRINT] using v/V, then
press the center z.
A (Print) mark appears on the
image in the center.
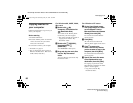
e To print other images, move
the image you want to print to
the center using b/B, and
repeat Step 4.
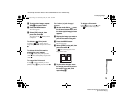
To delete a Print mark
In Step 4, press the center z again.
The (Print) mark disappears.
•
OK
10:30
PM
2002 7 4100-0005
PROTECT
PRINT
DELETE
01cov.book Page 73 Wednesday, May 22, 2002 3:40 PM