


118
Recording still images on a “Memory Stick”
– Memory photo recording
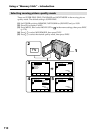
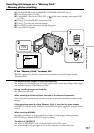
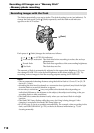
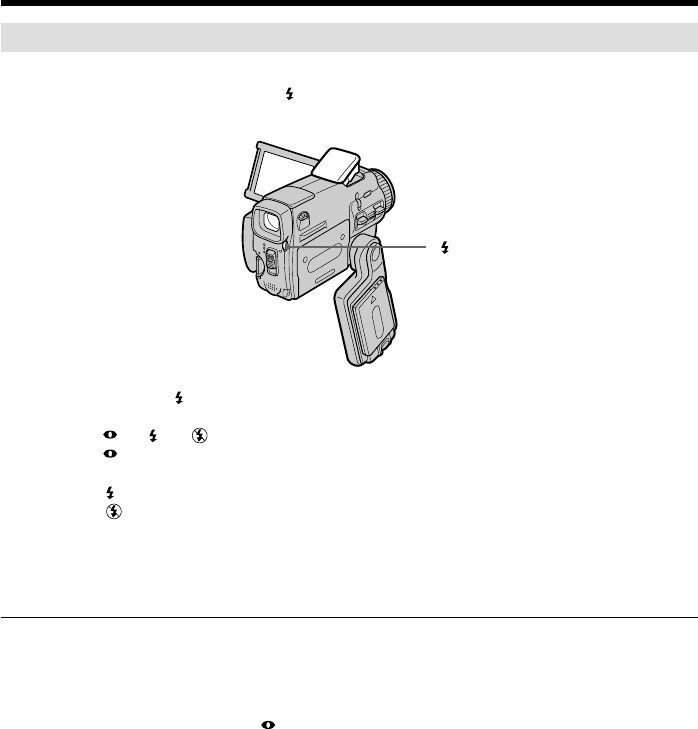
Recording images with the flash
The flash automatically pops up to strobe. The default setting is auto (no indicator). To
change the flash mode, press (flash) repeatedly until the flash mode indicator
appears on the LCD screen.
Each press of (flash) changes the indicator as follows:
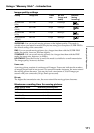
t t t AUTO (No indicator)
Auto red-eye reduction: The flash fires before recording to reduce the red-eye
phenomenon.
Forced flash: The flash fires regardless of the surrounding brightness.
No flash: The flash does not fire.
The amount of flash is automatically adjusted to the appropriate brightness. You can
also change FLASH LVL to the desired brightness in the menu settings (p. 175). Try
recording various images to find the most appropriate setting for FLASH LVL.
Notes
•The recommended shooting distance using the built-in flash is 0.3 m to 2.5 m (31/32
feet to 8 1/3 feet).
•Attaching the lens hood (optional) or a conversion lens (optional) may block the light
from the flash or cause lens shadow to appear.
•Auto red-eye reduction ( ) may not produce the desired effect depending on
individual differences, the distance to the subject, the subject not looking at the pre-
recording flash or other conditions.
•The flash effect cannot be obtained easily when you use forced flash in a bright
location.
•The flash CHG lamp flashes while the power for firing is being charged. After
charging is completed, the flash CHG lamp lights up.
•If it is not easy to focus on a subject automatically, for example, when recording in the
dark, use HOLOGRAM AF (p. 119) or the focal distance information (p. 71) for
focusing manually.
(flash)