


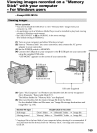

Viewing images recorded on a "Memory
Stick" with your computer
- For Macintosh users
- Except DCR-TRV16
Before operation
You need to install the USBdriver to view a "Memo=T Stick" images on your computer.
(p.171)
QuickTime 3.0or newer must be installed to play back moving pictures.
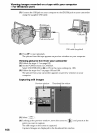
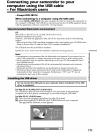
(1) Turn on your computer and allow Mac OS to load.
(2) Insert a "Memory Stick" into your camcorder, and connect the AC power
adaptor to your camcorder.
(3) Set the POWER switch to MEMORY.
(4) Connect the t_ (USB) jack on your camcorder with the USBjack on your
computer using the supplied USB cable.
"USB MODE" appears on the screen of your camcorder.
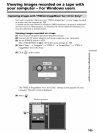
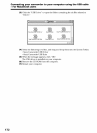
(5) Double-click the "Memory Stick" icon on the desktop.
The folders inside the "Memory Stick" are displayed.
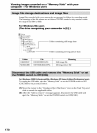
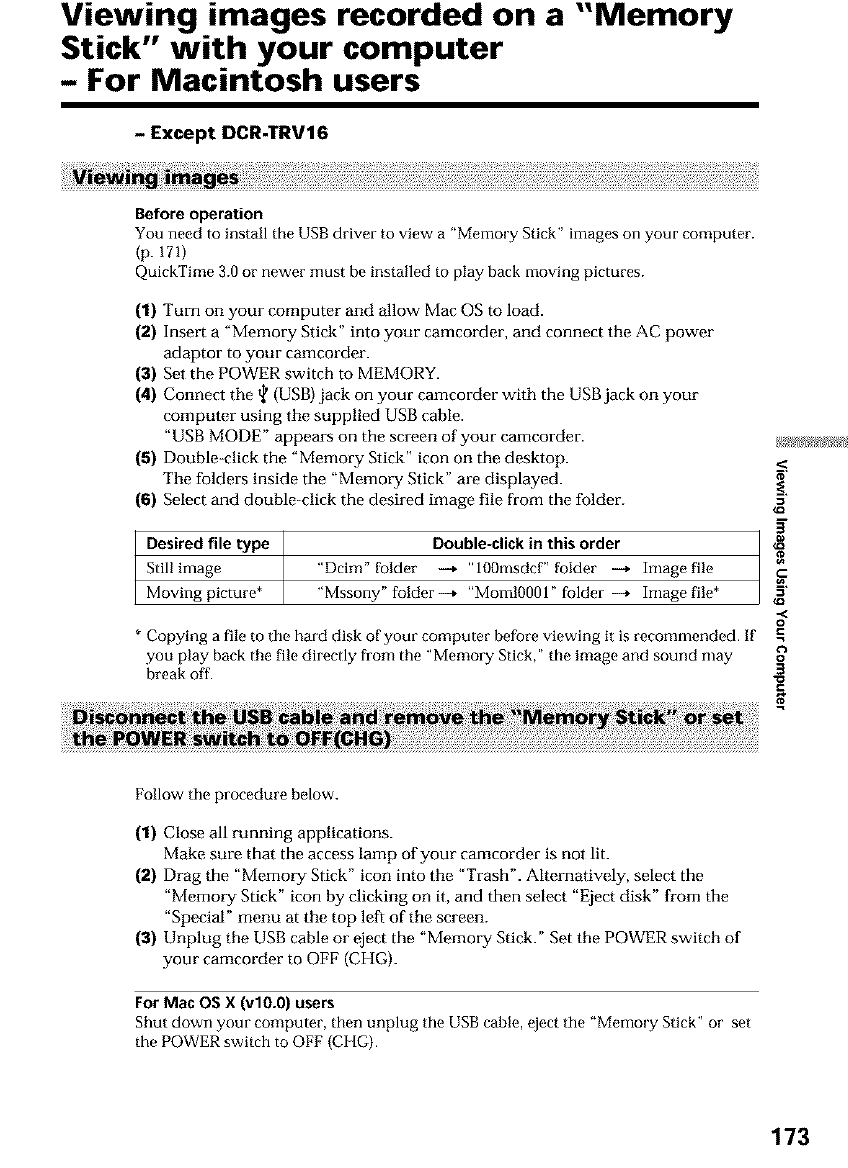
(6) Select and double-click the desired image file from the folder.
Desired file type Double-click in this order
Stillimage "Dcim" folder -4 "100msdcf" folder -+ Image file
Moving picture* "Mssony" folder-4 "Moml0001" folder -+ Image file*
* Copying a file to the hard disk of your computer before viewing it is recommended. If
you play back tile file directly from the "Memory Stick," the image and sound may
break off.
g
g
o
.=
o
3
C
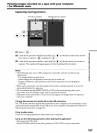
Follow the procedure below.
(1) Close all running applications.
Make sure that the access lamp of your camcorder is not lit.
(2) Drag the "Memory Stick" icon into the "Trash". Alternatively, select the
"Memory Stick" icon by clicking on it, and then select "Eject disk" from the
"Special" menu at the top left of the screen.
(3) Unplug the USB cable or eject the "Memory Stick." Set the POWER switch of
your camcorder to OFF (CHG).
For Mac OS X (vlO.O) users
Shut down your computer, then unplug the USB cable, eject the "Memory Stick" or set
the POWER switch to OFF (CHG).
173