


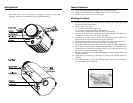

Getting Started
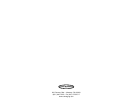
Illustrated below are the locations of Stingray’s features, ports, and
functions. Take time to familiarize yourself with the housing.
Camera Preparation
1) Install the appropriate fully charged Sony camcorder battery.
2) Install a Sony MiniDV tape or Digital8 tape into your camcorder.
3) Install a Memory Stick in your camcorder
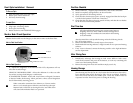
Mounting the Camera
1. Remove the rear plate by simultaneously rotating both latches down and
rearward of the housing body.
2. Remove the Camera Tray.
A. Push forward on the Camera Tray.
B. Press the Camera tray Release Button down.
Camera Tray is spring loaded and will slide out of housing.
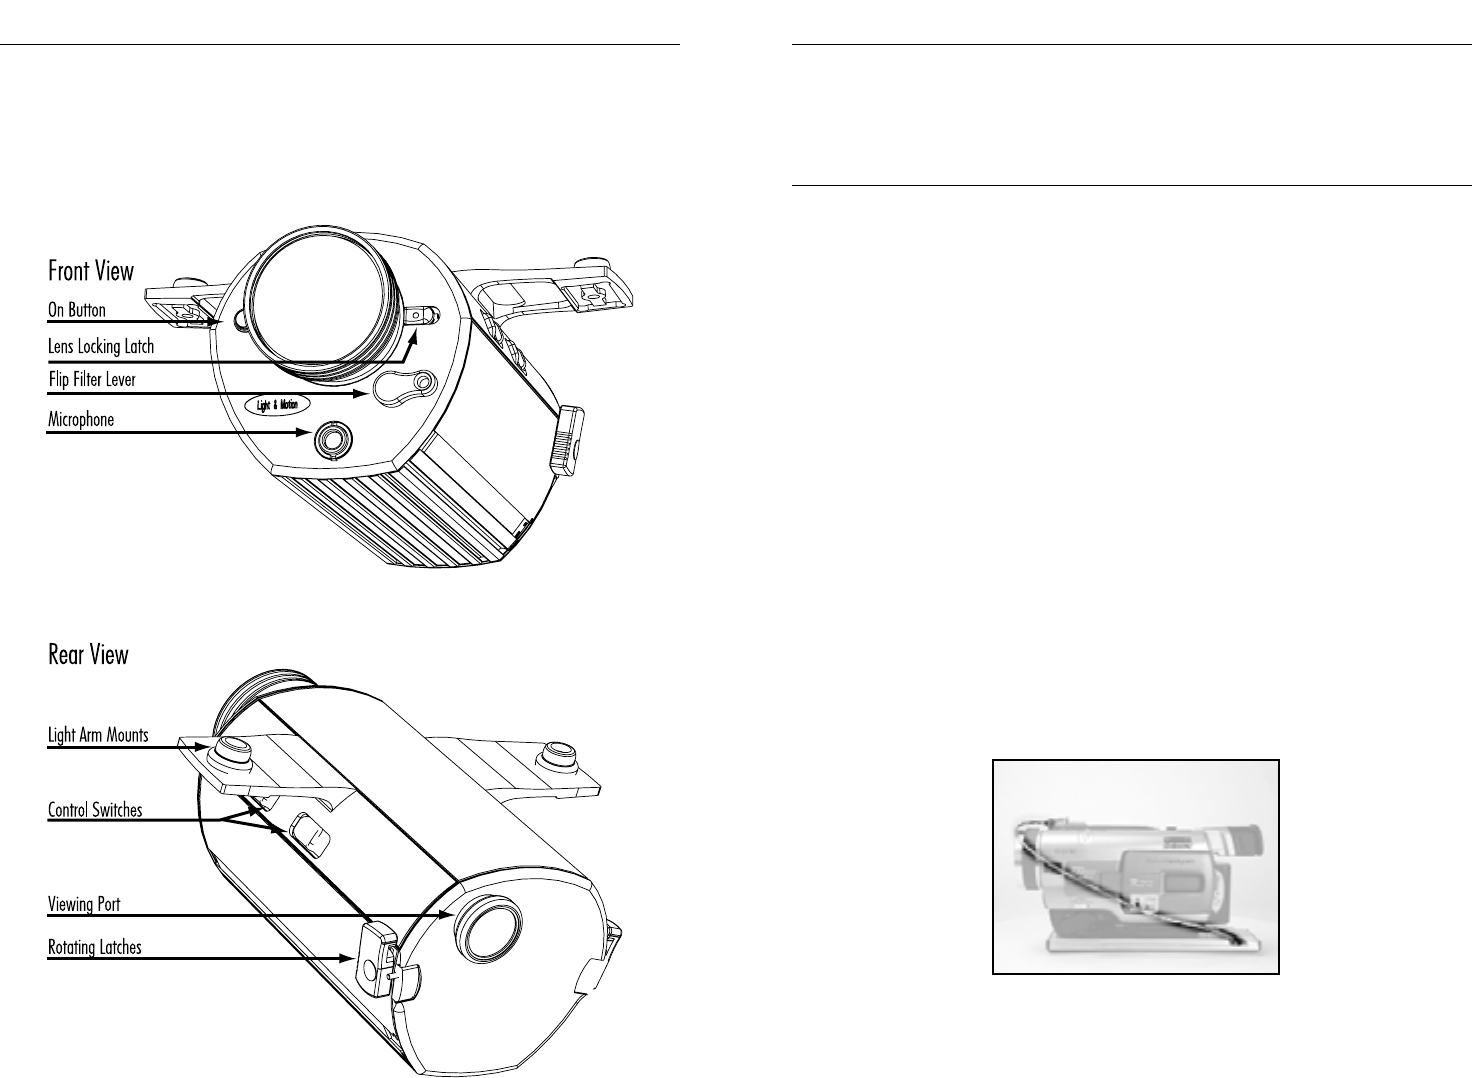
3. Position the Camera Tray underneath the camera, oriented with the multi-
colored power cable to the rear of the camcorder.
4. Secure the camcorder to the Camera Tray by tightening the Camera Tray
Mounting Screw into the tripod mount of the camcorder.
5. Remove the camcorder’s DC in cover, LANC cover and Video Jacks cover.
6. Insert the larger front cable into the camcorder’s red MIC jack.
7. Insert the rear black cable into the camcorder’s yellow AUDIO/VIDEO jack.
8. Insert the rear multi-colored cable into the camcorder’s HOT SHOE mount.
Check the seat of the cable in the HOT SHOE mount and insure that it is all
the way forward and completely seated.
9. TRV30, 330 and 530 only: Extend the Viewfinder backward until it locks at its
furthest extension.
10. Align front of Camera Tray with base of housing and partially slide into
housing.
11. Before sliding all the way into the housing, insert cable (from housing) into
the camcorder’s blue LANC jack.
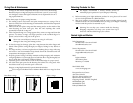
Video
Router Dial
(Fig. 6 TRV330, TRV530 and TRV730)