


GX5201
2
SVAT ELECTRONICS
Now
You
Can
See
FEATURES
- 2.4 GHz wireless technology
- Plug & Play installation
- 2.5 inch TFT-LCD screen
- Adjustable brightness, color, contrast, alarm volume and audio volume
- The system supports up to 3 cameras
- IR Night vision allows you to see in the dark up to 10ft away
- The LCD monitor has 3 modes: Scan, Auto, and Manual
- Monitor can be connected to a VCR/DVR using the A/V output port
- Color camera with sound activated alarm
- Adjustable delay/cycle time between cameras in Auto mode
- Both LCD monitor and camera can be wall or desk mounted
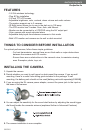
THINGS TO CONSIDER BEFORE INSTALLATION
For optimal performance, follow these simple guidelines:
- For best transmission, ensure there are no thick walls or major obstructions
between the camera and LCD monitor.
- Ensure there are no obstructions in the camera's view, to maximize viewing
area. Examples: plants, toys, etc.
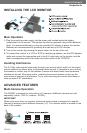
INSTALLING THE CAMERA
1. Unpack the camera
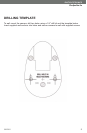
2. Decide whether you want to wall mount or desk mount the camera. If you are wall
mounting, there is a useful hole drilling guide included in the package. If wall
mounting, the battery pack should not be used [battery pack sold separately(GX5I5B)].
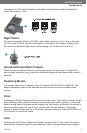
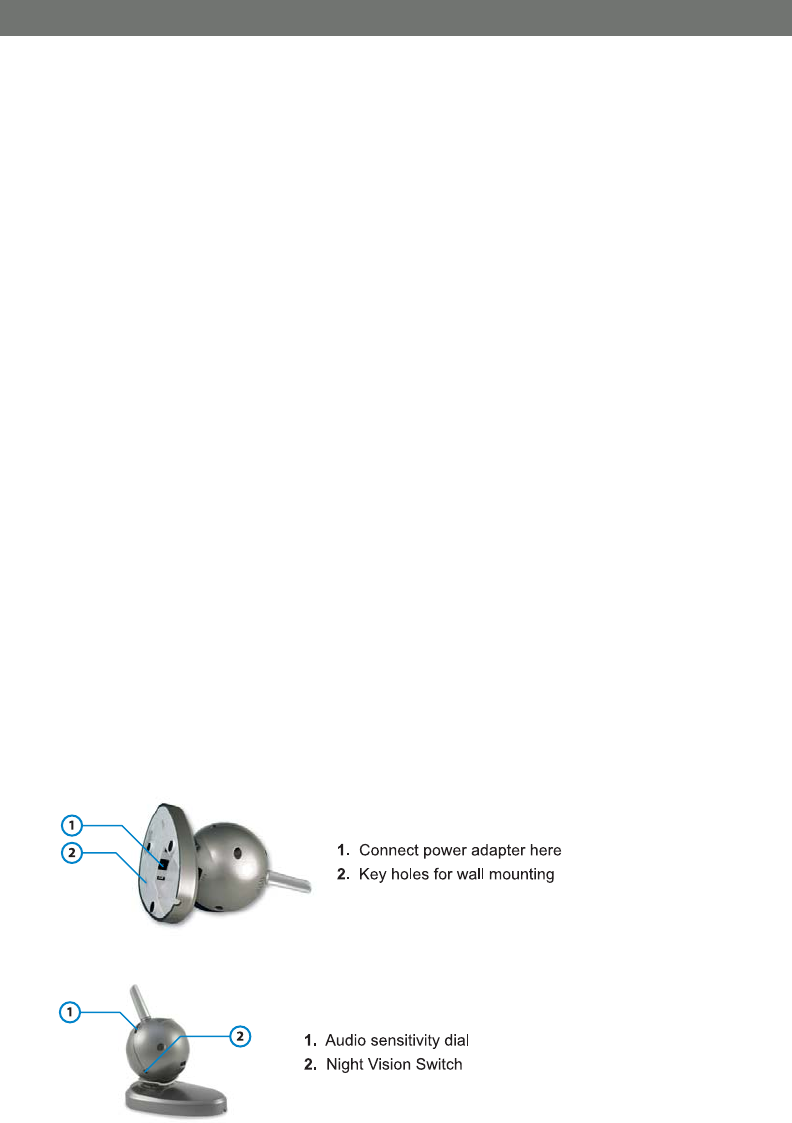
3. If you are using the 9V camera power adapter, connect the power jack to the input on
the base of the camera.
4. You can adjust the sensitivity for the sound alert feature by adjusting the sound trigger
dial found beside the camera's antenna (explained further in Advanced Features)
5. The camera installation is now complete.