


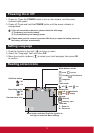

10
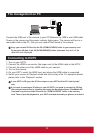
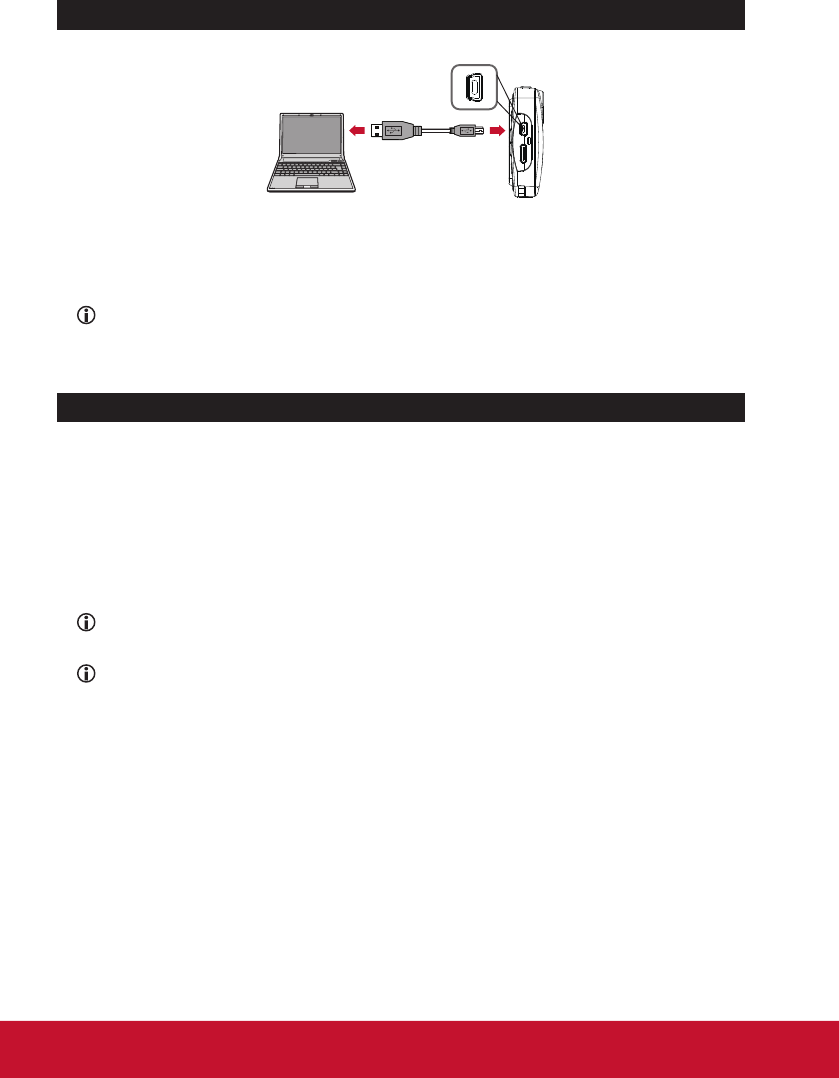
Connect the USB port of the camera to your PC/Notebook by USB to mini-USB cable.
Power on the camera and the power indicator lights green. The camera will turn to a
removable disk on the PC, then you can read all les stored in the camera.
Copy your normal 2D les into the 2D (DCIM\101DIR2D) folder in your memory card.
Do not store 2D les in the 3D (DCIM\100DIR3D) folder, otherwise they will not be
detected and displayed.
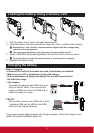
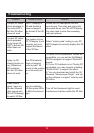
1. Turn on your HDTV.
2. Connect the HDMI-in connector (the larger end) of the HDMI cable to the HDTV.
3. Connect the other end of the HDMI cable to your camera.
4. Turn on the camera.
5. On your HDTV, select the HDMI input port where the HDMI cable is connected.
6. Switch your camera to Playback mode and start to play a le. For operation details
please refer to the “Playback” section.
If your HDTV is 2D type, the 3D les output on your HDTV will be 2D “side-by-side”
only.
If you want to experience 3D effect on your 2D HDTV, you need to convert the 3D les
into red/cyan format les by installing and using the bundled software (TotalMedia HD
Cam) and copy the converted les into the “DCIM\101DIR2D” folder in the memory
card. Then output the playback to your HDTV and wear the red/cyan glasses to watch it.
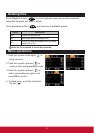
File management on PC
Connecting to HDTV