37
E
MENU OPTIONS
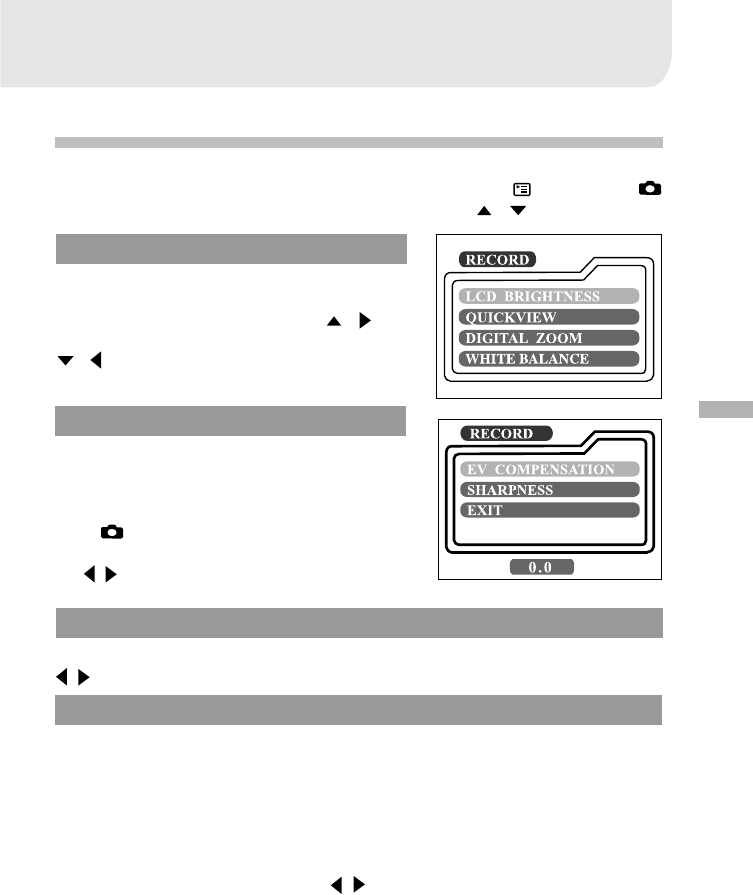
Record menu
You can use the record menu to change LCD brightness, change white balance
adjust EV compensation settings, etc. To do this, press the button in the
mode. And then scroll through the options by using the / button.
LCD BRIGHTNESS
This option adjusts the brightness of the LCD
monitor. Press the OK button, the LCD bright-
ness control will appear. Press the / but-
ton to brighten the LCD monitor while press the
/ button to darken the LCD monitor. And
then press the OK button.
QUICK VIEW
You can view each captured image on the LCD
display immediately after capture by enabling
Quick View. Each captured image will be dis-
played briefly, after which the camera returns
to the mode automatically. Set [ON] or [OFF]
to enable or disable the instant review by press-
ing / button. And then press the OK button.
DIGITAL ZOOM
You can take digital zoom shots by activating the digital zoom function. Use the
/ button to enable this option if necessary. And then press the OK button.
WHITE BALANCE
Your camera adjusts the white balance of each scene automatically. However,
the images that your camera captures will appear different under different light-
ing conditions (sun, shade, fluorescent, tungsten lights). Unlike your eyes, which
can easily adjust to different lighting conditions (lighting temperatures), a digital
camera cannot always differentiate between lighting types. Under some lighting
conditions the image may appear in strange shades. If that occurs you may change
the white balance setting by specifying a lighting condition (temperature) most
appropriate for your scene.Use the / button to select the appropriate white
balance and then press the OK button.
[AUTO] : automatically adjusting the white balance
[SUN] : for outdoors on a bright day
[SHADE] : for cloudy and shady sky
[FLUORESCENT] : for under fluorescent lighting
[TUNGSTEN] : for under tungsten lighting


