DJS Ver. 1.600
71
5
Creating Loops Made Easy Making a Loop
ContentsIndex
3
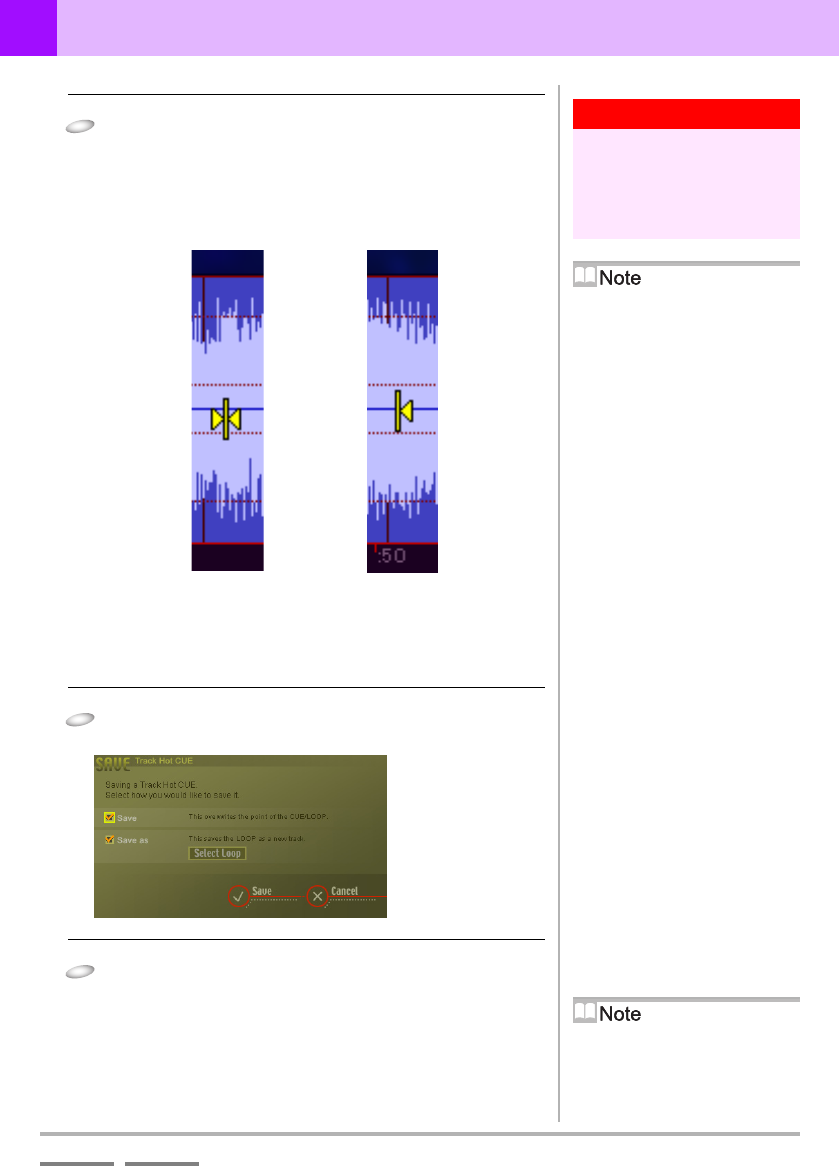
Click the point to set as the cue or the loop in/out
point on the waveform display (entire/enlarged).
(If setting up a loop, then go ahead and click the
loop out point.)
• The track hot cue tags are displayed in the waveform
display and it starts to play from the point you clicked. (If
a loop was set up, it plays the loop.)
• You can set up a max of 4 cues or loops.
4
Click the [Save] button.
• The [SAVE] screen opens.
5
Click [Save] and then click the [Save] button.
• After saving the settings, close the [SAVE] screen.
Warning!
When you Click a Point
Be sure to click in the vicinity of the
center line of the waveform. Clicking
anywhere other than near the center
line makes it jump to the clicked
position and start playing.
Player Functions
[A/4]: Play or Pause
[3]: Stop
[Volume Adjuster]: Adjusts the Volume
Stop Position of the [3]
Button
Moves to the beginning of the track or
to the loop in point.
Blue Part of the Waveform
Display
Indicates the range to be played.
Selecting a Track Hot Cue
Number that has not been Set
Up
After clicking the track hot cue number
at the bottom left of the entire
waveform display if you create a cue or
loop, the selected number is assigned to
that cue/loop.
Selecting a Track Hot Cue
Number that has been Set Up
If you click the track hot cue number of
a cue or loop that has already been set
up, the replay point moves to the cue or
loop in point.
Using the Beat Guide &
Snapping Functions
If you specify the beat interval and
display the guide on the top of the
waveform, you can set the positions of
cues or loops.
‘5-4 Other Useful Functions
(Create)’ P.74
Track Hot Cue Tag
‘5-2 Adjusting the Loop Range’ P.72
Saving a Loop you Created
as a Track
‘5-3 Saving the Length of a Loop as
a Track’ P.73
Setting a Cue Setting a Loop Out
