


AXIS Q604 Series
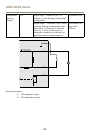
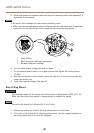
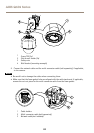
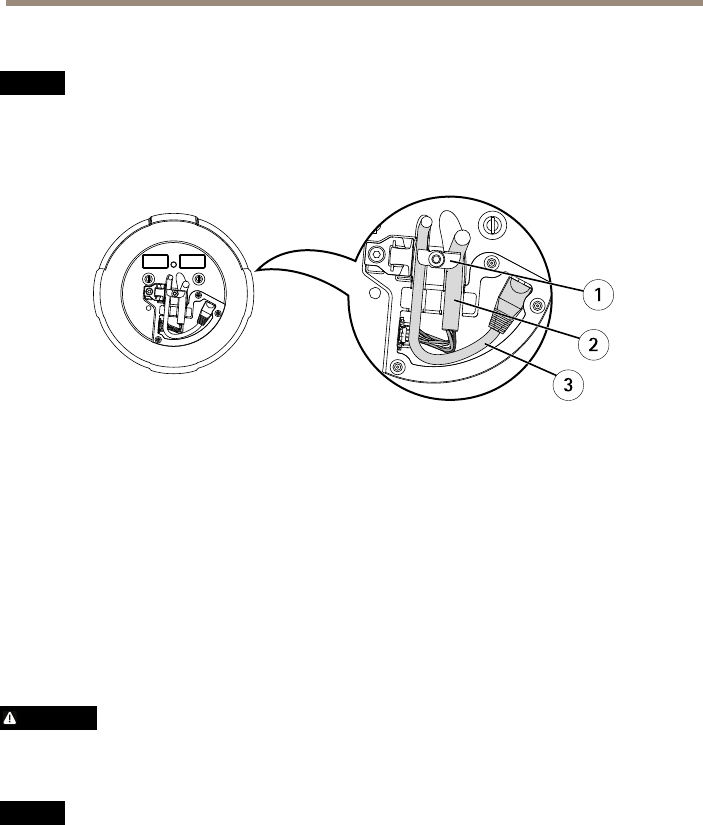
5. Route and connect the network cable and the multi-connector cable (sold separately), if
applicable, to the camera.
NONO
NO
TICETICE
TICE
• Be careful not to damage the cables when connecting them.
• Make sure that the foam gasket holes are aligned with the cable tracks and, if applicable,
remove the cut-out piece for the multi-connector cable from the foam gasket.
1
2
3
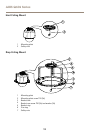
1
Cable holders
2
Multi-connector cable (sold separately)
3
Network cable (not included)
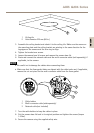
6. Turn the cable holders to keep the cables in place.
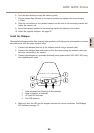
7. Put the camera base lid back in its original position and tighten the screws (torque
1.5 Nm).
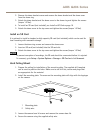
8. Slide the unit holders on the network camera into the slots in the mounting plate and
rotate the camera unit.
9. Install the supplied midspan. See page 25.
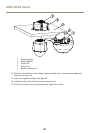
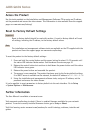
Drop Ceiling Mount
WARNING
The combined weight of the camera and ceiling mount is approximately 3200 g (7.1 lb.).
Make sure that the ceiling material is strong enough to support this weight.
NONO
NO
TICETICE
TICE
The ceiling tile should be 5–60 mm (0.2–2.4 in.) thick.
1. Remove the ceiling tile in which the drop ceiling mount is to be tted.
2. Cut a hole in the ceiling tile for the drop ceiling mount. Use the supplied template to
mark the position and cut around the template.
20