18 19
Parameter
Settings
(Bold=default)
Description
Default Set
Cancel,
Execute
Select “Execute” and press OK
to restore all parameters to the
original factory default settings. If
the camera is behaving oddly and
you think you may have changed
the setting for something accidently
(but aren’t sure which one), this
will reset all parameters to their
most commonly used or “generic”
settings.
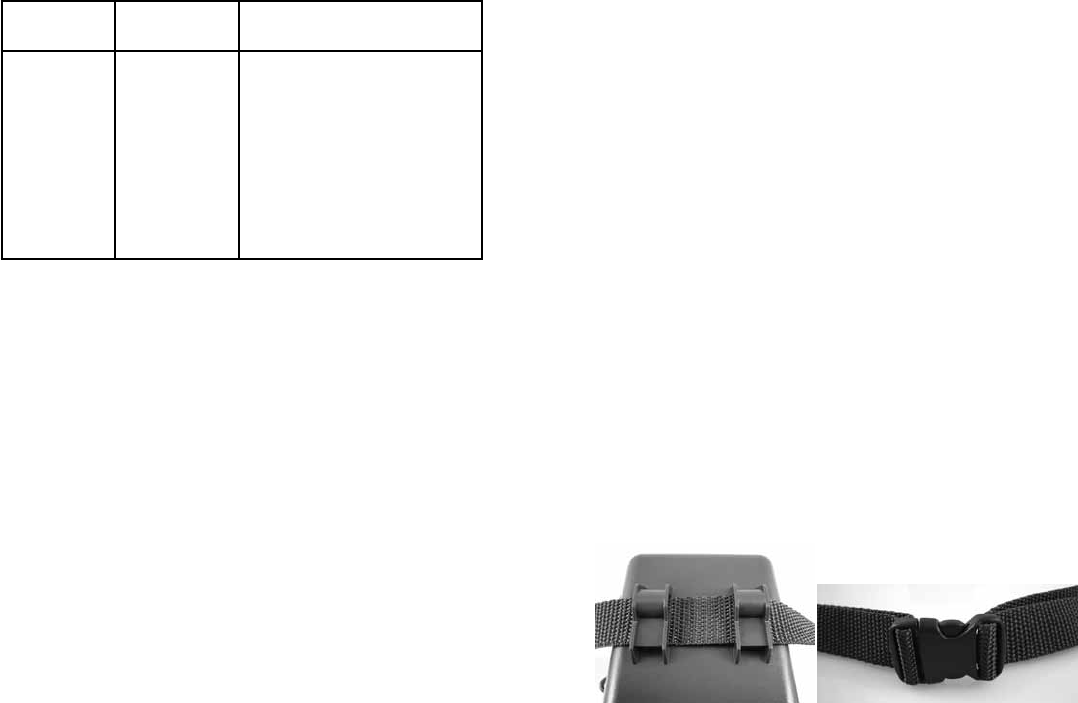
Fig. 5: Attaching the Belt
MOUNTING AND POSITIONING THE TROPHY CAM
Mounting
After you’ve set up the camera’s parameters to your personal preferences
at home or in your truck, you’re ready to take it outside and slide the power
switch to “ON”. When setting up the Trophy Cam for scouting game or
other outdoor applications, you must be sure to mount it in place correctly
and securely. We recommend mounting the Trophy Cam on a sturdy tree
with a diameter of about 6 in. (15cm). To get the optimal picture quality,
the tree should be about 16-17 ft. (5 meters) away from the place to be
monitored, with the camera placed at a height of 5-6.5 ft. (1.5~2 m). Also,
keep in mind that you will get the best results at night when the subject is
within the ideal flash range, no farther than 45’ (14m) and no closer than 10’
(3m) from the camera.
There are two ways to mount the Trophy Cam: using the provided adjustable
web belt, or the tripod socket.
Using the adjustable web belt: Fig. 5 illustrates using the web belt on
the Trophy Cam. Push one end of the belt through the two brackets on
the back of the Trophy Cam. Thread one plastic buckle part onto each
end of the belt. Fasten the belt securely around the tree trunk by clicking
the buckle ends together after tightening the belt so there is no slack left.


