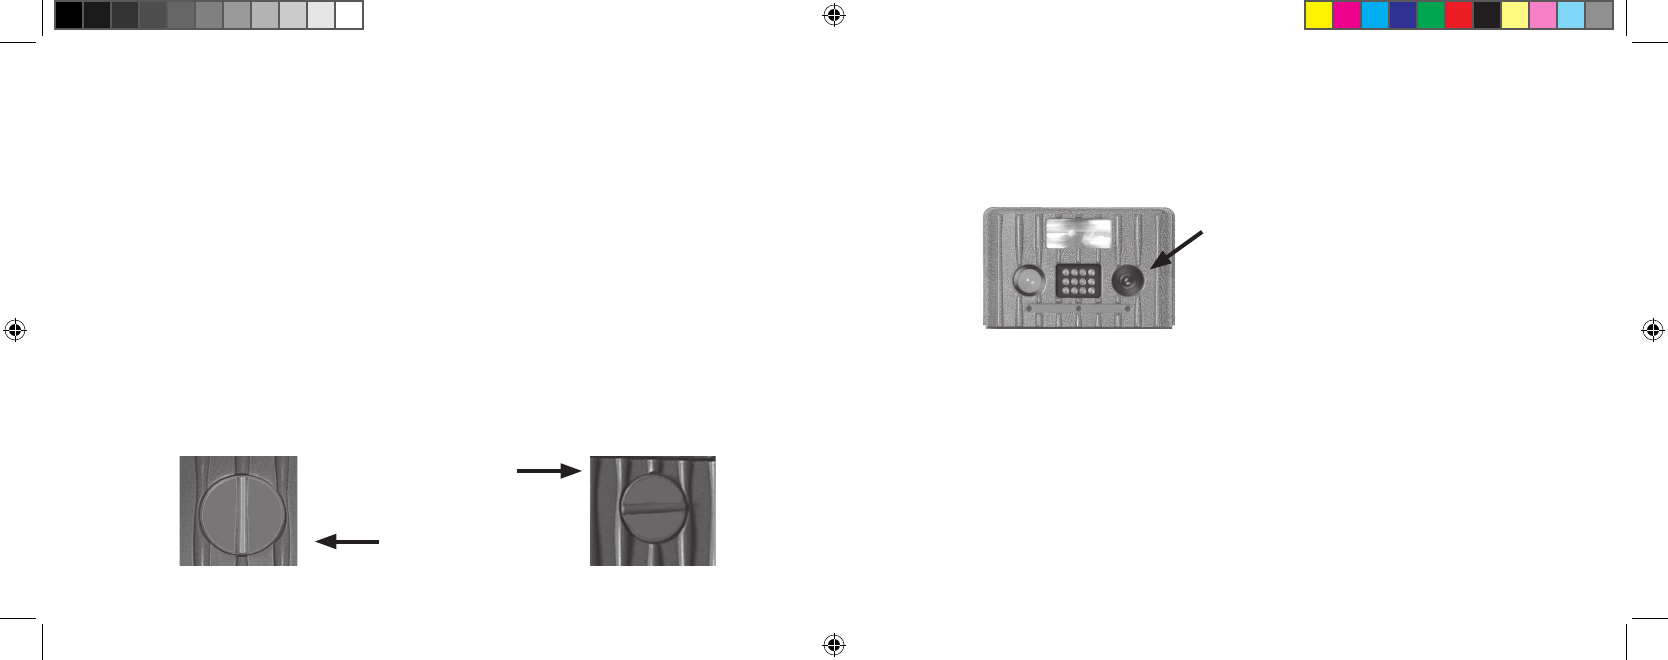
3. USING THE FILTER
When using LED flash at night-time, remove the FILTER to get satisfactory pictures.
Add the FILTER in daylight to get good quality full color pictures.
FILTER mounts over LENS
OPERATING NOTES
a. The LCD showing “RESUME” means the system is active.
b. The LCD showing “ENTER SUSPEND” means the system is going to suspend.
c. After setting K1 to ON, the system will begin working after a 5 minute delay.
If there is no activity sensed in three minutes, the system will go to SUSPEND.
When the PIR senses activity, the camera will be activated immediately.
17
2. Power ON and Setup switch summary:
Turn the knob 90°counterclockwise and open the front cover.
Set the K1 to ON position,
Input correct Password. Default password is “0000”.
(If the password is entered incorrectly 3 times, the unit will
be powered off automatically. If you want to power ON again
you must set K1 back to OFF and then set K1 to ON)
The LCD will display current IMAGE&EVENT counter.
You can press the Up or Down key to see the DATE, TIME, NAME.
If you want to modify DATE, TIME, NAME or password, set K1 to SETUP.
(See instructions)
After finishing SETUP, set K1 back to ON position
The unit will delay 5 minutes before functioning to allow you to clear out of your area.
The functions of K2, K3, and K4 can be set in the SETUP or ON Mode.
After finishing SETUP, close the front cover and turn the knob to 90°clockwise.
Finally, secure the Trail Scout with a padlock.
Turn the knob 90°
counterclockwise to open
Turn the knob 90°
clockwise to close
16
Trail Scout 6LIM.indd 18-19 1/25/05 4:25:50 PM


