


32
1
2
3
4
5
6
7
8
Cover
Preliminary Notes
and Legal Information
Contents: Basic
Operations
Advanced Guide
Camera Basics
Smart Auto
Mode
Other Shooting
Modes
Playback Mode
Setting Menu
Accessories
Appendix
Index
Basic Guide
P Mode
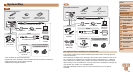
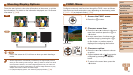
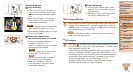
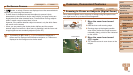
3 Choose a setting.
Press the <o><p> buttons to choose a
setting.
To choose settings with options not
shown,rstpressthe<m> or <r>
button to switch screens, and then press
the <o><p> buttons to select the
setting.
To return to the previous screen, press
the <n> button.
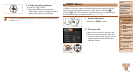
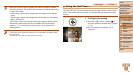
4 Choose an option.
Press the <q><r> buttons to choose an
option.
5 Finish the setup process.
Press the <n> button to return to the
screen displayed before you pressed the
<n> button in step 1.
•To undo any accidental setting changes, you can restore the camera’s default
settings (=
86).
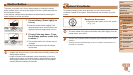
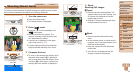
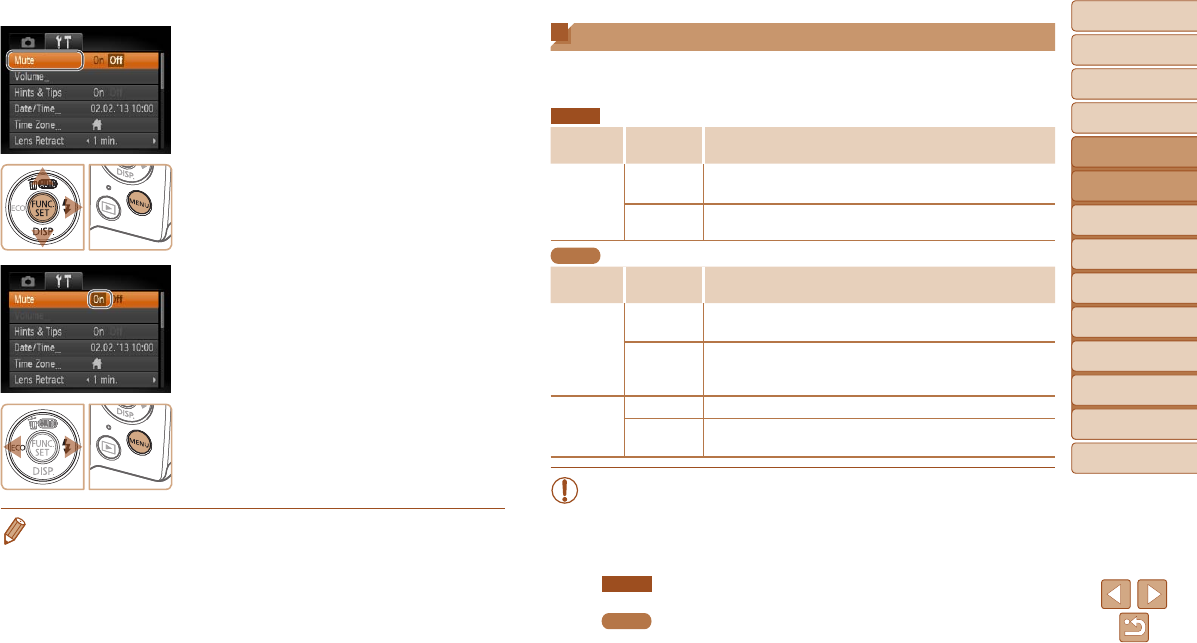
Indicator Display
The indicator on the back of the camera (=
4) lights up or blinks
depending on the camera status.
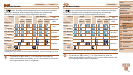
A2600
Color
Indicator
Status
Camera Status
Green
On
Connected to a computer (=
24), or display off (=
28,
42, 63, 84)
Blinking
Starting up, recording/reading/transmitting images, or
shooting long exposures (=
52)
A1400
Color
Indicator
Status
Camera Status
Green
On
Display off (=
28, 42, 63, 84), or connected to a
computer (=
24)
Blinking
Starting up, recording/reading/transmitting images, shooting
long exposures (=
52), distance warning (=
105), or
cannotfocus(whentheashisdeactivated)(=
105)
Orange
On Readytoshoot(whentheashisactivated)
Blinking
Distance warning (=
105),orcannotfocus(whentheash
is activated) (=
105)
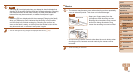
•When the indicator blinks green, never do any of the following
things, as they may corrupt images, or damage the camera or
memory card.
- Turn the camera off
- Shake or jolt the camera
A2600
- Open the memory card/battery cover
A1400
- Open the memory card/battery cover