53
Shooting - Letting the Camera Select Settings
Reviewing an Image Right after Shooting
Reviewing
the Image
After a photo is taken, the image displays on the LCD monitor for two seconds
(See p. 54 to change the display time). There are two ways to display the image for
longer period.
2Keeping the Shutter Button Pressed
The image continues to appear on the LCD monitor as long as you keep the
shutter button fully depressed.
2Pressing the
button while the image is displayed
If you press the
button while the image is displayed on the LCD monitor, it will
continue to display even after the shutter button is released. Press the shutter
button halfway again to stop displaying it.
• You can perform the following while images are displayed.
– Erasing Images Individually (p. 9, 129)
– Displaying Images in detailed display mode (p. 34)
– Magnifying Images (p. 114)
– Changing the Recording Format (p. 53)
– Attaching Sound Annotations (p. 122)
Changing the Recording Format Right after Shooting
By following the below instructions, you can save images shot in the JPEG format
in the RAW format (p. 58) right after shooting if the camera is set to
, , , ,
or *. You can easily process images saved in the RAW format using a
computer to edit the resolution, photo effect and white balance without any loss
of quality.
* The JPEG format image will not be saved.
1
Right after shooting, press the button while the image
is displayed on the LCD monitor.
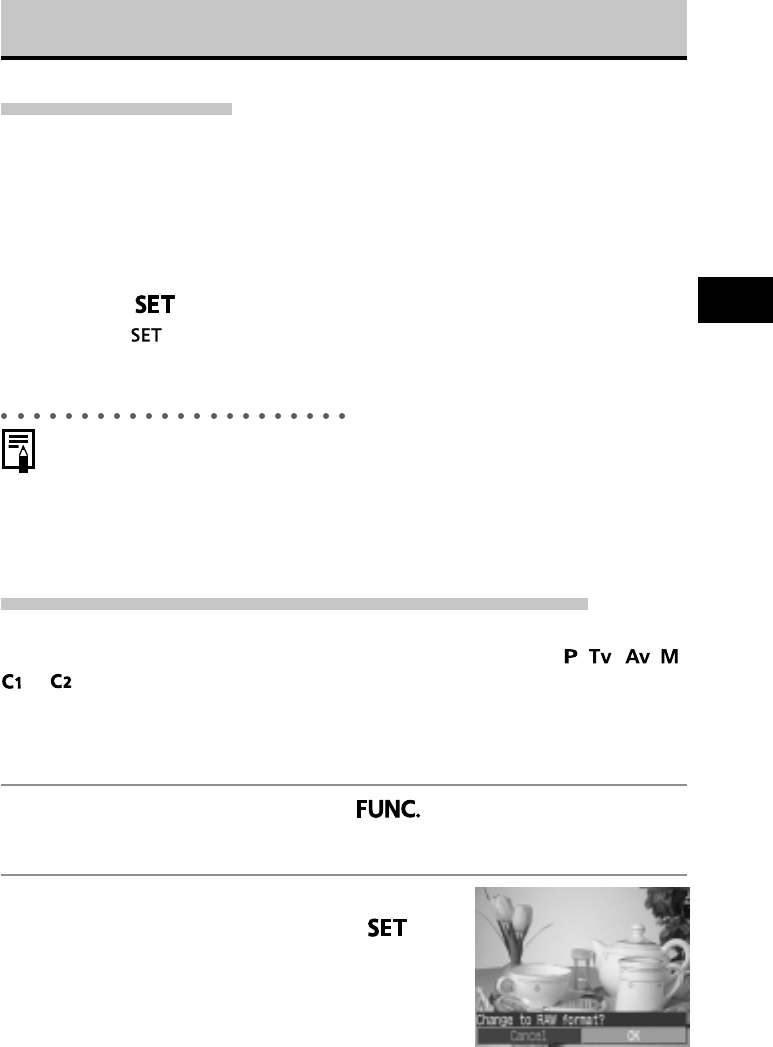
2
Select [OK] using the B or A arrow on
the omni selector and press the
button.
• The image is recorded in the RAW format.
• When you press the shutter button halfway, the
camera returns to the shooting screen.


